

/en/computer-programming-basics/introduction-to-computer-programming/content/
To start programming, the first thing you need to do is set up your computer with the necessary tools. Depending on the kind of programming you want to do, that could involve downloading various kinds of software and configuring your computer. For the web development these tutorials cover, though, you'll only need two things:
You will need a web browser to run any webpages you create, even though they won't be on the Internet yet. It doesn't matter which browser you choose, though, so feel free to stick with whatever you generally use for web browsing. The only thing to keep in mind is that there are slight visual differences in how each browser displays certain things. For example, consider these two checkboxes:

They're both identical in terms of HTML, but the one on the left is displayed in Google Chrome, while the one on the right is displayed in Microsoft Edge.
Images and exercises in our tutorials are based on Google Chrome. While any web browser will work for web development in general, you may have an easier time following along with our tutorials if you use Chrome.
You'll also need a text editor, which you'll use to write your code. Most simple text editors designed for coding have some basic features to help you avoid common typos or mistakes, and display code in different colors to make it more readable, but the basic functionality of every coding-specific text editor is just to type and save text.
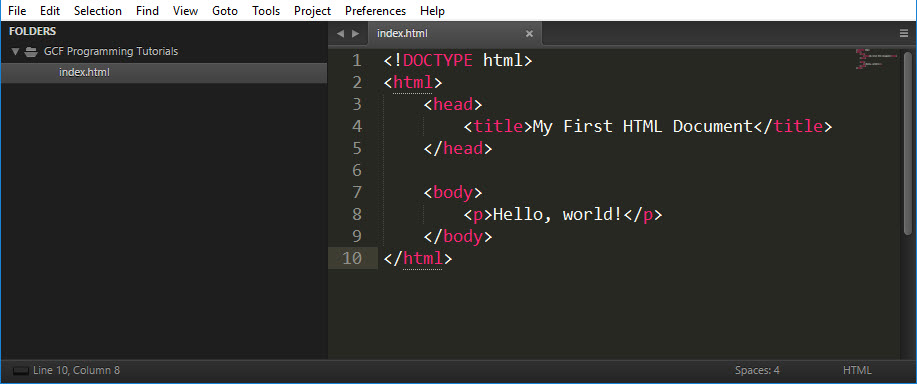
Most computers have a simple text editor pre-installed, such as Notepad (for Windows) and TextEdit (for macOS). Although these can be used for coding, they lack many of the useful features that coding-specific text editors have.
For these tutorials, we recommend a text editor called Sublime Text, which is simple to use and free to download for Windows, macOS, and Linux.
Once you have downloaded and installed Sublime Text, you will see a variety of settings dropdowns at the top. Don't be overwhelmed, because almost none of it is necessary to write code. The only thing you will need to use to follow along with our tutorials is the file menu.
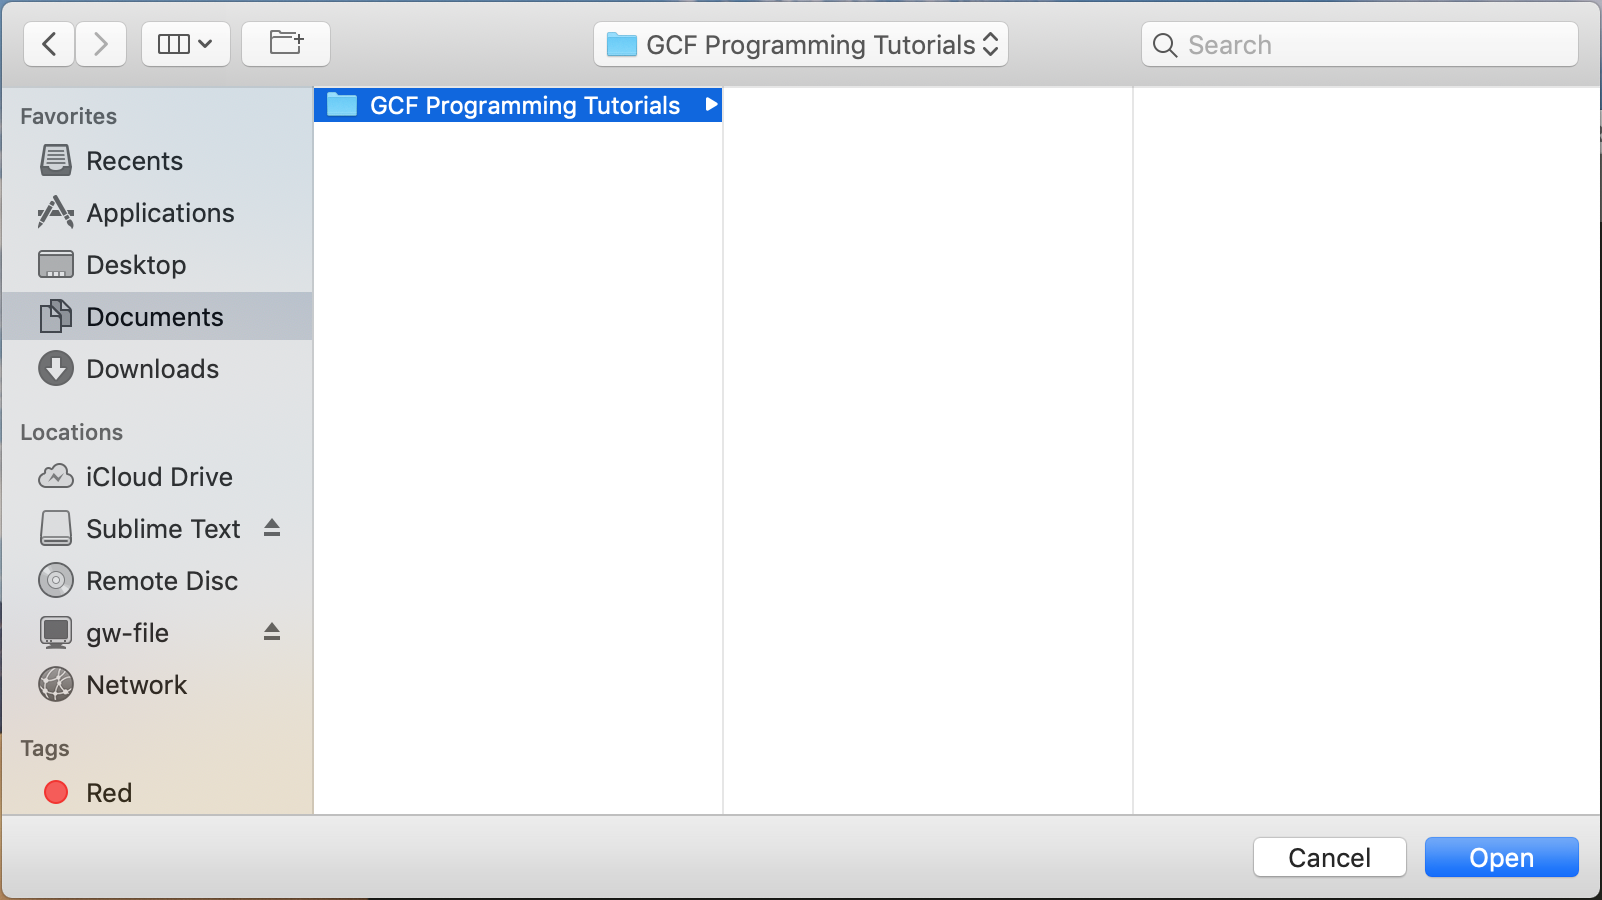
These steps will help you set up the beginning of your GCF Programming Tutorials project, which you can use to write your own code as you follow along.
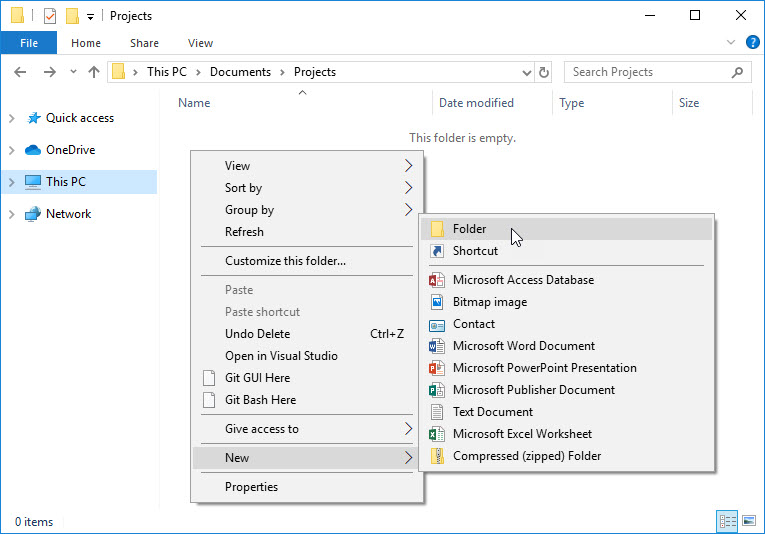
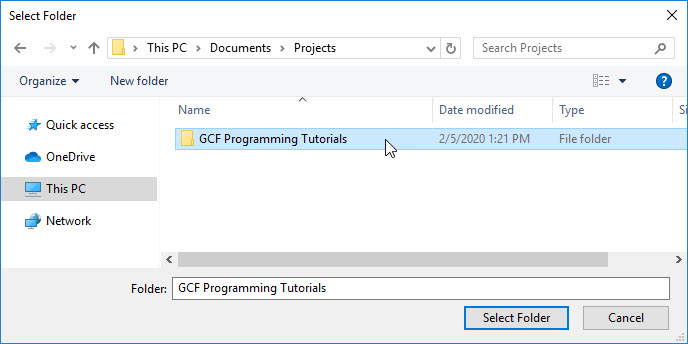
Your project is now prepared!
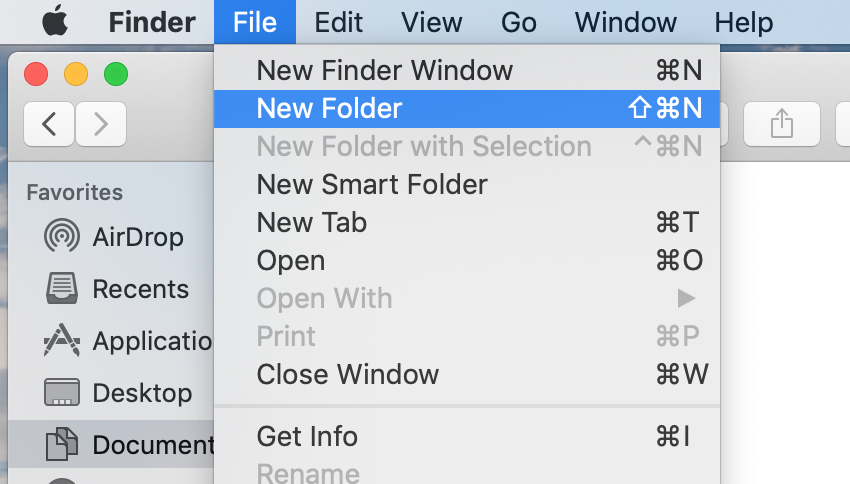
Your project is now prepared!
Now that you have your web browser and workspace prepared, you're ready to start programming. To start at the beginning, jump into our HTML tutorial and start learning how to create your own webpage!