

/en/googlespreadsheets/understanding-the-new-google-sheets/content/
Whenever you're working with a spreadsheet, it's a good idea to use appropriate number formats for your data. Number formats tell your spreadsheet exactly what type of data you're using, like percentages (%), currency ($), times, dates, and so on.
Number formats don't just make your spreadsheet easier to read—they also make it easier to use. When you apply a number format, you're telling your spreadsheet exactly what types of values are stored in a cell. For example, the date format tells the spreadsheet that you're entering specific calendar dates. This allows the spreadsheet to better understand your data, which can help ensure that your data remains consistent and that your formulas are calculated correctly.
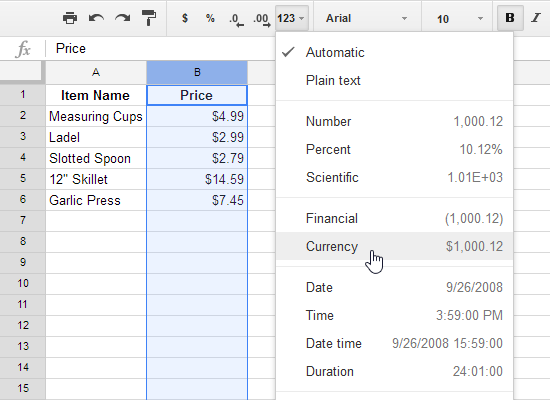
Just like other types of formatting, such as changing the font color, you'll apply number formats by selecting cells and choosing the desired formatting option. There are two main ways to choose a number format:
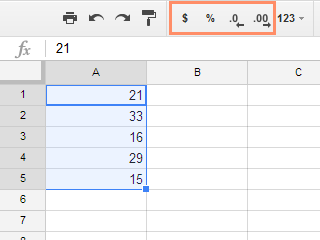
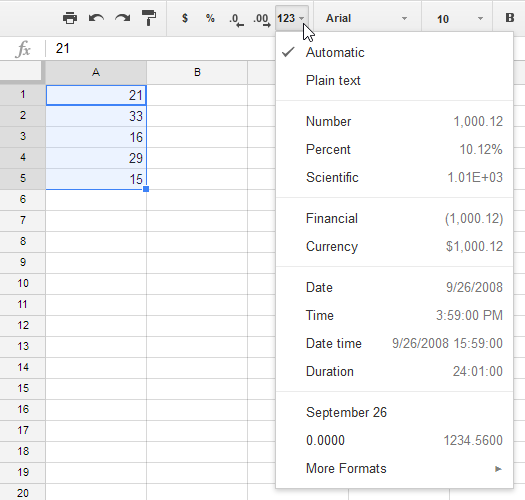
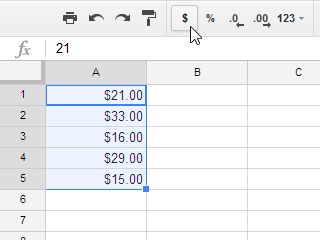
In this example, we've applied the Currency format, which adds currency symbols ($) and displays two decimal places for any numerical values.
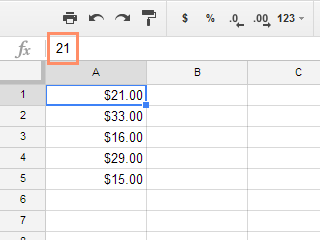
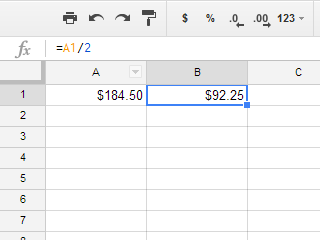
If you select any cells with number formatting, you can see the actual value of the cell in the formula bar. The spreadsheet will use this value for formulas and other calculations.
There's more to number formatting than selecting cells and applying a format. Spreadsheets can actually apply a lot of number formatting automatically based on the way you enter data. This means you'll need to enter data in a way the program can understand, then ensure that these cells are using the proper number format. For example, the image below shows how to use number formats correctly for dates, percentages, and times:

Now that you know more about how number formats work, we'll look at a few number formats in action.
One of the most helpful number formats is the percentage (%) format. It displays values as percentages, like 20% or 55%. This is especially helpful when calculating things like the cost of sales tax or a tip. When you type a percent sign (%) after a number, the percentage number format will be be applied to that cell automatically.

As you may remember from math class, a percentage can also be written as a decimal. So 15% is the same thing as 0.15, 7.5% is 0.075, 20% is 0.20, 55% is 0.55, and so on. You can review this lesson from our Math tutorials to learn more about converting percentages to decimals.
There are many times when percentage formatting will be useful. For example, in the images below, notice how the sales tax rate is formatted differently for each spreadsheet (5, 5%, and 0.05):

As you can see, the calculation in the spreadsheet on the left didn't work correctly. Without the percentage number format, our spreadsheet thinks we want to multiply $22.50 by 5, not 5%. And while the spreadsheet on the right still works without percentage formatting, the spreadsheet in the middle is easier to read.
Whenever you're working with dates, you'll want to use a date format to tell the spreadsheet that you're referring to specific calendar dates, such as July 15, 2016. Date formats also allow you to work with a powerful set of date functions that use time and date information to calculate an answer.
Spreadsheets don't understand information the same way a person would. For instance, if you type October into a cell, the spreadsheet won't know you're entering a date so it will treat it like any other text. Instead, when you enter a date, you'll need to use a specific format your spreadsheet understands, such as month/day/year (or day/month/year depending on which country you're in). In the example below, we'll type 10/12/2016 for October 12, 2016. Our spreadsheet will then automatically apply the date number format for the cell.
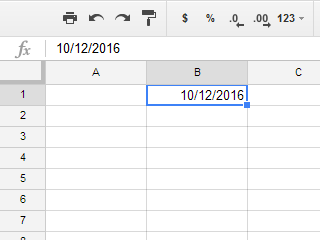
Now that we have our date correctly formatted, we can do different things with this data. For example, we could use the fill handle to continue the dates through the column, so a different day appears in each cell:
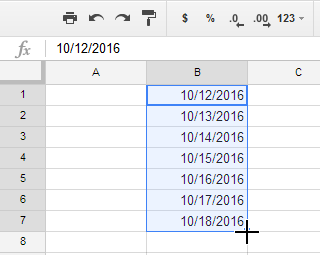
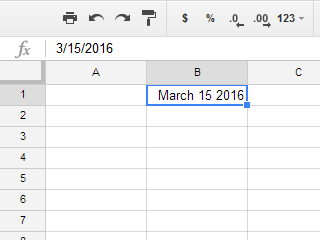
If the date formatting isn't applied automatically, it means the spreadsheet did not understand the data you entered. In the example below, we've typed March 15th. The spreadsheet did not understand that we were referring to a date, so the automatic format is treating this cell as text.

On the other hand, if we type March 15 (without the "th"), the spreadsheet will recognize it as a date. Because it doesn't include a year, the spreadsheet will automatically add the current year so the date will have all of the necessary information. We could also type the date several other ways, such as 3/15, 3/15/2016, or March 15 2016, and the spreadsheet would still recognize it as a date.
To check if Google Sheets recognizes your entry as a date, look in the formula bar. The value of the cell in the formula bar will be converted to a numeric format like 3/15/2016 but will display in the sheet in the format which you originally entered.
Try entering the dates below into a spreadsheet and see if the date format is applied automatically:
To access other date-formatting options, select the More formats drop-down menu on the toolbar and choose More Formats at the bottom, then select More date and time formats.

The Custom date and time formats dialog box will appear. From here, you can choose the desired date-formatting option. These are options to display the date differently, like including the day of the week or omitting the year.

As you can see in the formula bar, a custom date format doesn't change the actual date in our cell—it just changes the way it's displayed.

Here are a few tips for getting the best results with number formatting.
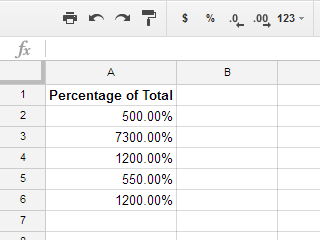
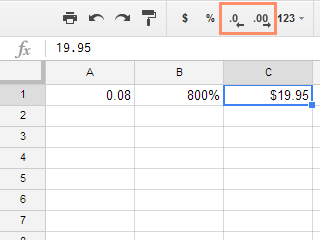
The Increase decimal places and Decrease decimal places commands allow you to control how many decimal places are displayed in a cell. These commands don't change the value of the cell; instead, they display the value to a set number of decimal places.
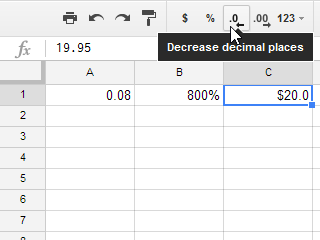
Decreasing the decimal will display the value rounded to that decimal place, but the actual value in the cell will still be displayed in the formula bar.
The Increase/Decrease decimal places commands don't work with some number formats, like Date and Fraction.
/en/googlespreadsheets/google-sheets-quiz/content/