This article was co-authored by wikiHow staff writer, Jack Lloyd. Jack Lloyd is a Technology Writer and Editor for wikiHow. He has over two years of experience writing and editing technology-related articles. He is technology enthusiast and an English teacher.
The wikiHow Tech Team also followed the article's instructions and verified that they work.
This article has been viewed 1,525,835 times.
Learn more...
This wikiHow teaches you how to add a checkmark symbol (✓) to a Microsoft Word document on both Windows and Mac computers. Microsoft Word has a built-in Symbols menu which often includes the checkmark icon, though you can also use your computer's Symbols menu if you can't find the checkmark icon in Word.
Steps
Using Word on Windows
-
1Open your Microsoft Word document. Double-click the Word document into which you want to insert a checkmark.
- If you want to create a new document, instead double-click the Word app icon, then click Blank document on the main page.
-
2Select a place to insert the checkmark. Scroll to the point where you want to insert your checkmark, then click it. You should see a blinking cursor appear there.Advertisement
-
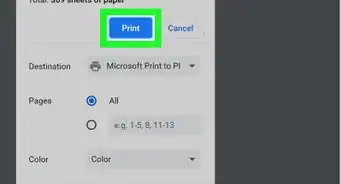
3Click the Insert tab. It's in the blue ribbon that's at the top of the Word window.
-
4Click Symbol. It's the Omega symbol (Ω) in the far-right side of the Insert toolbar. A drop-down menu will appear.
-
5Click the "Checkmark" icon ✓. You'll usually find it in the Symbols drop-down menu. Doing so will insert the checkmark into your Word document in the space in which your mouse's cursor is located.
-
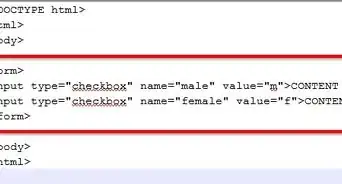
6Find the checkmark icon if it isn't in the drop-down menu. If you can't find the checkmark icon in the Symbol drop-down menu, do the following:
- Click More Symbols...
- Click the "Font" text field.
- Type in wingdings 2 and press ↵ Enter.
- Scroll down until you find the checkmark, then click it.
- Click Insert


Using Word on a Mac
-
1Open your Microsoft Word document. Double-click the Word document into which you want to insert a checkmark.
- If you want to create a new document, instead select the Word app icon from your Applications folder, click File, and click the New Document option.
-
2Select a place to insert the checkmark. Scroll to the point where you want to insert your checkmark, then click it. You should see a blinking cursor appear there.
-
3Click the Insert menu item. It's at the top of your Mac's screen. A drop-down menu will appear.
- The Insert menu item is different than the Insert tab that's at the top of the Word window.
-
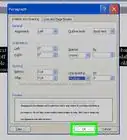
4Click Advanced Symbol. You'll find this option in the drop-down menu. Doing so opens the Symbols window.[1]
-
5Click the Symbols tab. It's at the top of the Symbols window.
-
6Click the "Checkmark" icon ✓. Scroll through the available symbols until you find the checkmark, then click it.
- If you can't find the checkmark icon, click the "Font" drop-down menu, scroll down and select Wingdings 2, and then search for the checkmark.
-
7Click Insert. It's at the bottom of the window. Doing so will insert the checkmark into your Word document in the space in which your cursor is located.


Using the Windows Character Map
-
1
-
2Type in character map. Doing so will search your computer for the Character Map program.
-
3Click Character Map. It's at the top of the Start menu. The Character Map window will open.
-
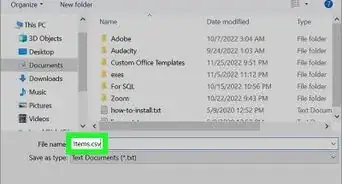
4Click the "Font" drop-down box. You'll find this at the top of the Character Map window.
-
5Scroll down and click Wingdings 2. It's in the "Font" drop-down menu, though you'll likely need to scroll all the way to the bottom to find it.
-
6Select the checkmark icon. Click the checkmark ✓ in the third row of symbols, then click Select at the bottom of the Character Map window.
-
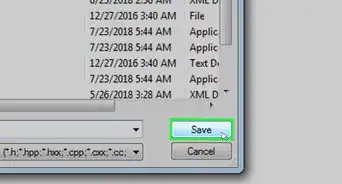
7Click Copy. It's at the bottom of the Character Map window. This will copy the checkmark icon.
-
8Open your Microsoft Word document. Double-click the Word document into which you want to insert a checkmark.
- If you want to create a new document, instead double-click the Word app icon, then click Blank document on the main page.
-
9Select a place to insert the checkmark. Scroll to the point where you want to insert your checkmark, then click it. You should see a blinking cursor appear there.
-
10Paste in the symbol. Press Ctrl+V to do so. You should see the checkmark appear in your Microsoft Word document.


Using the Mac Symbols Menu
-
1Open your Microsoft Word document. Double-click the Word document into which you want to insert a checkmark.
- If you want to create a new document, instead select the Word app icon from your Applications folder, click File, and click the New Document option.
-
2Select a place to insert the checkmark. Scroll to the point where you want to insert your checkmark, then click it. You should see a blinking cursor appear there.
-
3Click Edit. This menu item is at the top of the screen. A drop-down menu will appear.
-
4Click Emoji & Symbols. You'll find this option at the bottom of the Edit drop-down menu. Doing so opens the Character Viewer window.
-
5Click the Bullets/Stars tab. It's on the left side of the Character Viewer window.[2]
- You may first have to click the "Expand" icon, which is a box-shaped icon in the top-right corner of the window.
-
6Find the checkmark symbol. You'll find several different checkmark symbols in the middle of the window.
-
7Double-click the checkmark symbol. Doing so will insert it into the Word document at the cursor's position.


Community Q&A
-
QuestionHow do I insert a check mark in a box in a word document?
 Community AnswerChange font to Marlett and type a lower case "a". You'll get a check mark!
Warnings
- Some programs other than Word may not recognize or display correctly the checkmark.⧼thumbs_response⧽


References
About This Article
1. Click Insert.
2. Click Symbol.
3. Click More Symbols.
4. Select Wingdings as the font.
5. Click the check mark.