X
wikiHow is a “wiki,” similar to Wikipedia, which means that many of our articles are co-written by multiple authors. To create this article, 11 people, some anonymous, worked to edit and improve it over time.
This article has been viewed 32,446 times.
Learn more...
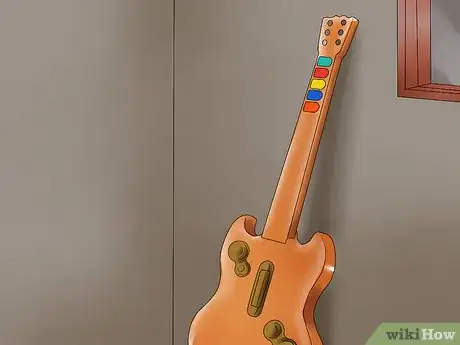
Want a customized guitar hero controller that you can design? Well here's complete directions on how.
Steps
Method 1
Method 1 of 5:
Drafting
-
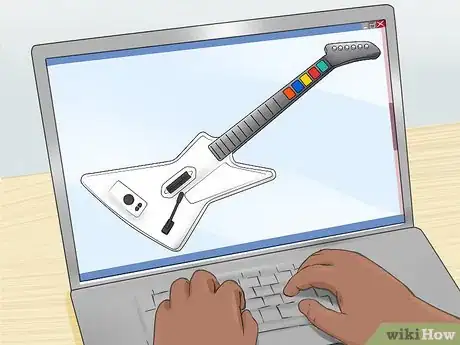
1Choose a style of guitar that you would like to duplicate.
-
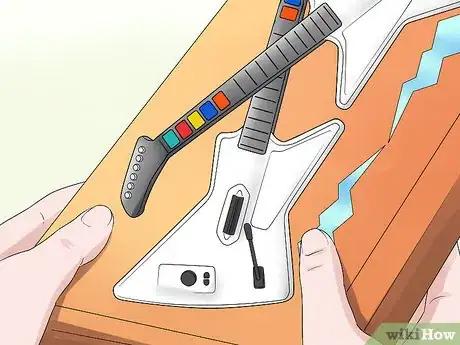
2Find a standard guitar hero controller that you can use to donate the electronics from.Advertisement
-
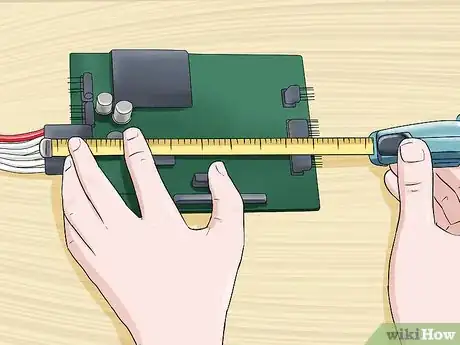
3Measure, Measure, Measure!!! Remove all the internal controls and measure so that your custom controller can use the standard electronics.
-
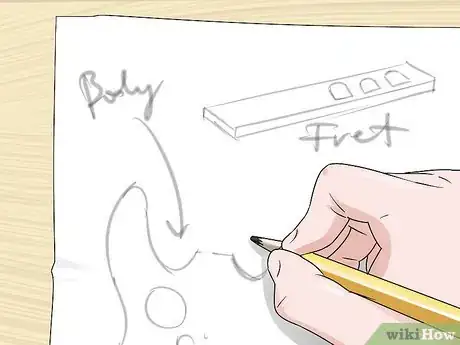
4Create a rough sketch of how you want your guitar to look by using the dimensions obtained from the measurements in the previous step.
-
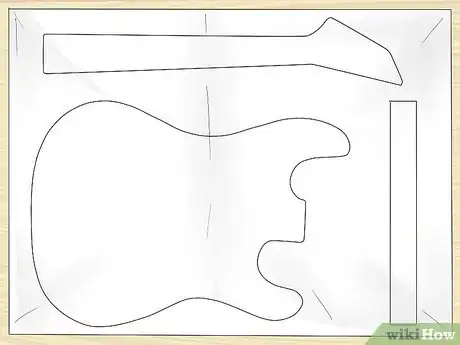
5Use a large piece of paper or cardboard to create a 1:1 template of all the pieces of your guitar.
Advertisement
Method 2
Method 2 of 5:
The Neck
-
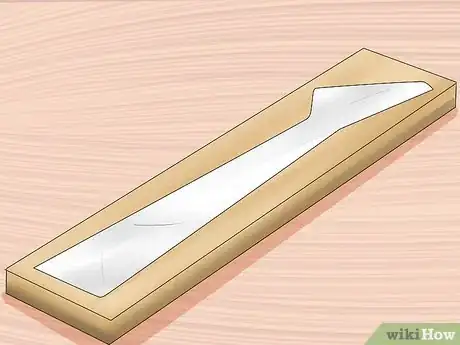
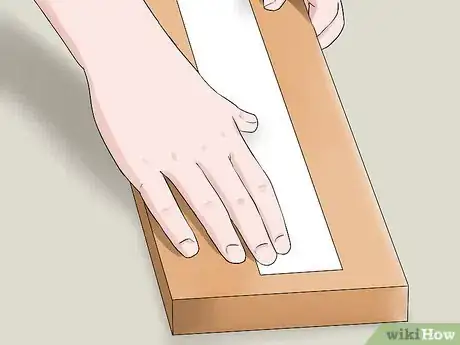
1Find a piece of wood that is larger then your template and the desired thickness.
-
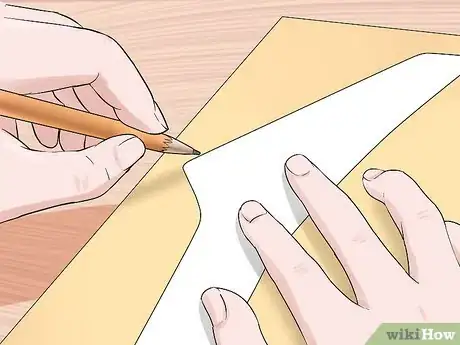
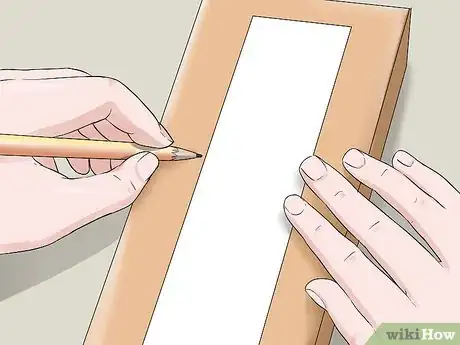
2Using a pencil, transfer the template onto the piece of wood.
-
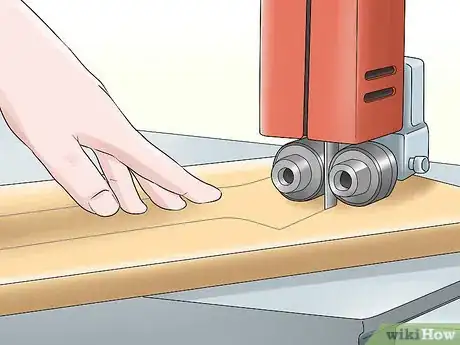
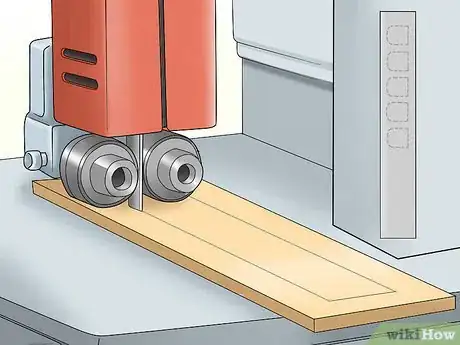
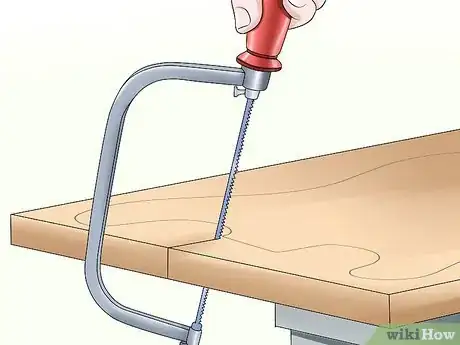
3Use a band saw or a coping saw to cut the shape out of the piece of wood.
-
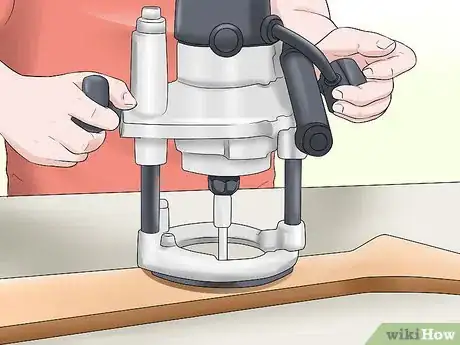
4Using a router create a pocket-slot for the electronics and wiring.
-
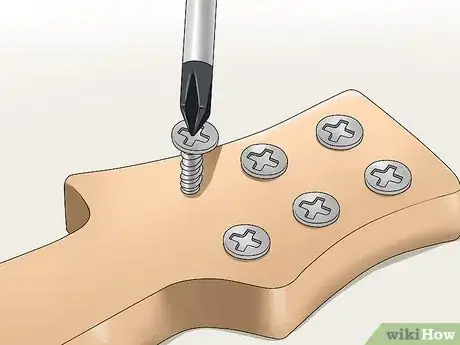
5For the faux tuners, anything you think can work will suffice: paint, drill holes, use bolts (stainless steel button head screws were used here).
-
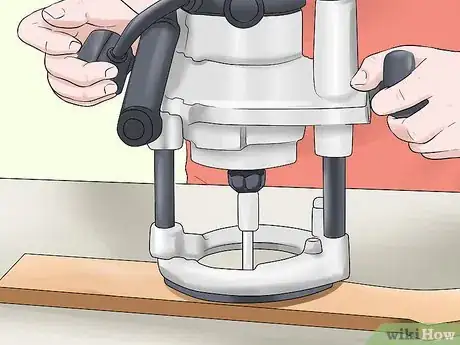
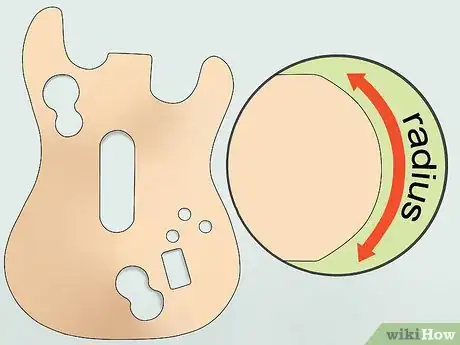
6To create the radius on the edges use the router.
-
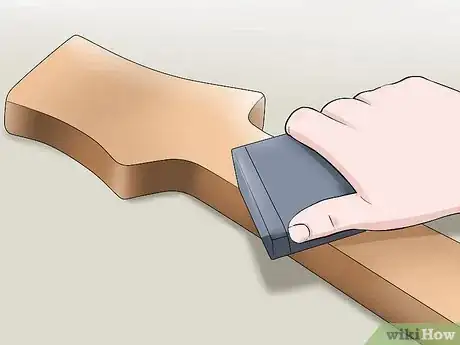
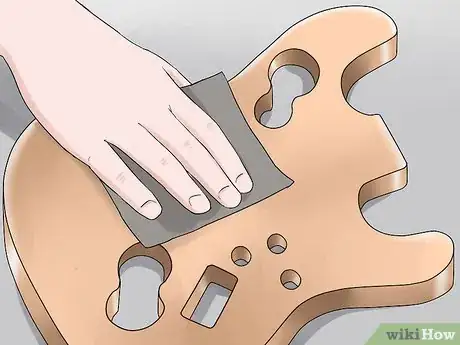
7Sand the piece to the desired finish and shape.
Advertisement
Method 3
Method 3 of 5:
The Fret Board
-
1Find a piece of wood that is larger then your template and the desired thickness.
-
2Using a pencil, transfer the template onto the piece of wood.
-
3Use a band saw or coping saw to cut out the shape of the exterior.
-
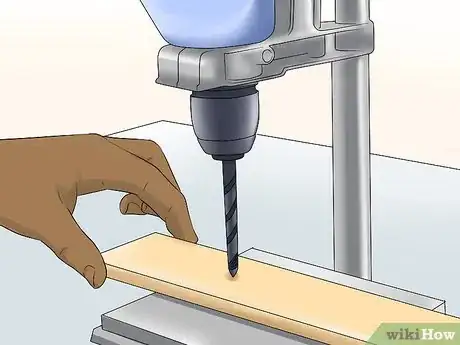
4Drill small pilot holes so that the holes can be cut out easily.
-
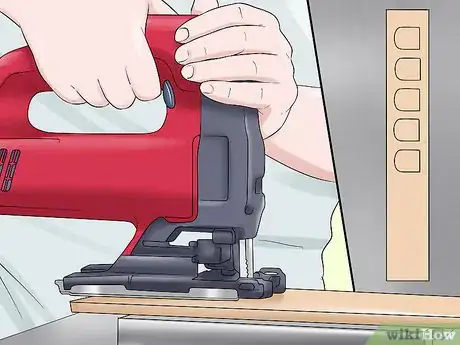
5Use a jewelers say or a jigsaw to cut out each buttonhole.
-
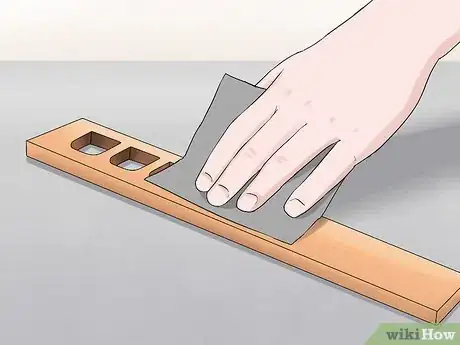
6Sand the piece to the desired finish and shape.
Advertisement
Method 4
Method 4 of 5:
The Body
-
1Find a piece of wood that is larger than your template and the desired thickness.
-
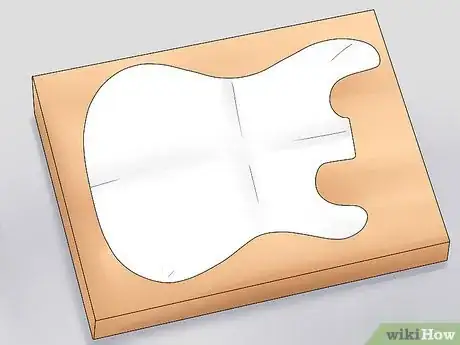
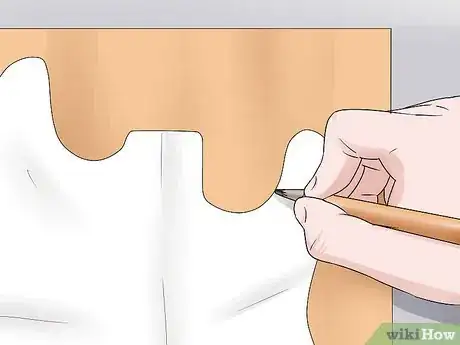
2Using a pencil, transfer the template onto the piece of wood.
-
3Use a band saw or coping saw to cut out the shape of the exterior.
-
4Using a router create a pocket-slot for the electronics, wiring and neck attachment.
-
5Create the radius on the edges using the router.
-
6Sand the piece to the desired finish and shape.
Advertisement
Method 5
Method 5 of 5:
Assembly and Finish
-
1Begin by attaching the neck to the body with either wood glue or wood screws.
-
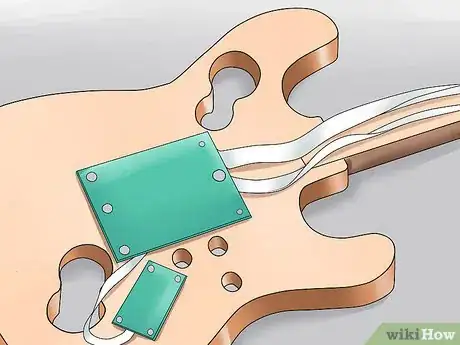
2Fasten all of the electronics in place within the neck and body.
-
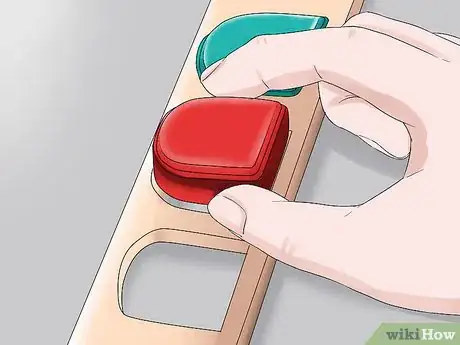
3Place all 5 buttons within the buttonholes.
-
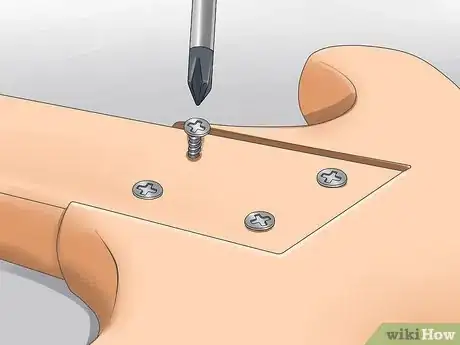
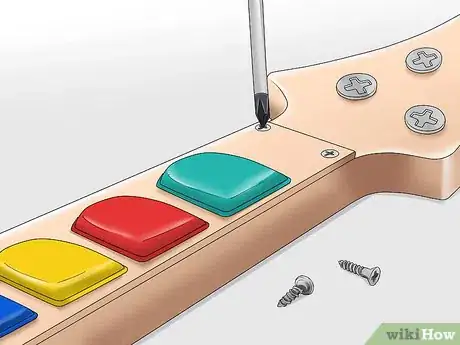
4Fasten the fret board to the neck using small wood screws.
-
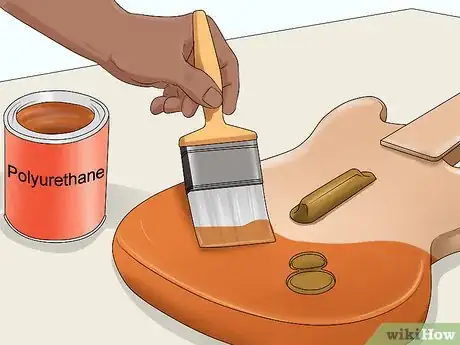
5Apply polyurethane to every surface in which you want the wood to shine.
-
6Let the wood dry overnight to ensure a good finish.
Advertisement
Warnings
- Using a dust mask is also advisable for the polyurethane and sanding portions of the directions.⧼thumbs_response⧽
- Electronics and positioning may vary from game system to game system, especially if you are using a wireless or wired controller.⧼thumbs_response⧽
- Always wear safety glasses when working with tools.⧼thumbs_response⧽
- Always be extremely careful when using power tools as serious injury can result.*⧼thumbs_response⧽
Advertisement
Things You'll Need
Materials
- Hardwood Pieces of Designated Sizes
- Old Guitar Hero Controller to donate Electronics
- Screws
- Paper
- Wood Glue
Tools Needed
- Pencil
- Ruler
- Screwdriver
- Sandpaper
- Coping Saw
- Band Saw (Optional)
- Router
- Power Drill and Drill Bits
- Belt Sander (Optional)
- Paintbrush
- Paper Towel
- Clamps (Optional)
About This Article
Advertisement
