X
wikiHow is a “wiki,” similar to Wikipedia, which means that many of our articles are co-written by multiple authors. To create this article, volunteer authors worked to edit and improve it over time.
The wikiHow Tech Team also followed the article's instructions and verified that they work.
This article has been viewed 28,953 times.
Learn more...
VLC is one of the most popular media players in the world. Did you know that anyone can customize subtitles in VLC? This wikiHow article will help you to do that!
Steps
-
1Launch VLC Media Player on your computer. Search for VLC in the Start menu or open a media file with VLC Player.
- If you don't have the VLC Media Player app on your computer, go to www.videolan.org/vlc and download and install the app.
-
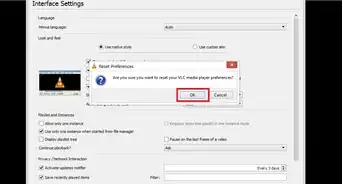
2Click on Tools from the menu bar. You'll see a drop-down menu after doing so. Select Preferences from the list. Alternatively, press Ctrl+P on your keyboard to quickly access the Preferences tab.Advertisement
-
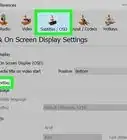
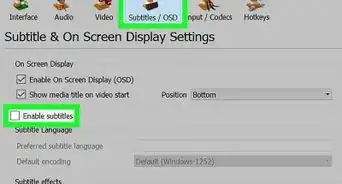
3Click on the Subtitles / OSD option from the upper section. This will open the Subtitle & On Screen Display Settings.
-
4Navigate to the Text default color option. Click on the white colour box to view the font colour adjust box.
-
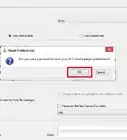
5Select a colour from the box and click on the OK button. You can also use the HTML colour codes here.
-
6Don't forget to click on the Save button. Now enjoy the movie with your favourite coloured subtitles!
- Also, learn how to adjust subtitle and voice delay on VLC Media Player.


Advertisement


About This Article
Advertisement