This article was co-authored by wikiHow staff writer, Darlene Antonelli, MA. Darlene Antonelli is a Technology Writer and Editor for wikiHow. Darlene has experience teaching college courses, writing technology-related articles, and working hands-on in the technology field. She earned an MA in Writing from Rowan University in 2012 and wrote her thesis on online communities and the personalities curated in such communities.
This article has been viewed 21,823 times.
Learn more...
Google Classroom is a digital learning environment. Each student and teacher on the platform can have a profile picture set up, and you might want to change it from time to time. This wikiHow will teach you how to change your profile picture with Google Classroom using a desktop web browser or the mobile app.
Steps
Using the Mobile App
-
1Open Classroom. This app icon looks like a group of people colored on a chalkboard that you'll find on your Home screen, in the app drawer, or by searching.
- If you don't have the Classroom mobile app, you can get it for free from the Google Play Store or App Store.
-
2Tap ☰. You'll see this in the top left corner of your screen.Advertisement
-
3Click Settings. You'll find this grey gear icon next to the word "Settings" near the bottom of the menu. You may have to scroll down to find it.
-
4Tap Update Photo. You should see this as the first listing in the menu.
- If you're using an iPhone or iPad, you'll need to tap "Account Settings" before you can tap Update Photo.
-
5Tap Set Profile Photo. In the window that pops up, you'll need to select "Set Profile Photo" to continue.
-
6Tap Choose Photo or Take Photo. If you already have a photo you want to use on your camera roll, tap Choose Photo or take a new photo to use as your profile picture.
- Your profile photo can be either JPG, JPEG, or PNG and up to 5mb.
- Tap Accept or Done or the checkmark to finish if prompted.[1]


Using a Browser
-
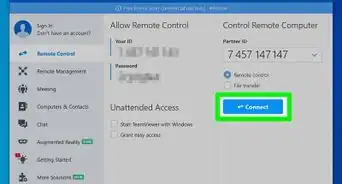
1Go to https://classroom.google.com/. You can use any web browser to change your profile picture, including Firefox and Chrome.
-
2Click ☰. You'll see this in the top left corner of your browser.
-
3Click Settings. You'll find this grey gear icon next to the word "Settings" near the bottom of the menu.
-
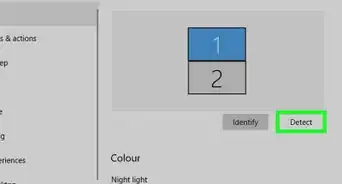
4Click Change. You'll see this under the header "Profile" and next to your current profile picture.
-
5Click Select a photo from your computer. Your file browser will open.
- You can also drag and drop a photo into the upload area.
- Your photo can be JPG, JPEG, or PNG up to 5mb.
-
6Resize the box over your photo (if you want to). If you want to select only a portion of the photo you chose, you can by dragging and dropping the box over your photo. If you want to change the size of the box, you can drag and drop the corners of the box.
-
7Click Set as profile photo. Any open windows will close and you'll be redirected back to your profile's settings page. You'll see your changed profile picture; if not, refresh the page in a few minutes.[2]


References
About This Article

"If you're using Google Classroom on a computer, you can easily replace your existing profile photo with something new. Click the menu at the top-left corner of Google Classroom, and then click ""Settings."" Then, click ""Change"" under ""Profile Picture."" If the photo you want to use is on your computer, click ""Select a photo from your computer,"" browse for the photo, select it, and then click ""Open."" Photos can be in the JPEG or PNG format, and can be up to 5 megabytes in size. You can also drag a photo from your computer to the upload area, or click ""Your photos"" to select one from your Google Photos account. If you don't have a photo but do have a webcam, click the ""Webcam"" tab to capture a new one. Once you've selected a photo, you can crop it by resizing the box over the area you want to keep. Finally, click ""Set as profile photo"" to save your new Google Classroom profile photo. If you want to change your Google Classroom photo on your phone or tablet, tap the menu at the top-left corner of the Classroom app and select ""Settings."" Then, tap ""Update photo"" – if you're using an iPhone or iPad, you'll have tap ""Account settings"" first. Then, tap ""Set Profile Photo"" or ""Set Profile Picture"" depending on your model. To take a new picture with your camera, tap ""Take photo,"" capture a clear photo of your face, and then tap ""Use photo"" on an iPhone or iPad, or ""Done"" and then ""Accept"" on an Android. If you'd rather select a photo from your photo gallery, tap the ""Choose"" option and select a new image. Your new Google Classroom photo now appears on your profile.