X
wikiHow is a “wiki,” similar to Wikipedia, which means that many of our articles are co-written by multiple authors. To create this article, 20 people, some anonymous, worked to edit and improve it over time.
This article has been viewed 182,746 times.
Learn more...
Creating a sculpture doesn't have to require a trip to the art store for sculpting materials and tools. Did you know that you can use packing tape to make sculpture casts of objects such as toys, household appliances, or even yourself? Tape casting is a "dry" and quick process and a good alternative to paper mache. Follow these steps to create your own tape sculpture!
Steps
-
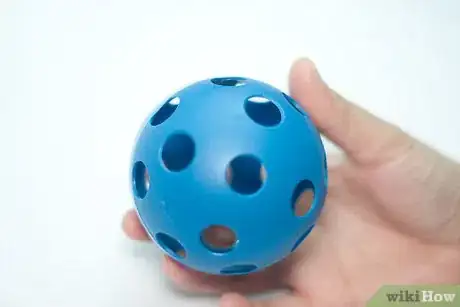
1Choose a valueless object with a simple surface area such as a toy doll or a ball.
-
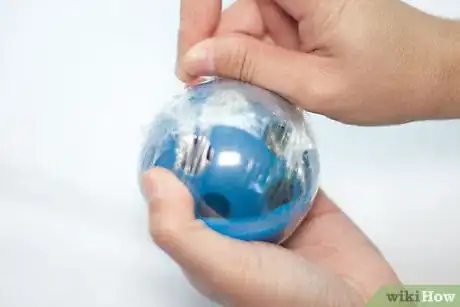
2Wrap the object completely in clingwrap. If you do not have this or do not want to use it, you can wrap it sticky-side up first. This method also allows you to stick things on it before doing a layer of tape sticky-side down.Advertisement
-
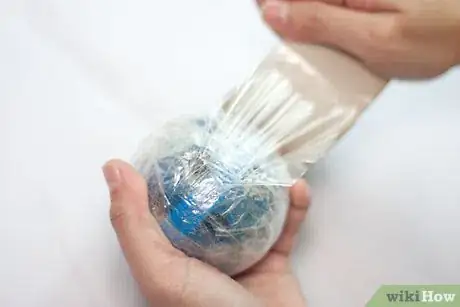
3Tape over it with packing tape.
-
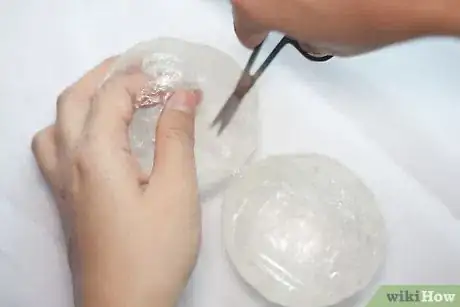
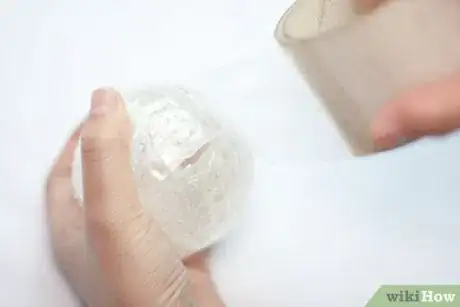
4Using a pair of scissors (or a razor knife), make an incision in the tape cast and cut a seam to allow for the original object's release.
-
5Once the cast has been removed, remove any excess cling wrap from inside.
-
6Reseal the cast with packing tape.
-
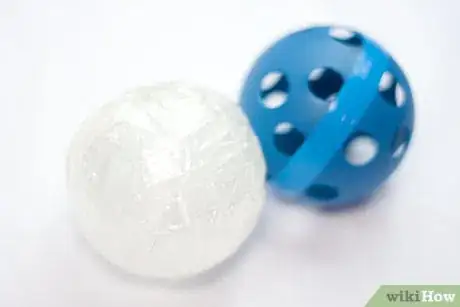
7Finished.
Advertisement
Community Q&A
-
QuestionHow much tape (how many rolls) does it take to create a full body sculpture? I'm trying to figure out how much I need for a class project.
 T. ChinsenTop AnswererFor a full body sculpture, look for an industrial packing stretch wrap. Uline has a variety of wraps in colors, as well as a guide to the quality and strengths of the wrap. Regular cling wrap will not necessarily hold up well for the full body size. Stretch wrap should be available with warehouse supplies and may be more practical than household cling wrap.
 -
QuestionCan I use a lacquer sealant on the tape figures to make them last longer, or will the chemical just destroy the adhesive causing the work to fall?
 T. ChinsenTop AnswererYour initial conclusion is correct in that the chemical content will dissolve the sculpture. Sobo craft glue dries clear and could be used over the plastic to which a lacquer can then be applied. It would probably be best to apply at least 2 coats of glue and let each layer dry before adding the next layer.
Advertisement
Warnings
- Do NOT attempt to make the head of your self cast without making it possible to breathe! When you make the head, you must leave a hole or two under your nose.⧼thumbs_response⧽
- Make sure all of the surfaces of the object you are making a cast of are covered with plastic wrap. Packing tape is very adhesive, hard to see, and hard to remove.⧼thumbs_response⧽
- When you reseal the cast in step 6, be gentle and don't press the "inner layers" of tape together. Remember that the stick side of the packing tape is on the inside. If you get them stuck together, all your hard work is wasted. So BE CAREFUL! (Same goes for when you add more layers of packing tape.)⧼thumbs_response⧽
- Don't wrap the tape too tight or it will be hard to cut away and will also cut off circulation causing numbness.⧼thumbs_response⧽
- When releasing yourself from the cast use scissors (not an exacto knife). Bandage scissors which can be purchased at any drugstore for a few dollars work great to protect your skin from being cut/nicked while cutting.⧼thumbs_response⧽
Advertisement
Things You'll Need
- Cling film (plastic wrap)
- Packing tape
- Scissors (or razor knife)
- Bandage scissors (for self casts)
References
About This Article
Advertisement
