X
wikiHow is a “wiki,” similar to Wikipedia, which means that many of our articles are co-written by multiple authors. To create this article, volunteer authors worked to edit and improve it over time.
The wikiHow Tech Team also followed the article's instructions and verified that they work.
This article has been viewed 39,669 times.
Learn more...
Shortcuts let you access your files and folders quickly, even if they are nestled deep in a directory tree. There are several ways that you can create shortcuts in Windows 8, depending on your specific needs. Shortcuts can be identified by the small arrow icon in the lower-left corner of the regular icon.
Steps
Method 1
Method 1 of 4:
Creating a New Shortcut
-
1Open the location where you want the shortcut to be placed. This could be your desktop, a folder on your computer, or even an external drive. The shortcut file will point to the location that you specify.
-
2Create the shortcut. Right-click (or long press if using a touch screen) and select New → Shortcut. Make sure to do this on a blank space, as right-clicking an icon will open the wrong menu.Advertisement
-
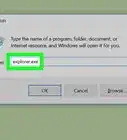
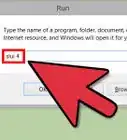
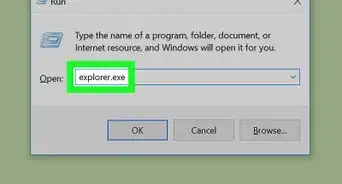
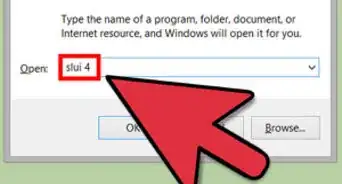
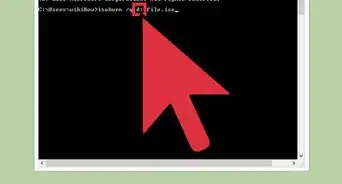
3Link to the target file or folder. Type in the location of the file or folder that you want to link to, or click Browse... to browse for the target on your computer if you don't know the exact location or filename. If you are typing in the location, you must enter the full path.
-
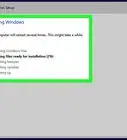
4Give the shortcut a name. By default, the shortcut will have the original file or folder's name. You can change this to be whatever you'd like, and since it's a shortcut you don't need to include the extension (if applicable). The icon will be the same as the target, with a small arrow indicating that the icon is a shortcut.


Advertisement
Method 2
Method 2 of 4:
Creating Shortcuts from Existing Files and Folders
-
1Find the file, folder, or program you want to create a shortcut to. Shortcuts are icons that allow you to quickly access files, folders, and programs that may be buried deep in a directory. The shortcut destination is referred to as the "target". Shortcuts are typically placed on the desktop, in the Start screen, or pinned to the taskbar, but they can be placed wherever you find them most convenient.
-
2Drag the target to another location while holding the Shortcut keys. You can hold Ctrl+⇧ Shift while moving a file or folder to create a shortcut instead of moving or copying the file. Releasing the target will create a shortcut in that location.
-
3Send the target to the desktop as a shortcut. If you want to quickly create a desktop shortcut for your target, you can do so from the right-click menu. Right-click on the target and select Send to → Desktop (create shortcut). The shortcut will appear on your desktop.
- The shortcut will have "- Shortcut" added to the end of the name. You can remove this if you'd like.
-
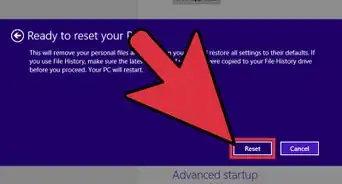
4Create a shortcut in the same location as the target. Right-click on the target and select Create shortcut. A shortcut will be created in the same location, which you can then move wherever you'd like.
- The shortcut will have "- Shortcut" added to the end of the name. You can remove this if you'd like.


Advertisement
Method 3
Method 3 of 4:
Creating Shortcuts from Start Screen Apps
-
1Open the Start screen and locate the app. If you right-click on a Start screen app, you'll find that you cannot create a shortcut to it to move anywhere, you can only pin it to the taskbar. This is because the app on your Start screen is already a shortcut. You can open the shortcut folder to make a copy of the shortcut yourself.
- You cannot create shortcuts to apps that run on the Windows 8 Modern UI. This means most apps from the Windows Store.
-
2Right-click on the icon. Select Open file location. If you are using a touchscreen, touch the icon and swipe down with your finger to open the right-click menu.
-
3Find and move the shortcut you want. Windows will open the folder with the shortcut you've selected. You can now copy it or send it to the desktop as a new shortcut.


Advertisement
Method 4
Method 4 of 4:
Pinning Apps to the Taskbar
-
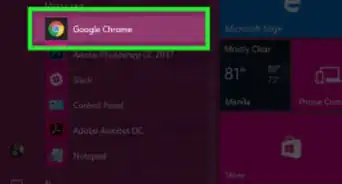
1Open the Start screen. You can pin any item from the Start screen onto your Desktop mode taskbar. This is the bar that runs along the bottom of the screen in Desktop mode, and allows you to easily access your most important apps with a single click.
-
2Right-click (or long press if using a touch screen) the app you want to pin. You can choose from one of the tiles on the main Start screen, or move to your full apps list. You can pull this up by swiping up from the bottom of the screen, or by clicking the down arrow button at the bottom of the Start screen.
-
3Select "Pin to taskbar". The program will be added to the end of the taskbar icons. You cannot pin Live Tiles.
-
4Move your taskbar icons around. Click and drag an icon along the taskbar to rearrange it.


Advertisement


About This Article
Advertisement