X
wikiHow is a “wiki,” similar to Wikipedia, which means that many of our articles are co-written by multiple authors. To create this article, 14 people, some anonymous, worked to edit and improve it over time.
This article has been viewed 48,396 times.
Learn more...
Learn how to draw a horse saddle following these few simple steps! It might look complicated but it really isn't.
Steps
-
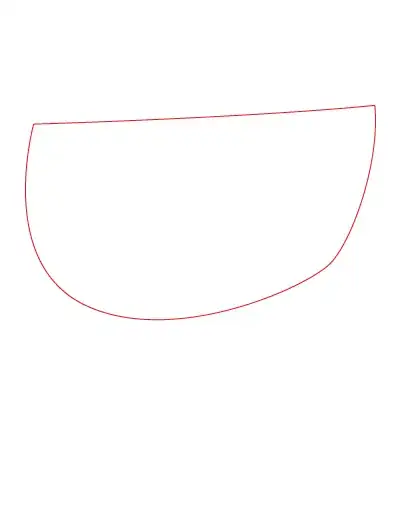
1Draw a half-circle shape. Have the round part of the saddle be pointing downwards, as shown.
-
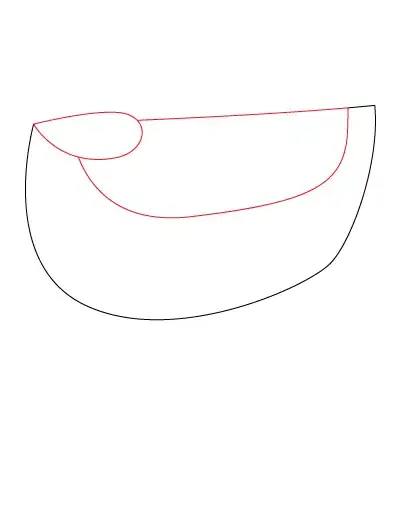
2Draw a second half-circle shape overlapping the first. Next to this sketch in a smaller, teardrop-like shape to serve as the base of the grip.Advertisement
-
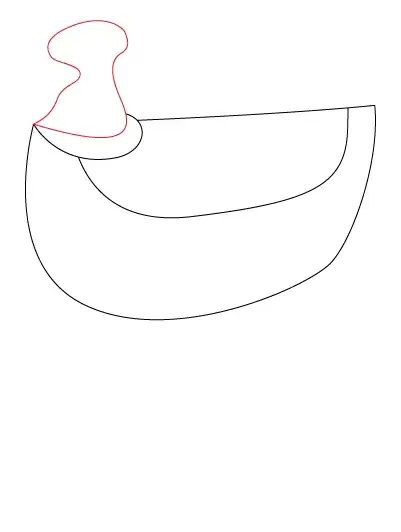
3Draw a bone-like-shape for the grip. This should be coming straight off the front of the saddle, so don't hesitate to draw it boldly.
-
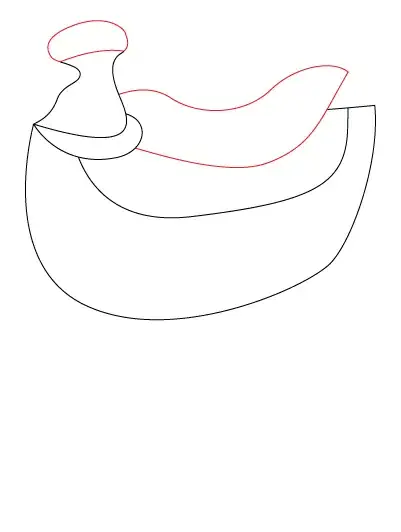
4Draw a banana-shaped form on top of the half circles. This will serve as the seat itself. Also add a portion to the top of the grip.
-
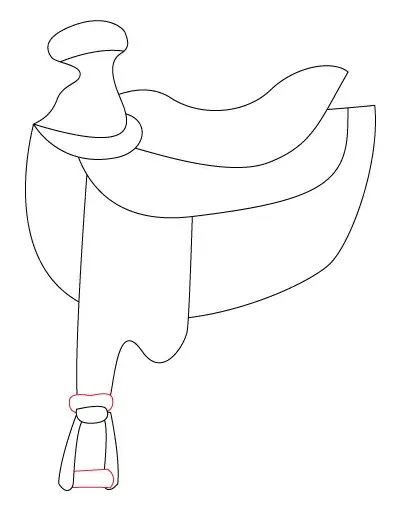
5Draw a curvy "W" for the fender. Add stretched drop shapes for the stirrups.
-
6Make the base of the stirrup by drawing two parallel sections. These should connect the sides of the stirrup so a foot could rest in it comfortably.
-
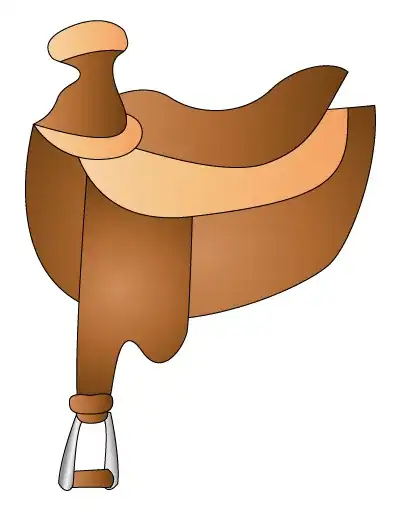
7Use different shades of brown to color in your saddle. Alternately you can use bright colors and decorations, if you're putting the saddle on a flamboyant show horse--the overall look is up to you!
Advertisement
Community Q&A
-
QuestionWhat about English saddles? Everyone thinks that everyone rides in western saddles.
 Community AnswerDraw all the steps except for steps 3, 4 and 5. Change or connect lines that are missing.
 -
QuestionWhat about a side saddle?
 HorsesAndCrafts13Community AnswerDraw the saddle with no horn, make a smooth pommel. Add a second pommel on the side for your rider’s leg. And make sure to dress your rider accordingly, as side saddles were usually used in older times (tracing back to even the 1390’s).
Advertisement
About This Article
Advertisement
