This article was co-authored by April Ferri. April Ferri is a Professional Hair Stylist and the Co-Owner of Widows Peak Salon, a hair salon based in Los Angeles, California. With over ten years of experience, April specializes in hair coloring and enhancing and transforming natural tones into vibrant shades for beautiful and low maintenance hair. Her work has been featured in Voyage LA Magazine, and she has worked as a stylist for LA Fashion Week.
There are 7 references cited in this article, which can be found at the bottom of the page.
This article has been viewed 19,538 times.
Turquoise is a beautiful hair color, whether you are going mermaid or scene. Achieving it can get tricky, however. If your hair is too yellow, applying straight turquoise to it will give you green hair. If your try to dye dark hair, the color won't show up at all. With the right preparatory steps and color mixing, however, you can achieve a beautiful shade of turquoise.
Steps
Bleaching Your Hair
-
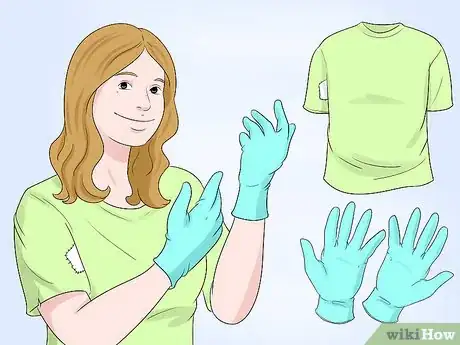
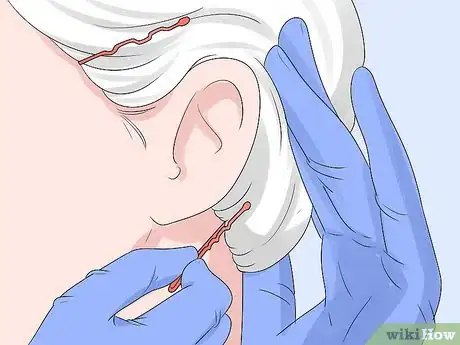
1Protect your skin and clothing. Put on an old shirt you don't mind ruining and a pair of plastic gloves. Coat your ears, hairline, and back of neck with lotion or petroleum jelly to protect it against the bleach.[1] It would be a good idea to open up a window and cover your counters with newspaper or a plastic bag as well.
- If your hair is already yellow blond, platinum blond, or silver, Click here to continue.
- If you have blond hair and want a pastel turquoise, you will need to bleach it lighter.
- If your hair is dyed, apply a hair dye removing product to it first. Proceed with bleach, if needed.[2]
-
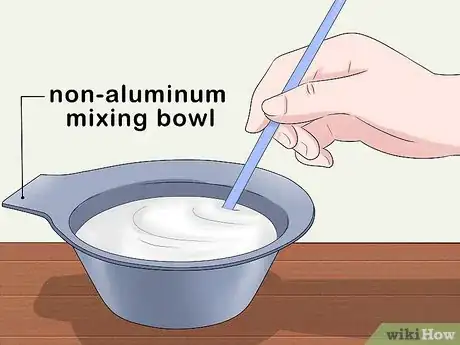
2Mix the bleach in a non-aluminum mixing bowl. You need to use a high enough volume to get your hair to a yellow-blond color. If you have dark hair, plan on using volume 30 developer.[3] If your hair is already this color, you can move onto the next section.
- The ratios of bleach to developer may vary from brand to brand. Follow the instructions that came with your package of bleach.
Advertisement -
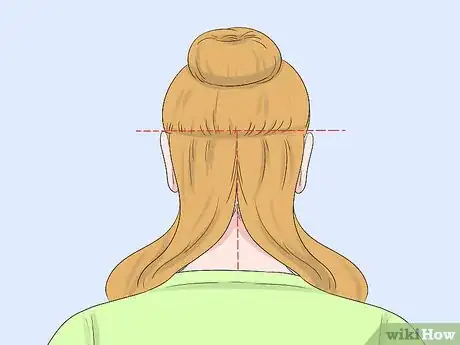
3Section off your hair. Gather the top half of your hair (ear-level and up) and twist it into a bun. Secure it with a clip, then part the rest of your hair down the middle. Drape the left side over your left shoulder and the right side over your right.[4]
- Make sure that your hair is dry. Never bleach your hair while it is wet.
- Make sure that your hair is combed and tangle-free.
-
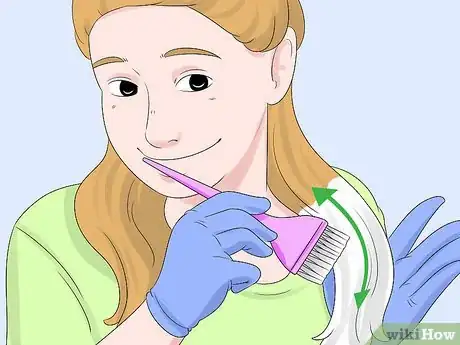
4Apply the bleach to your hair, starting from the ends. Use a tinting brush to apply the bleach to your hair. Do one side of your hair first, then the other. When you are done, unclip the hair at the top of your head, and apply the bleach to it as well.
- If you have dark hair, consider leaving your roots alone for an ombre-like effect.
- Always start with the ends and never the roots. The ends of your hair require more time to bleach than the roots. The roots will bleach relatively quickly.[5]
-
5Pin your hair out of the way. Pinning your hair up will not only keep your surroundings clean, but it will also prevent drips. It would be even better if you cover your hair with a plastic shower cap. This will also help speed up the bleaching process by trapping heat.[6]
-
6Wait for the bleach to develop, checking on your hair often. Use the instructions that came with your bleach as a starting point, but check on your hair every 5 minutes or so; your hair may lighten faster than what the instructions recommend.
- Never leave the bleach in your hair longer than specified. If your hair is still not light enough, do a second treatment the next day. If your hair is dry or damaged, however, you should not do a second treatment.
-
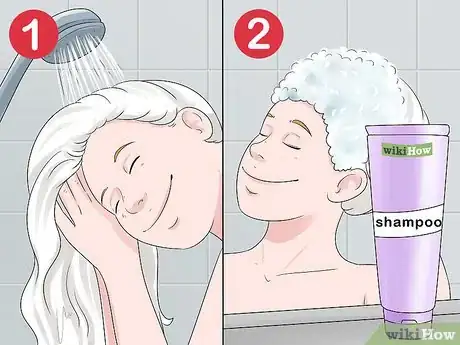
7Rinse the bleach out, then follow up with shampoo. If your hair came out orange, you can bleach it a second time.[7] You can also read on to the next step to learn about toning it instead. Toning your hair is much gentler than bleaching it, but it won't make your hair lighter.
-
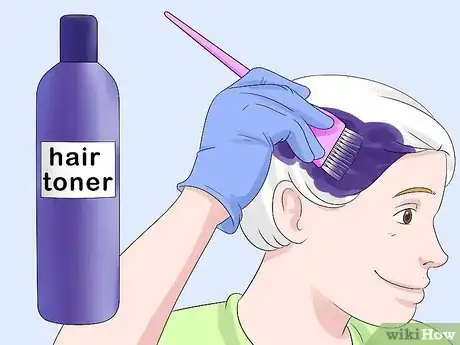
8Tone your hair, if needed. Hair will typically turn yellow or orange after bleaching. If your hair is yellow, you do not need to do anything more. If your hair looks orange, however, you will need to tone it with a toning "purple" shampoo. This will neutralize your hai by removing the orange tints.
- Each brand of hair toner is different, but in mot cases, you'll need to leave it on for about 10 minutes.
- If you can't find any hair toner, make your own using white conditioner and purple hair dye. Leave it in your hair for 10 minutes, then rinse it out.[8]
- You have to tone your hair to get the orange tints out. If you don't do this, you'll get brown-ish hair instead.
Dyeing Your Hair
-
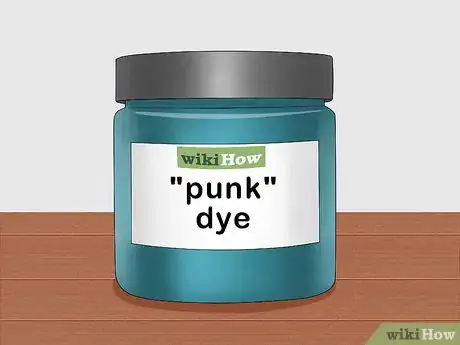
1Purchase a jar of "punk" dye. This dye comes pre-mixed in jars. It has a gel-like texture, and comes in all sorts of colors. If you have platinum or silvery hair, you can buy straight turquoise. If your hair is more yellow, it would be a good idea to buy some blue dye as well; if you use straight turquoise, your hair may end up too green.[9]
-
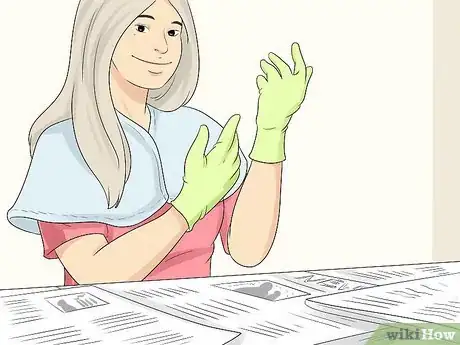
2Protect your skin, clothing, and counters. Cover your counter with newspaper or a plastic bag. Put on an old shirt you don't care about, or drape an dyeing cape or old towel around your shoulders. Apply petroleum jelly or lotion around your hairline, ears, and back of neck. Lastly, put on a pair of plastic gloves.
-
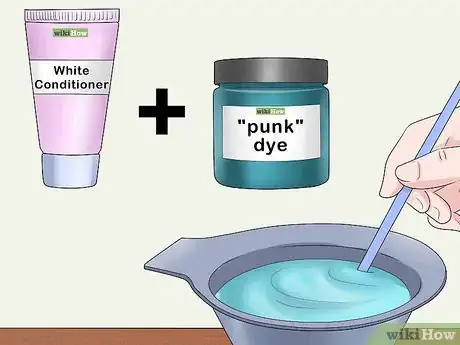
3Mix the dye into white conditioner until you get the color you want. Squirt about 4 ounces (110 g) of conditioner or enough to cover your hair into a non-metal mixing bowl. Stir in the dye, a little bit at a time, until you get the color you want. Use a plastic spoon or the handle of your tinting brush to mix the dye.[10]
- If your hair is yellow-blond, you might want to add some blue dye into the turquoise as well, otherwise it may end up too green.
- Using white conditioner is important, as it will lighten the dye. Do not use clear or colored conditioner.
-
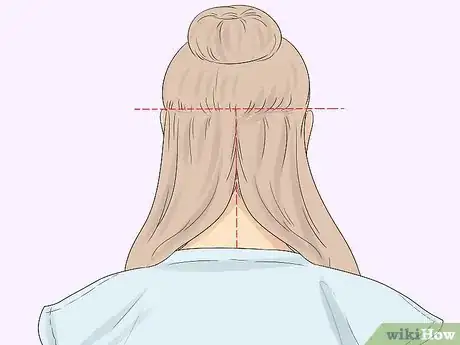
4Divide your hair into sections. Gather the top half of your hair into a bun and clip it out of the way. Part your hair down the middle at the back of your head. Drape the left side over your left shoulder, and the right side over your right shoulder.
-
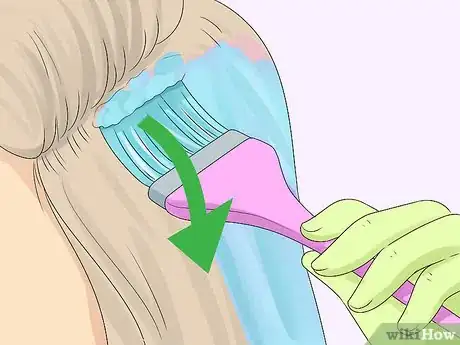
5Apply the dye to your hair. You can apply the dye using a tinting brush or your hands. This time, apply the dye to your hair starting from the roots. It would be a good idea to run a wide-toothed comb through your hair as you dye it. This will help distribute the dye evenly through your hair and help you avoid missing spots.[11]
- If you are using a tinting brush, make sure that it is clean and does not have any bleach on it.
-
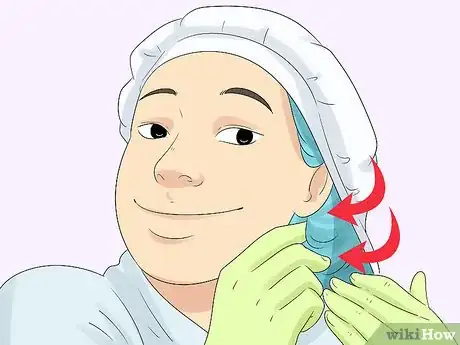
6Tuck your hair under a shower cap. If you need to, pin your hair up into a bun first. Keeping your hair under a shower cap will keep your surroundings clean while you wait for the dye to develop.
-
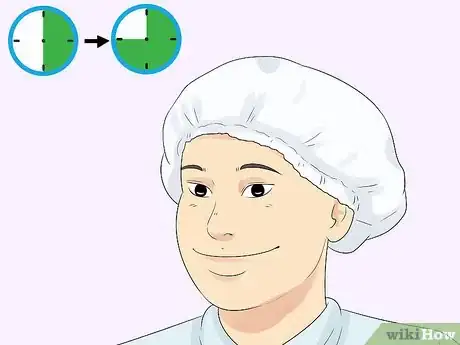
7Wait for the dye to develop. How long you wait depends on how bright you want the color to turn out. The longer you wait, the brighter the dye will be. For a bright turquoise, wait 2 to 4 hours.[12] For a lighter color, check your hair after 30 to 45 minutes.
- Double-check the label on your dye. Most "punk" dyes that come in jars can be left for hours, but others must be rinsed out sooner.
-
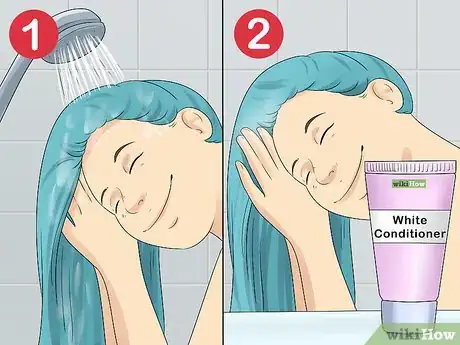
8Rinse your hair with cold water and follow up with conditioner. Rinse your hair with cold water first. Once the water runs clear, you can wash your hair with conditioner. Do not use shampoo, otherwise the dye will come out. Dry and style your hair when you are done.
- You can use shampoo the next time you wash your hair, but make sure that it is either sulfate-free or made for color-treated hair.
Warnings
- Always wear gloves when bleaching your hair. Avoid getting bleach onto your skin. If you get it on your skin, wash it immediately with cool water.[18]⧼thumbs_response⧽
- Never leave bleach on for longer than the recommended time, or you will destroy your hair. If your hair did not come out light enough, wait one day, then bleach your hair again the next day.⧼thumbs_response⧽
Things You'll Need
- Old shirt, towel, or dyeing cap
- Tinting brush
- Non-metal mixing bowl
- Plastic spoon (optional)
- Hair bleaching kit
- Hair toner or purple shampoo (if needed)
- White conditioner
- Turquoise hair dye
- Plastic gloves
References
- ↑ http://www.huffingtonpost.com/erica-cheung/blue-hair-diy-color_b_2575734.html
- ↑ https://www.youtube.com/watch?v=kxSK6F1jwlc
- ↑ https://www.youtube.com/watch?v=1Nfn_ySC3Y0
- ↑ https://www.youtube.com/watch?v=1Nfn_ySC3Y0
- ↑ http://www.huffingtonpost.com/erica-cheung/blue-hair-diy-color_b_2575734.html
- ↑ http://jadmontenegro.tumblr.com/post/115446049699/hair-tutorial-la-riche-directions-atlantic-blue
- ↑ http://www.huffingtonpost.com/erica-cheung/blue-hair-diy-color_b_2575734.html
- ↑ http://jadmontenegro.tumblr.com/post/41699750066/bleaching-from-green-dyeing-turquoise-hair-diy
- ↑ http://jadmontenegro.tumblr.com/post/41699750066/bleaching-from-green-dyeing-turquoise-hair-diy
- ↑ https://www.youtube.com/watch?v=1Nfn_ySC3Y0
- ↑ http://jadmontenegro.tumblr.com/post/115446049699/hair-tutorial-la-riche-directions-atlantic-blue
- ↑ https://www.youtube.com/watch?v=1Nfn_ySC3Y0
- ↑ https://www.youtube.com/watch?v=So3jIgSVgbo
- ↑ https://www.youtube.com/watch?v=kwN3VCNOZ_4
- ↑ https://www.youtube.com/watch?v=kwN3VCNOZ_4
- ↑ http://www.huffingtonpost.com/erica-cheung/blue-hair-diy-color_b_2575734.html
- ↑ http://jadmontenegro.tumblr.com/post/115446049699/hair-tutorial-la-riche-directions-atlantic-blue
- ↑ http://www.huffingtonpost.com/erica-cheung/blue-hair-diy-color_b_2575734.html
