This article was co-authored by wikiHow staff writer, Darlene Antonelli, MA. Darlene Antonelli is a Technology Writer and Editor for wikiHow. Darlene has experience teaching college courses, writing technology-related articles, and working hands-on in the technology field. She earned an MA in Writing from Rowan University in 2012 and wrote her thesis on online communities and the personalities curated in such communities.
This article has been viewed 46,413 times.
Learn more...
Do you have an image or logo that you want to add to your Excel sheet to make it more visually appealing? While there is no automatic setting that will resize your image inside a cell, you can do it yourself with a few clicks. This wikiHow article will teach you how to insert pictures in Excel and size them to fit into cells.
Steps
-
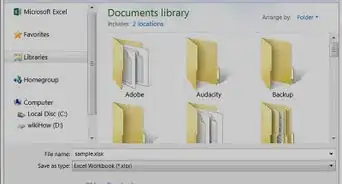
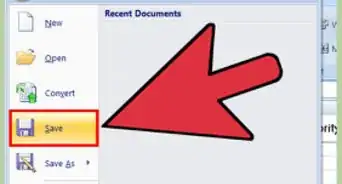
1Open your project in Microsoft Excel. You can do this by going to File > Open within Excel or you can right-click the project file and select Open with > Excel.
-
2Insert an image. You can do this by going to Insert > Pictures > Selecting your picture > Insert.Advertisement
-
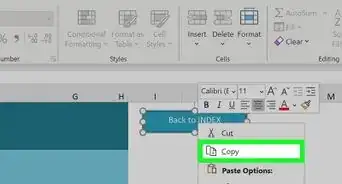
3Resize it. When you have the image selected, you'll see a "Size" grouping under "Format" and "Picture Tools."
- Change the Height and Width to adjust the size of your image. Instead, you can drag and drop the corners of the image to re-adjust the size.
-
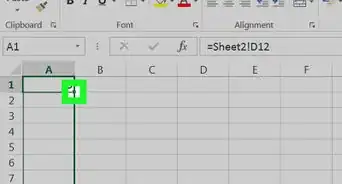
4Lock the image to the cell. By default, the image you added "floats" above your cells and doesn't change size as your cells do. To fix this, you need to lock the image or the cell.
- Right-click your picture and click Format Picture. Then click the "Size & Properties" tab (a symbol with a green square with arrows around it) and select Move and size with cells.
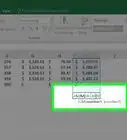
- You can also use a VBA code after you've inserted some pictures. Insert the images and press Alt + F11 to open the VBA window. Click Insert > Module and paste the following code:
- Press F5 to run the code and repeat this process until all the images in your sheet fit into cells.
Public Sub FitPic()
On Error GoTo NOT_SHAPE
Dim PicWtoHRatio As Single
Dim CellWtoHRatio As Single
With Selection
PicWtoHRatio = .Width / .Height
End With
With Selection.TopLeftCell
CellWtoHRatio = .Width / .RowHeight
End With
Select Case PicWtoHRatio / CellWtoHRatio
Case Is > 1
With Selection
.Width = .TopLeftCell.Width
.Height = .Width / PicWtoHRatio
End With
Case Else
With Selection
.Height = .TopLeftCell.RowHeight
.Width = .Height * PicWtoHRatio
End With
End Select
With Selection
.Top = .TopLeftCell.Top
.Left = .TopLeftCell.Left
End With
Exit Sub
NOT_SHAPE:
MsgBox "Select a picture before running this macro."
End Sub


About This Article

1. Open your project in Microsoft Excel.
2. Insert an image.
3. Resize it.
4. Lock the image to the cell.