This article was co-authored by wikiHow Staff. Our trained team of editors and researchers validate articles for accuracy and comprehensiveness. wikiHow's Content Management Team carefully monitors the work from our editorial staff to ensure that each article is backed by trusted research and meets our high quality standards.
The wikiHow Tech Team also followed the article's instructions and verified that they work.
This article has been viewed 163,531 times.
Learn more...
This wikiHow teaches you how to add a dotted or dashed line anywhere on a Microsoft Word document. You can use an easy keyboard shortcut to add a dotted line across the page in all desktop and mobile versions of Word. If you want a line you can further size, stylize, and position, you can use the Insert menu to add a line shape to your document, and format it in different styles.
Steps
Using a Keyboard Shortcut
-
1Open the Word document you want to edit. Find and double-click the document on your computer, or open the Word app, and select the document you want to edit.
- Alternatively, you can open a new, blank document.
- You can use this keyboard shortcut in all desktop and mobile versions of Word.
-
2Click where you want to add the dotted line. You can create a dotted, horizontal line anywhere on the page.Advertisement
-
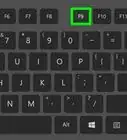
3Type *** on your keyboard. This shortcut will allow you to create a dashed line across the page.
- Alternatively, you can use ---, ===, ___, ###, or ~~~ for different line styles.
-
4Press ↵ Enter or ⏎ Return on your keyboard. This will create a horizontal, dotted line across the page.


Using the Insert Tool on Desktop
-
1Open the Word document you want to edit. Find and double-click the document on your computer, or open the Word app, and select the document you want to edit.
- Alternatively, you can open a new, blank document.
-
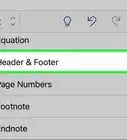
2Select the Insert tab on the toolbar. You can find this button above the toolbar panel at the top.
-
3Select Shapes on the Insert toolbar. This button looks like a triangle, square and circle on the toolbar panel. It will open a pop-up menu of shapes.
-
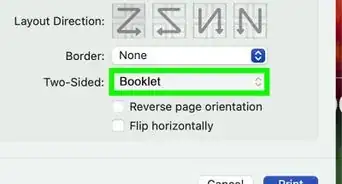
4Select the type of line you want to add. You can make any line dotted later.
-
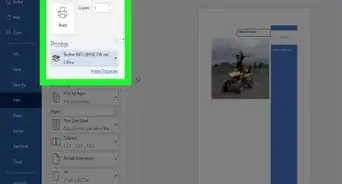
5Click and draw a line on the document. After selecting a line shape, use your mouse to draw a line wherever you want on the document.
- After drawing, you can click and drag the corners of the line shape, and change its size, angle, or position.
- You can click and drag the line anywhere on the document.
-
6Right-click on the line. This will open your right-click options on a drop-down menu.
-
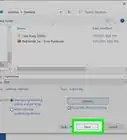
7Click Format Shape on the right-click menu. This will open the formatting panel on the right-hand side.
-
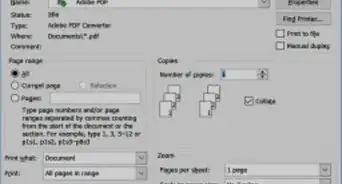
8Click the Dash type selector on the formatting panel. This will show your dot and dash options.
- If you don't see this option at first, click the paint bucket icon on the top-left of the "Format Shape" panel, and click Line on this menu to extend your options.
-
9Select a dot or dash type. This will instantly turn your line into the selected dot or dash style.
- You can further adjust your line's Width, Transparency, and other properties here.


Using the Insert Tool on Mobile
-
1Open the Word app on your phone or tablet. The Word icon looks like a blue-and-white document page. You can find it on your home screen or on the Apps tray.
-
2Select the document you want to edit. This will open the document.
- Alternatively, you can create a new, blank document.
-
3Tap the "Edit" icon at the top. It's on the blue toolbar at the top. This will open the editing menu in the bottom half of your screen.
- On iPhone/iPad, this button looks like a white "A" and a pencil icon on the blue toolbar.
- On Android, you may find the same icon or just a white pencil.
-
4Tap the Home button. It's in the upper-left corner of the toolbar menu at the bottom. This will open your toolbar tabs.
-
5Select Insert on the toolbar menu. This will open the available options.
-
6Select Shape. This will open a menu with all the available shapes you can add.
-
7Select the type of line you want to add. This will add the selected line to your document.
- You can add dots to your line later.
-
8Drag the blue end-points of the line to adjust the line (optional). You can adjust the size and position of your line from the blue dots on both ends of the shape.
- You can also do this after adding dots to your line.
-
9Tap Shape Style on the Shape menu. This will open all the available styles for your line.
-
10Select a dotted style. This will turn the selected line into a dotted line. You can size and position it however you want.


About This Article

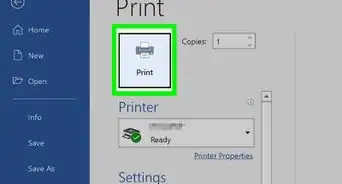
1. Open a document.
2. Type "***" where you want the line.
3. Press Enter or Return on your keyboard.