This article was co-authored by wikiHow staff writer, Nicole Levine, MFA. Nicole Levine is a Technology Writer and Editor for wikiHow. She has more than 20 years of experience creating technical documentation and leading support teams at major web hosting and software companies. Nicole also holds an MFA in Creative Writing from Portland State University and teaches composition, fiction-writing, and zine-making at various institutions.
The wikiHow Tech Team also followed the article's instructions and verified that they work.
This article has been viewed 613,546 times.
Learn more...
Whether you're creating a PDF from scratch or want to edit an existing PDF, it's easy to insert images into the file. If you don't have the paid version of Adobe Acrobat Pro, you can get a full-featured free trial. Alternatively, you can use a free online PDF editor to add the pictures. We'll show you how to insert your own image into any PDF file on your PC or Mac.
Steps
Using Adobe Acrobat Pro
-
1Open your PDF file in Adobe Acrobat Pro. Find and double-click on the PDF file you want to edit on your computer.
- Adding photos to PDFs in Acrobat requires a paid subscription to the software. If you haven't already installed and signed up for Acrobat Pro, click here to sign up for a free 7-day trial now.
- If Acrobat is not your default application for PDF files, right-click the file, select Open With, and then select Adobe Acrobat Pro.
-
2Click the Tools tab. It's in the upper-left area of Acrobat Pro. This opens the toolbar.Advertisement
-
3Click Edit PDF on the toolbar. This option will allow you to add new text and images to your PDF file.[1]
-
4Click Add Image. It's on the right side of the toolbar. This will open a new dialogue box, and allow you to select the image you want to insert.
-
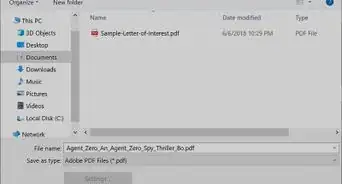
5Select the image you want and click Open. This imports the image into the file.
-
6Click where you want to insert the image. The image now appears in the file. If you need to move the image, click and drag it to the desired location.
-
7Drag the corner handles of the image to resize it. Click and drag the image corners in or out to make your image bigger or smaller.
- You can also use the image editing tools on the right-hand panel under "Objects." This will allow you to Flip, Rotate, and Crop your image.
-
8Press ⌘ Command+S (Mac) or Control+S (PC) to save. The updated version of the PDF is now saved to your computer.


Using an Online PDF Editor on a PC or Mac
-
1Go to https://smallpdf.com/edit-pdf. If you want to insert an image into an existing PDF file, you can do so for free using an online PDF editor like Smallpdf.com.
- This method will allow you to paste an image into your PDF, however, you won't be able to edit the existing text or formatting in the file.
-
2Click Choose file. It's in the green box at the top of the screen.
-
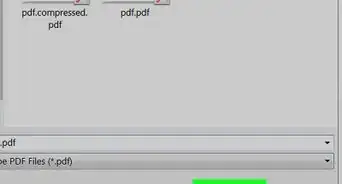
3Select the PDF and click Open. This opens the PDF in your browser.
-
4Scroll to the part of the PDF where you want to insert the image.
-
5Click the image icon in the toolbar. It's the icon that looks like a photograph in the upper-left portion of the page.
-
6Select the image and click Open. This pastes a translucent version of the image into the page.
-
7Click the mouse to place the image. Now the image will look as intended.
- If you need to move the image, click and drag it to the desired location.
-
8Drag the corners of the image to resize it. Dragging any of the corners outward will enlarge the image, while dragging inward will reduce its size.
-
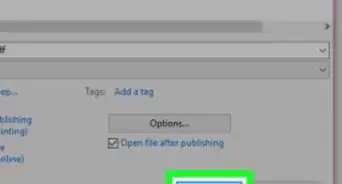
9Click the blue Download button. It's at the top-right corner of the page. This downloads the new version of your PDF to your computer.
- You may have to choose a saving location and click Save to download the file.


wikiHow Video: How to Insert an Image Into PDF


About This Article

1. Go to https://smallpdf.com/edit-pdf.
2. Click Choose file.
3. Select a PDF and click Open.
4. Click ADD IMAGE.
5. Select an image and click Open.
6. Resize and reposition the image.
7. Click Apply.
8. Click Download File.