X
wikiHow is a “wiki,” similar to Wikipedia, which means that many of our articles are co-written by multiple authors. To create this article, volunteer authors worked to edit and improve it over time.
This article has been viewed 32,562 times.
Learn more...
Aether 2 is a Minecraft mod that allows you to enjoy Minecraft gameplay in a beautiful, bright world featuring colorful plants, flowers, and trees alongside angels and other winged creatures. The Aether 2 mod can be installed on your Windows or Mac computer using the Minecraft Forge Installer tool.
Steps
Part 1
Part 1 of 2:
Installing Minecraft
-
1Navigate to Minecraft’s official website https://www.minecraft.net/en-us. Before you can install and play Aether 2, you must download and install Minecraft on your computer.
- If Minecraft is already installed on your computer, skip to and follow the steps outlined in Part Two of this article to install Aether 2.
-
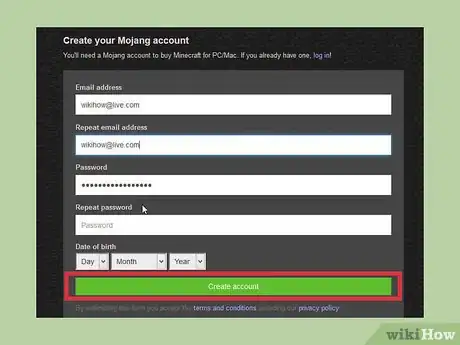
2Fill out the required fields to create a Mojang account. A Mojang account is required for Minecraft gameplay.Advertisement
-
3Click on “Buy Minecraft for this account” after signing in to Mojang.
-
4Enter your payment details to purchase Minecraft. At this time, Minecraft retails for $26.95.
-
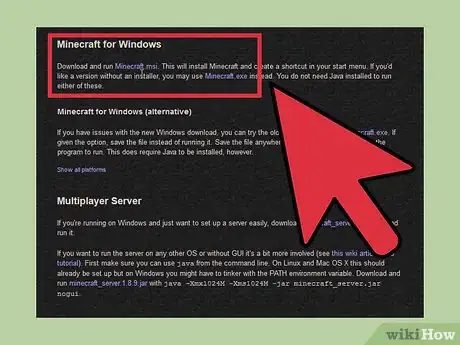
5Select the option to download Minecraft to your computer after payment is processed.
-
6Select the option to save the Minecraft .exe file to your desktop, then double-click on the file to launch the installer.
-
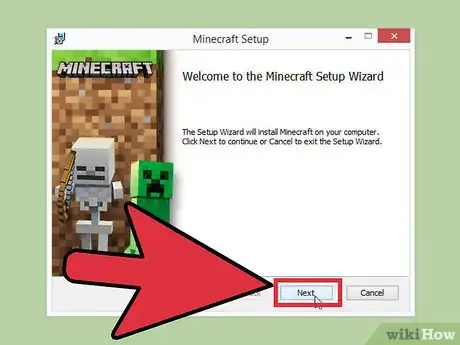
7Follow the on-screen prompts to install Minecraft. The game will launch immediately following installation.
Advertisement
Part 2
Part 2 of 2:
Installing Aether 2
-
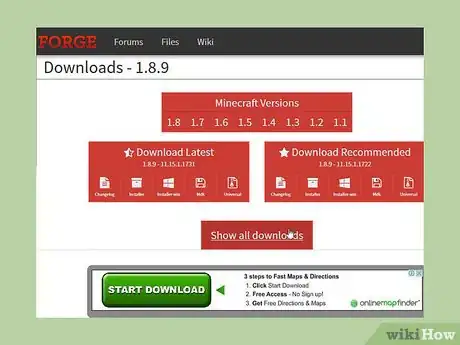
1Navigate to the Minecraft Forge downloads page at http://files.minecraftforge.net/#Downloads.
-
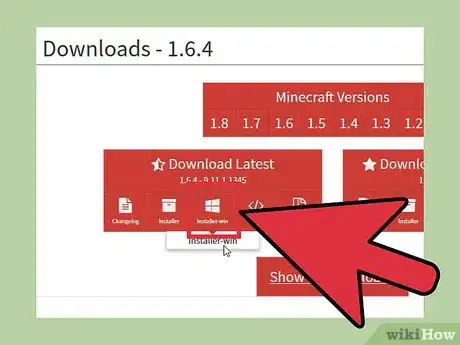
2Click on your current version of Minecraft, then select the option to download the installer.
- If you’re not sure which version of Minecraft you’re using, launch Minecraft and note the version number at the upper left corner of the screen.
-
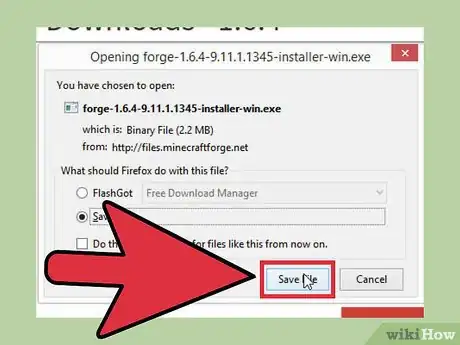
3Select the option to save Minecraft Forge to your desktop, then double-click the file to launch the installer. The mod system installer wizard will open and display on-screen.
-
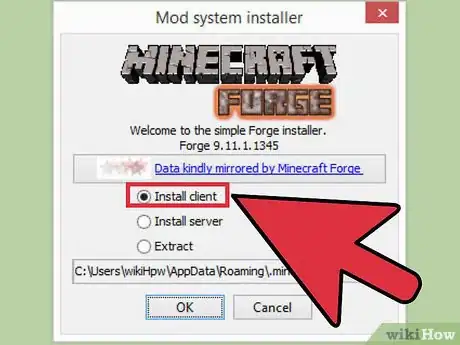
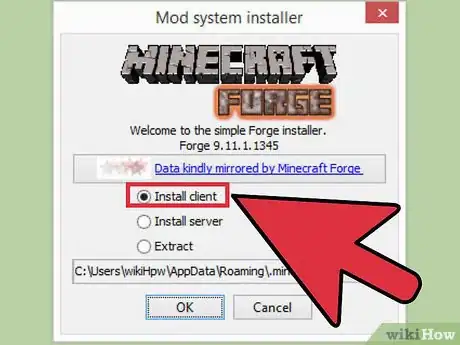
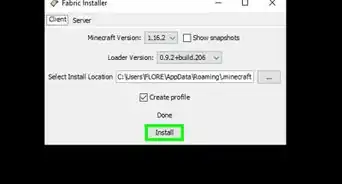
4Click on “Install client,” then click on “OK.”
-
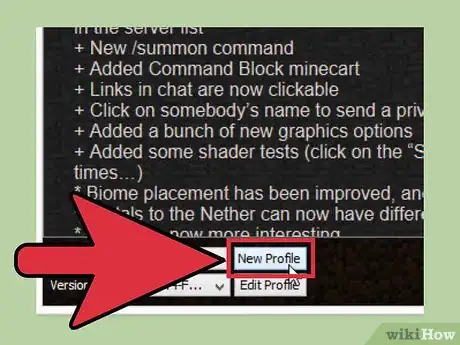
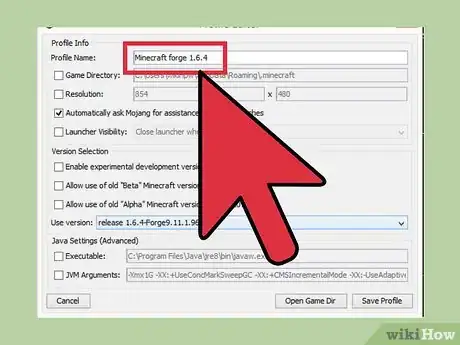
5Click on “New profile,” and type a name for the Minecraft mod in the field provided.
-
6Type “release,” followed by your Minecraft version next to “Use version.” For example, if you’re running Minecraft version 1.7.10, type “release 1.7.10.”
-
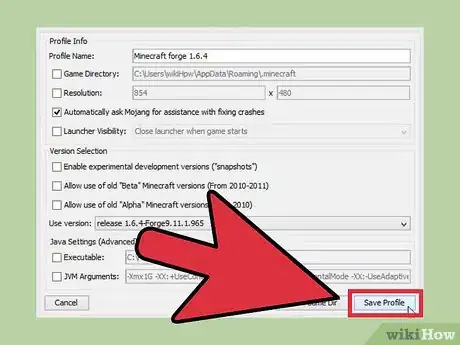
7Click on “Save profile,” then select the option to launch your release.
-
8Close out of Minecraft Forge, then relaunch the program.
-
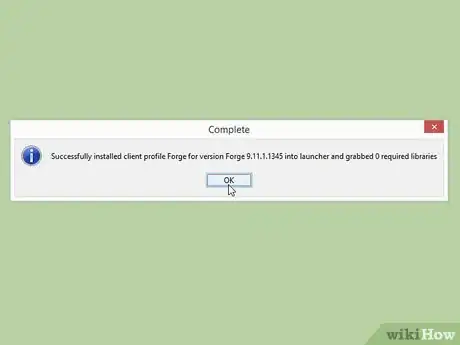
9Click on “Install client,” then click on “OK” at the prompt that says the client profile has been successfully installed.
-
10Navigate to the Aether 2 website.
-
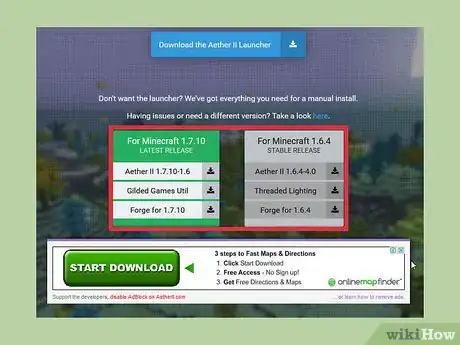
11Select the option to download the “Aether II” and “Gilded Games Util” .jar files to your desktop. These files are the Aether 2 mod files required to complete installation.
-
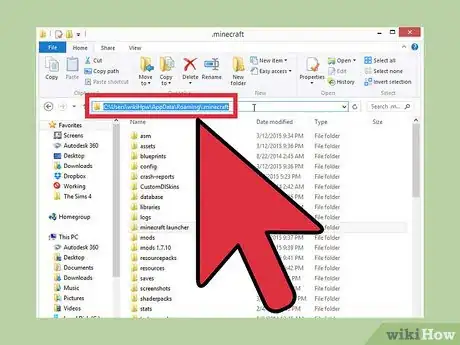
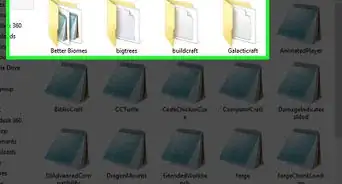
12Open a session of Windows Explorer in Windows or Finder on Mac OS X, and navigate to the Minecraft folder on your computer. By default, Minecraft is stored at the following locations on your main hard drive:
- Windows: C:/Program Files/minecraft
- Mac OS X: C:/Library/Application Support/minecraft[1]
-
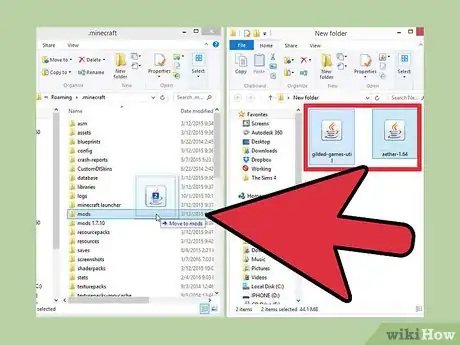
13Click and drag the “aether” and “gilded-games-util” .jar files from your desktop and into the Minecraft folder.
-
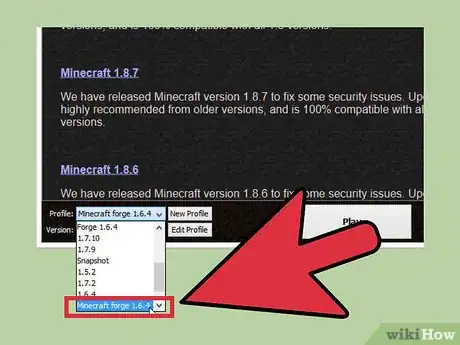
14Select “Forge” from the Profile dropdown menu in Minecraft Forge, then click on “Play.” Installation is now complete, and Aether 2 will launch.[2]
Advertisement
Community Q&A
-
QuestionWill it give me a virus?
 CanisChiropteraCommunity AnswerNo, these are very popular applications, and as long as you get them from an official source you will be perfectly fine.
Advertisement
About This Article
Advertisement








-Step-12.webp)




-Step-9.webp)

