X
wikiHow is a “wiki,” similar to Wikipedia, which means that many of our articles are co-written by multiple authors. To create this article, 9 people, some anonymous, worked to edit and improve it over time.
This article has been viewed 2,200 times.
Learn more...
Adding a light bar to your truck is a simple way to improve the look and function of your vehicle. Light bars can be used for off-road nighttime adventures, or for lighting up a certain area like a campsite or a backyard. They have a sleek design that add a great look to any vehicle. Adding a light bar would be an upgrade to every truck, and the installation process is relatively simple.
Things You'll Need
- Drill
- 3/8” Drill Bit
- Wire Stripper
- Wire crimpers (3 and 4 can often be found on the same tool
- Flat-blade screwdriver
- Phillips screwdriver
- Heat gun
- Two adjustable wrenches
- Side cutter
- Permanent marker
- Trim tool
- Safety glasses
- Work gloves
Materials
- 20 feet of 16-gauge automotive wire (Red)
- 10 feet of 16-gauge automotive wire (Black)
- Automotive fuse holder
- One 15-amp fuse
- Two automotive connector eyelets (5/16” Hole)
- One-way automotive toggle switch (On/Off)
- Two 4-inch bolts. (3/8” diameter). Length of bolts can vary based on the type of light bar and what surface it is being mounted to. More bolts may be needed depending on the bracket style.
- One 1-inch bolt (3/8” diameter) (Ground bolt)
- Three nuts to fit the bolts
- Six washers to fit the bolts
- ¼” Heat shrink tubing (2” total)
- Zip ties
- Three automotive butt connectors (Crimp/ Heat shrink style)
- Light bar of your choice
Steps
Part 1
Part 1 of 4:
Mounting the Light Bar
-
1Disconnect the battery. You will need to disconnect both the positive (red) and negative (black) terminals from the battery. Read this wikiHow article for in-depth instructions on how to disconnect the battery.
Warning: Make sure the ignition is off before disconnecting the battery.
-
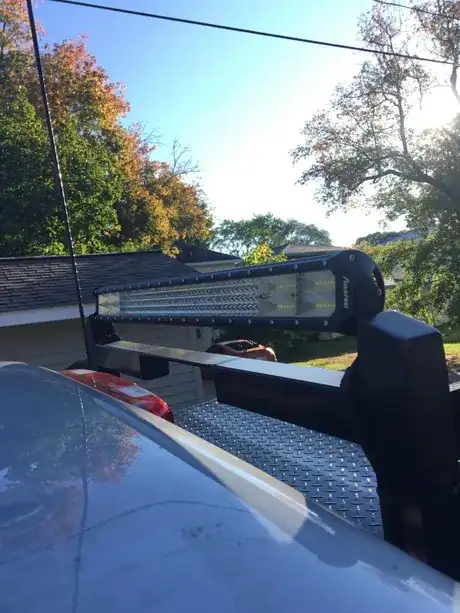
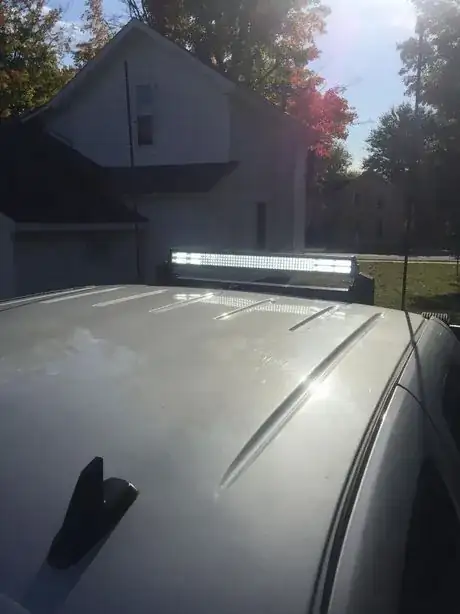
2Consider the position of the light bar. The light bar can be placed in several different locations. Without drilling any holes, move the light bar around until you have found where you want it to be installed. The top and the front of the truck are the best places for installation.Advertisement
-
3Mark holes for bracket installation. The light bar should come with brackets for the truck. Based on where you want the light bar to be located, take the brackets and hold them in the desired location. Use a marker to mark where the holes are in the brackets.
- Don't worry about drawing on your truck with the marker, you're going to be drilling holes there so it won't matter in the end.
-
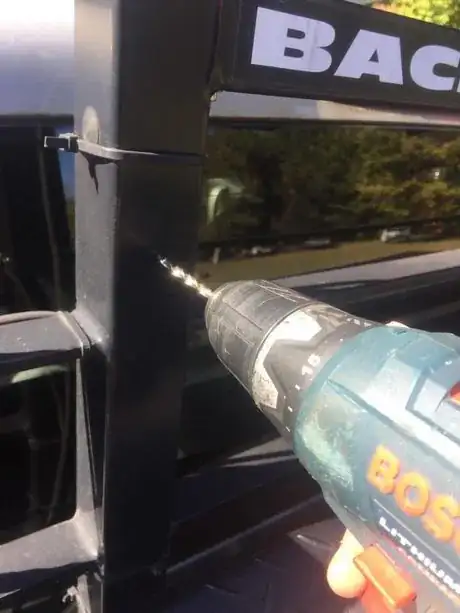
4Drill the holes. Always wear safety glasses and gloves while drilling. Insert a 3/8” drill bit into the drill and drill holes through the frame of the truck where it was marked with the marker. Use some form of lubricant to make the drilling easier[citation needed].
-
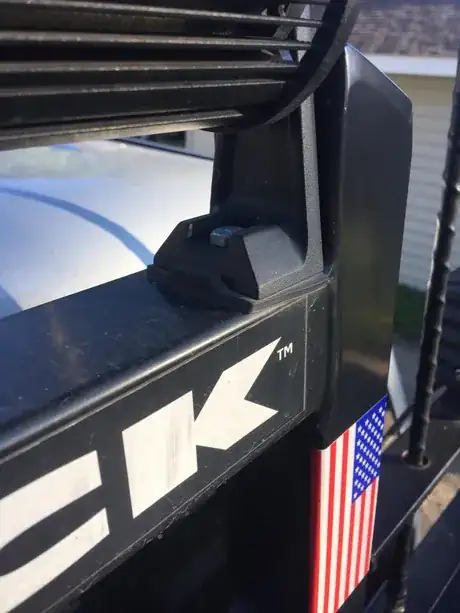
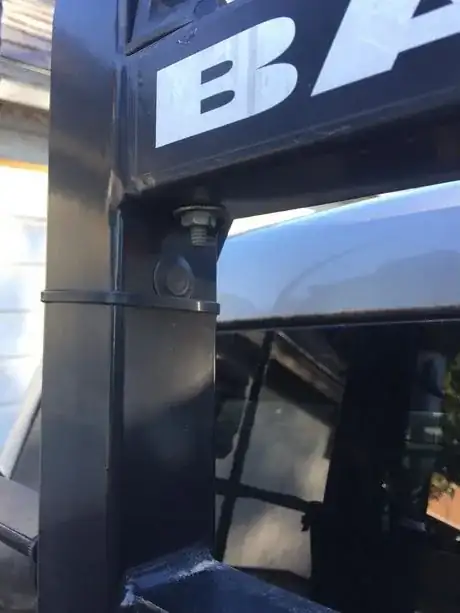
5Install the bolts. Place the brackets in the desired location so that it is lined up with the holes. Place the bolts through the holes and put a washer on the back side. Use an adjustable wrench or socket set to tighten the nuts and lock the brackets in place. Place the light bar on the brackets and bolt them together.
Advertisement
Part 2
Part 2 of 4:
Installing the Switch
-
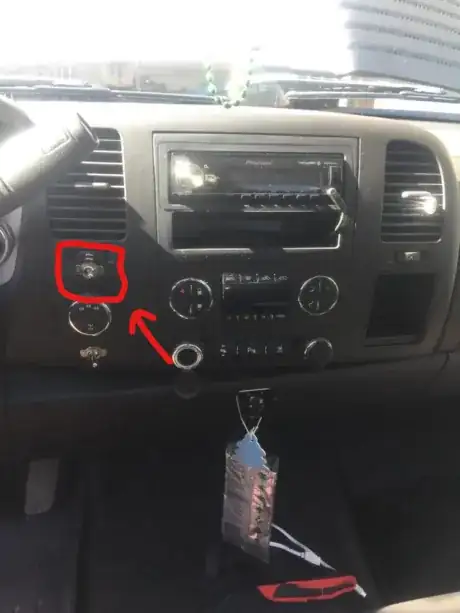
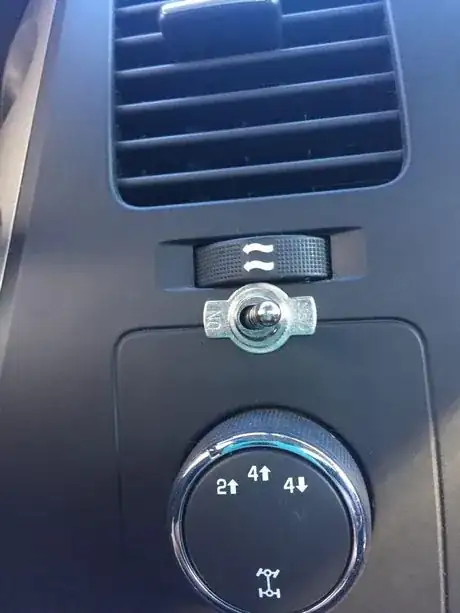
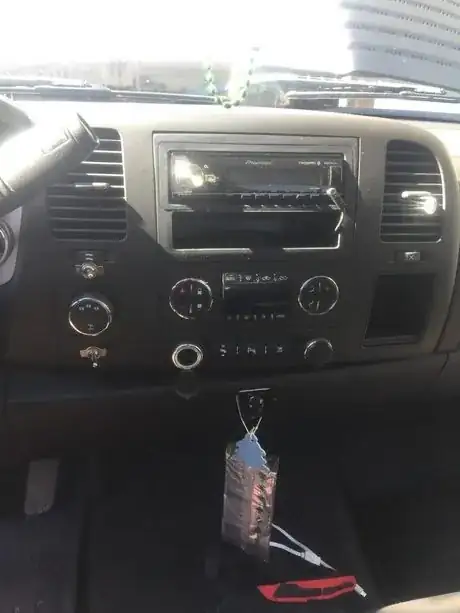
1Consider where you want to put the switch. Every vehicle is different and everyone has their own preferences, so put the switch in a location that suits the specific vehicle being worked on. Look for somewhere that is easy to reach but not in the way and will look as clean or stock as possible.
-
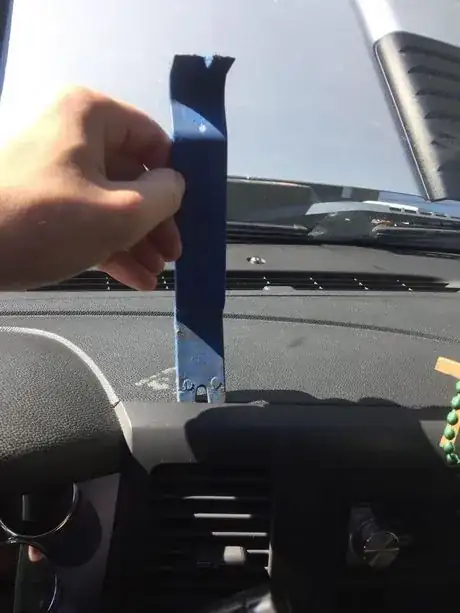
2Remove the plastic dash panel. After deciding on a location, the next step is to access the back of whatever panel that the switch is being installed in. Every panel is different so research the vehicle to see the specific instructions on how to remove the panel. Most panels have easy plastic clips that just need to be depressed to remove the panel. This can be accomplished with a clip removal tool. The panel may also be held in place with a screw so a screw driver may also be needed to remove those.
- Research your vehicle online or on YouTube to ensure you're not going to damage anything by trying to do this incorrectly.
-
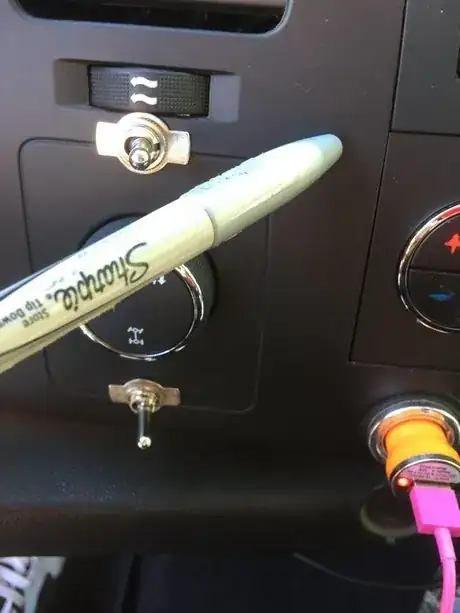
3Mark the hole for drilling. Now that there is access to the back of the panel it should be easier to see where the best location to drill the hole for the switch is. Mark that location with a marker.
-
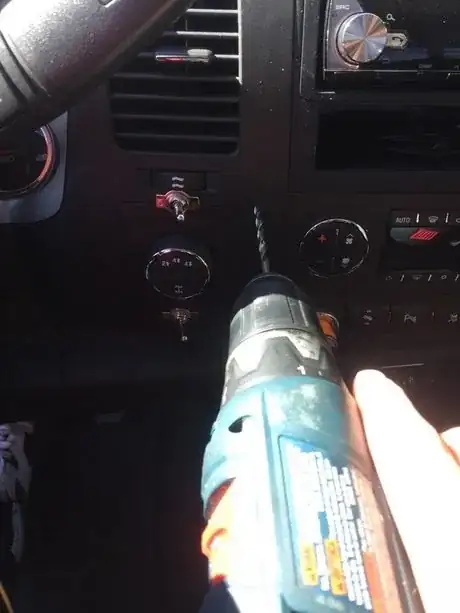
4Drill a hole in the dash. Drill a hole for the switch where the mark is placed, using a drill bit that is just as big as the inside diameter of the switch so it can just barely fit in the hole. This will ensure a snug fit and prevent the switch from rattling around.
- If you're tossing up between two drill bits, choose the smaller one, and test the fit. You can always drill a larger hole, but you can't put it back.
-
5Install the switch from behind the dash panel. Take the backing nut off the switch and place the switch inside the hole that was drilled. Ensure that the side with the actual switch is facing outward toward the vehicle cab.
-
6Tighten the switch. Once the switch is in place reattach the nut to secure the switch to the panel.
Advertisement
Part 3
Part 3 of 4:
Drilling holes and Routing wires
-
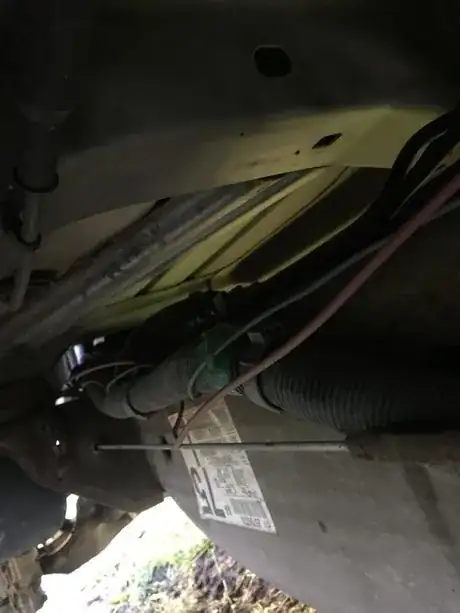
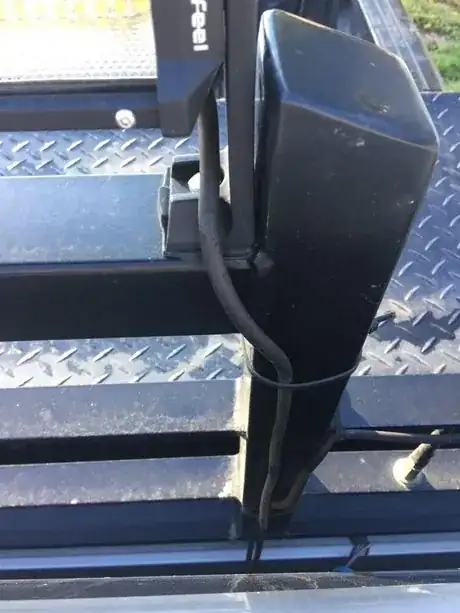
1Determine where to run the wire. Now that the switch is installed, look through the vehicle and determine where the best path for the wire from the light bar to the switch is. Run a wire from near the battery through the firewall (the metal wall between the engine bay and vehicle cab) to the switch that was installed. From the switch, the wire will be run to the installed light bar along the vehicle frame and then up in between the cab and the bed of the vehicle to the light bar. Ensure that the wire will not be in the way of any moving parts of the vehicle.
- Wherever possible, try and use pre-existing holes and follow pre-existing wires.
- Keep the wire away from the engine, as the heat may melt and ruin the wire.
-
2Drill any needed holes. Drill any holes that are needed for the wire to be run through any metal (firewall to engine).
- This step should not be necessary in most situations, as there should already be many wires running through ports in the firewall that you can use.
-
3Run and secure wire. Run the wire along the path that was determined earlier. Ensure that the wire is secured enough so that it won’t move but not so tight that it damages the wire insulation.
- Use zip-ties if necessary.
-
4Connect the switch to the wire. After the wire is run to the switch in the cab that was installed earlier, connect the wire from the battery to one screw on the switch. To attach the wire, use the wire strippers to take off about ¼” of wire insulation and wrap the bare section of wire around the screw on the switch and tighten the screw until the wire is secured. Repeat the connecting process with the end of the wire that is being run to the light switch from the other screw on the switch.
- If your switch has three prongs, attach it to the middle one and one of the sides, preferably the 'On' side of the switch (if it's labelled).
-
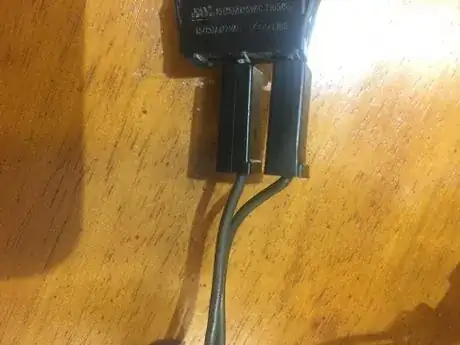
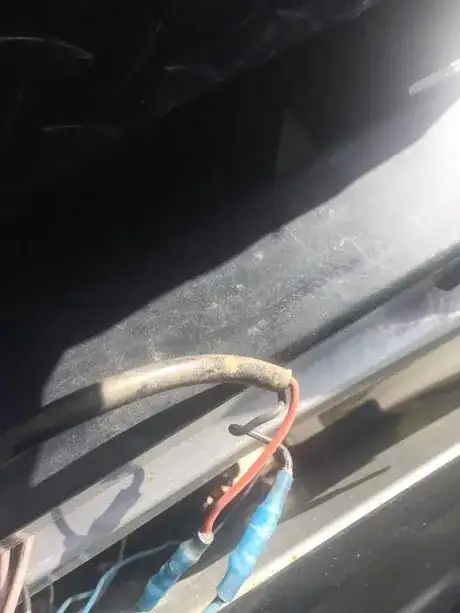
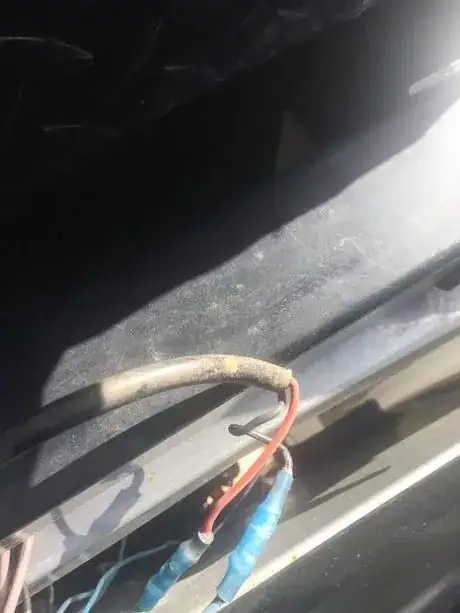
5Connect the positive wire to the light bar. Use one of the automotive butt connectors (Crimp/ Heat shrink style) to connect the positive wire to the light bar wire. The red wire is the positive.
-
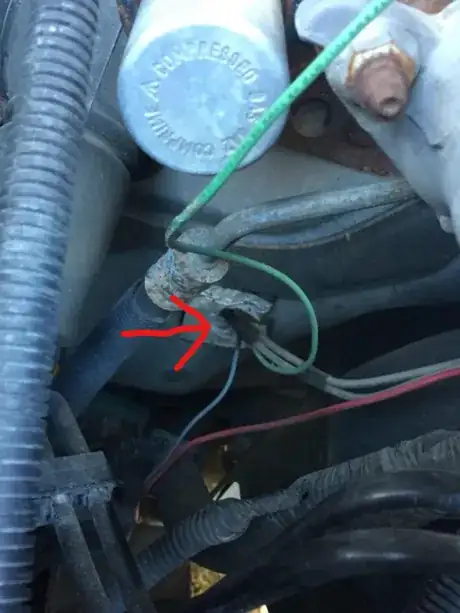
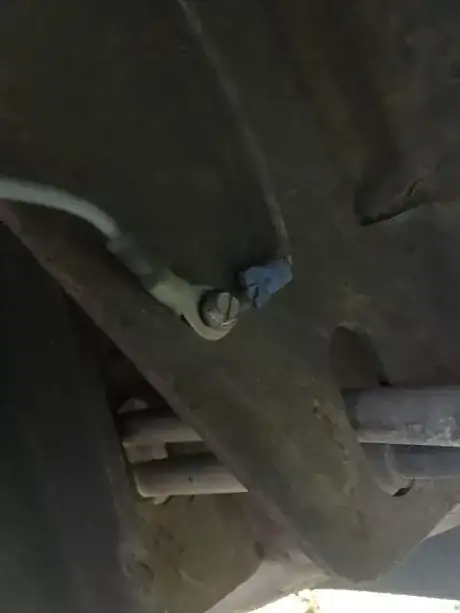
6Connect the ground wire to the light bar and vehicle. With the positive wire connected to the vehicle, the light bar will need a ground wire connected to it. After the positive wire is connected, use the remaining automotive butt connector (Crimp/ Heat shrink style) to connect the ground wire to the light bar wiring. Black is ground. Find a location to attach the ground wire to a metal surface on the vehicle. With the location selected cut the ground wire to the necessary length and take one of the automotive connector eyelets (5/16 Hole) and crimp them to the other end of the black negative wire. In the location that was selected earlier for the ground wire, drill a hole and secure wire to the metal surface using the one 1-inch bolt (5/16” diameter) Tighten the bolt using adjustable wrenches.
Advertisement
Part 4
Part 4 of 4:
Finishing work
-
1Reinstall the switch panel in the cab. With the switch connected to the wire, reinstall the panel that it is attached to by reversing the disassembly process to install the panel.
-
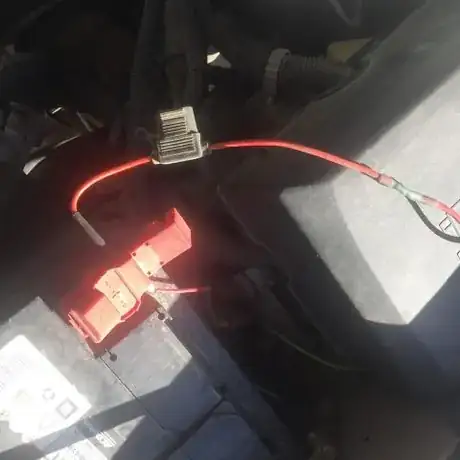
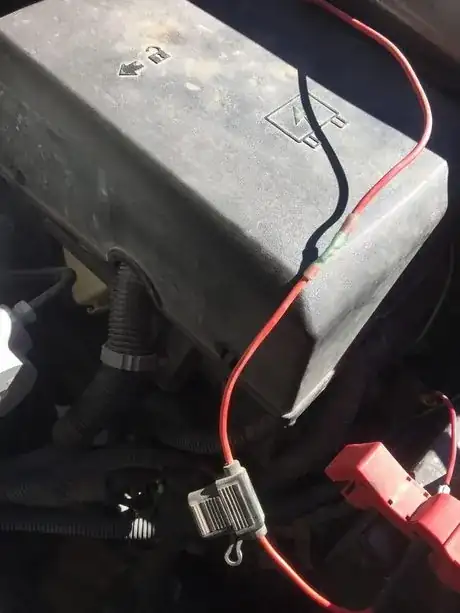
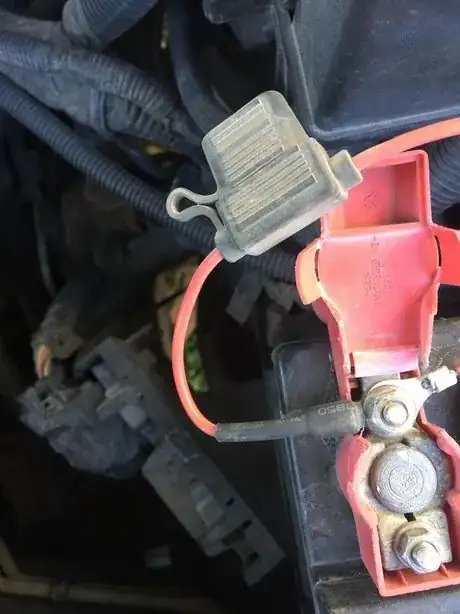
2Add wire connectors inside the engine bay. The wiring from the engine bay back to the light bar is complete, so it is time to attach and connect the fuse. The fuse has two short wires connected to it: one can be connected to the battery and the other is connected to the rest of the wiring. Attach the remaining 5/16 eyelet connector to the end that is connecting to the battery. On the remaining end attach an automotive butt connector (Crimp/ Heat shrink style).
- Make sure you use a fuse to avoid ruining your light bar if there's a problem with your battery or elsewhere in your vehicle's electronics.
-
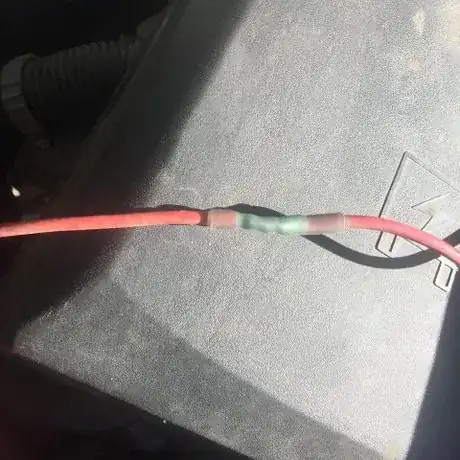
3Connect the fuse to the wire. Connect the positive wire to the fuse with an automotive butt connector (Crimp/ Heat shrink style). Attach wire with fuse in a safe location in a way where it can be attached to the positive end of your vehicle battery.
-
4Double check your work before connecting to battery. Look through what has been done so far and ensure that everything from the light bar to the fuse is connected properly as described.
-
5Re-connect the battery. Connect the eyelet ending wire from the fuse to the positive terminal of the battery. Repeat Part 1, Step 1 instructions in reverse to reconnect the battery.
-
6Test the light bar. Turn on switch to make sure your light bar is working correctly.
Advertisement
Warnings
- Electrical systems are being handled during this process. Make sure you follow all safety measures as detailed in the instructions. Wear the proper personal protective equipment to avoid any injury.⧼thumbs_response⧽
- You will be drilling near systems that could get damaged if you do not drill in the correct location. Be sure to follow drilling instructions and double check to ensure you are drilling in the right area.⧼thumbs_response⧽
- Light bars are regulated by law in most states. Prior to installing a light bar, be familiar with the applicable laws in your state of residence.⧼thumbs_response⧽
Advertisement
About This Article
Advertisement

