This article was co-authored by wikiHow staff writer, Amy Bobinger. Amy Bobinger has been a writer and editor at wikiHow since 2017. She especially enjoys writing articles that help people overcome interpersonal hurdles but frequently covers a variety of subjects, including health and wellness, spirituality, gardening, and more. Amy graduated with a B.A. in English Lit from Mississippi College in 2011 and now lives in her hometown with her husband and two young sons.
There are 7 references cited in this article, which can be found at the bottom of the page.
This article has been viewed 5,664 times.
Learn more...
Pouring your own concrete pumpkins is a fun, creative way to make fall-themed decor that will last for years to come! Try making concrete pumpkins with pantyhose to create a simple, segmented pumpkin by simply wrapping the pantyhose in string or rubber bands. If you'd prefer a jack-o-lantern style, use a plastic pumpkin pail as a mold for a simple Halloween-ready project!
Steps
Making Pumpkins out of Concrete and Pantyhose
-
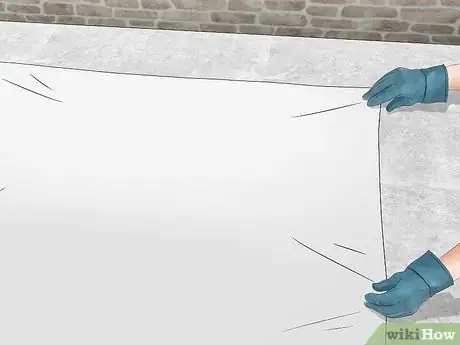
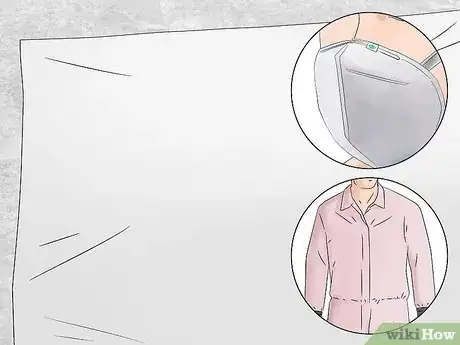
1Lay down a tarp and put on safety gear. Working with concrete can get messy, so be sure you wear old clothing and waterproof gloves. Also, put down a heavy-duty tarp in case of any spills. However, it's even more important to protect yourself from breathing in concrete dust, so work in a ventilated area and wear a dust mask.[1]
- You can typically buy a dust mask wherever you buy your concrete supplies.
- If you're mixing up a large batch of concrete, it's best to work on the ground, rather than trying to lift up the heavy container from a table or workbench.
-
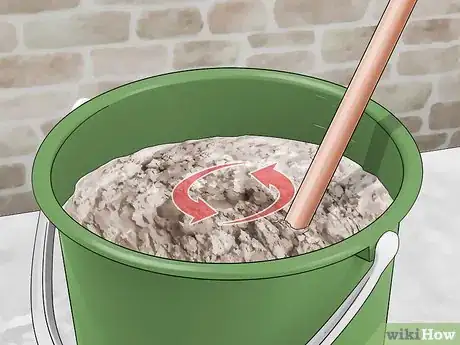
2Mix up a 20 lb (9.1 kg) bag of concrete. Pour your concrete mix into a large plastic container, such as a 5 US gal (19 l) bucket. Then, use a sturdy, long-handled spoon to slowly stir in about 3–4 cups (0.71–0.95 L) of water, according to the packaging instructions.[2]
- The exact amount of water you use can vary depending on the brand of cement and even the humidity in your area. However, the cement should resemble thick brownie batter when it's properly mixed.
- A 20 lb (9.1 kg) of cement mix should make about 3-5 10–12 in (25–30 cm) pumpkins.
Variation: To make a lighter cement mixture, called hypertufa, replace half of your concrete mix with equal parts perlite and peat moss. It will still be sturdy and long-lasting, but your pumpkins won't weigh as much.[3]
Advertisement -
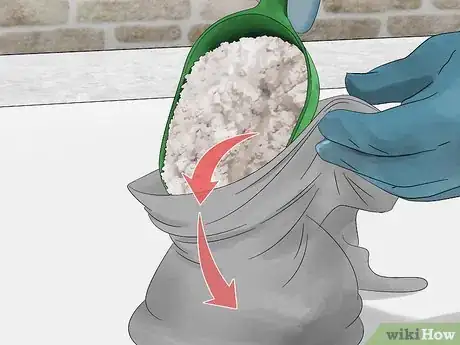
3Scoop a 10–12 in (25–30 cm) ball of concrete into a pair of pantyhose. Hold the waistband of a pair of pantyhose open and use your spoon to transfer concrete into one of the legs. As you work, squeeze the concrete mixture all the way down the leg into the foot portion of the pantyhose.[4]
- Aim to use about a softball-sized batch of concrete for your pumpkin.
Want to make a hollow pumpkin? Put an inflated balloon into the pantyhose before you add the concrete. Then, scoop the concrete into the pantyhose, squishing it around the balloon to ensure the balloon is completely coated. Allow the concrete to dry as normal.[5]
-
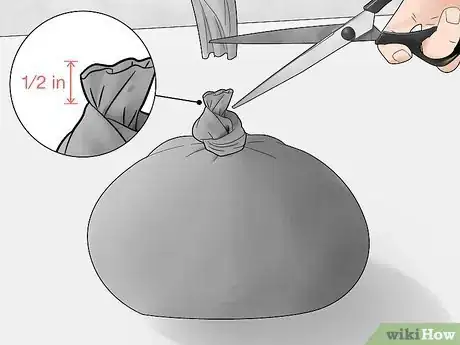
4Tie a knot in the pantyhose and cut off the excess. Once you're happy with the size of your pumpkin, double knot the pantyhose as close to the concrete as possible. Then, use scissors to snip off the extra pantyhose about 1⁄2 in (1.3 cm) above the knot.[6]
- Try to keep the concrete formed in a round shape as you do this, and be sure you're wearing your gloves.
-
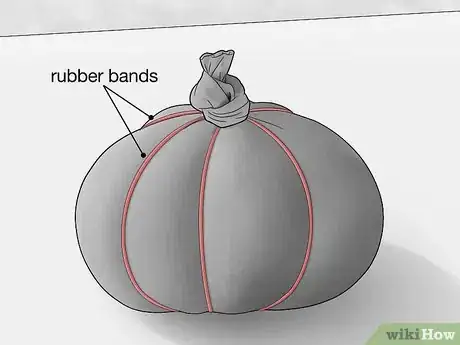
5Wrap rubber bands or string around the pantyhose to segment it. To mimic the natural segments on a pumpkin, tightly wrap a long piece of string or several rubber bands around the pantyhose. Try to space out the string or elastic as you wrap, creating about 6-8 segments. Make sure you can see the string or rubber bands cutting into the concrete when you're finished. Otherwise, you might not be able to see the segments when the pumpkin is dry.[7]
- If you're using rubber bands, wrap each one once or twice around the pumpkin so it digs into the concrete. Criss-cross 3 or 4 rubber bands so the pumpkin is divided into either 6 or 8 sections, similar to a peeled orange.
- If you're using string, wrap it all the way around the concrete ball once or twice, then move the string over about 1–2 in (2.5–5.1 cm) and wrap it around the ball again. Keep doing this until you have 6-8 segments. Knot it securely when you're finished so it doesn't unravel.
- If you're making more than one pumpkin, continue the process until you've used all the cement mix.
-
6Let the concrete dry for 1-2 days. Set your pumpkin in a dry place where it won't be disturbed, like a sunny porch or a workbench. Give the pumpkin at least 1 full day to dry, although 2 days is better, if possible.[8]
- When you're making cement pumpkins using pantyhose, it's important to let the pumpkin dry completely. If it's still wet, it will crumble when you unwrap it.
- You may need 3-4 days if you're making larger pumpkins. [9]
-
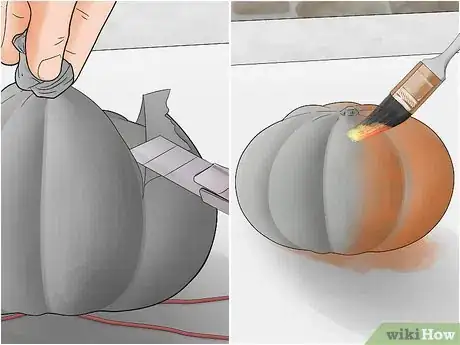
7Cut away the pantyhose with a craft knife. Once the pumpkin has had a day or 2 to dry, take a craft knife and carefully cut away the string or rubber bands. Then, slice the pantyhose and pull the material away from the hardened concrete.[10]
- Work very carefully as you do this so you don't cut yourself!
Tip: Glue a pumpkin stem on top or paint your pumpkin to personalize it!
Using a Plastic Pumpkin as a Mold
-
1Wear a dust mask and protective clothing and lay down a tarp. Before you start working with concrete mix, put on a dust mask to protect yourself from the fine particles that will be in the air. In addition, wear waterproof gloves and old clothes, since concrete is messy. Also, put down a heavy-duty tarp to protect your work area.[11]
- Work in a well-ventilated area or outdoors.
-
2Mix a 40 lb (18 kg) bag of concrete in a plastic tub. Pour your dry concrete mix into a large plastic container, such as a 5 US gal (19 l) paint bucket. Then, add about 6 c (1.4 l) of water a little at a time, mixing it thoroughly with a trowel or a sturdy, long-handled spoon.[12]
- The concrete mixture should be about the consistency of a thick cake or brownie batter.
- This will be enough concrete to fill 2 pumpkin pails approximately 8 in (20 cm) in diameter.
Variation: To make a lightweight version of concrete, known as hypertufa, mix 2 parts dry concrete mix, 1 part peat moss, and 1 part perlite. Add the same amount of water that you would for regular concrete mix.[13]
-
3Fill a plastic pumpkin with the concrete to about 1 in (2.5 cm) from the top. Use your large spoon or trowel to scoop concrete into a plastic jack-o-lantern style pumpkin. Fill it up almost all the way, leaving about 1 in (2.5 cm) of space at the top so you can insert your center form.[14]
- If there's a plastic handle on your pumpkin mold, use scissors to cut it off before you add the concrete.
- If you want to use your pumpkin as a planter, place a square of Styrofoam in the bottom of the plastic mold before you add the concrete.
-
4Push a disposable cup or bottle into the center of the wet concrete. Take a plastic cup or bottle and press it down into the concrete mix. Push it down far enough that the lip of the cup or bottle is even with the top of the plastic pail. This will create a hollow recess in the center of the pumpkin, which you can use to hold candy, a candle, or even a plant.[15]
- Make sure the cup you use is sturdy enough to hold its shape as you push it into the concrete, but thin enough that you'll be able to easily cut it away when the concrete is dry. A disposable drinking cup is a good option.
- If you put a Styrofoam block in the bottom of the mold, make sure your cup or bottle touches the Styrofoam.
- If the concrete overflows as you push down the cup, wipe away the excess with a paper towel.
-
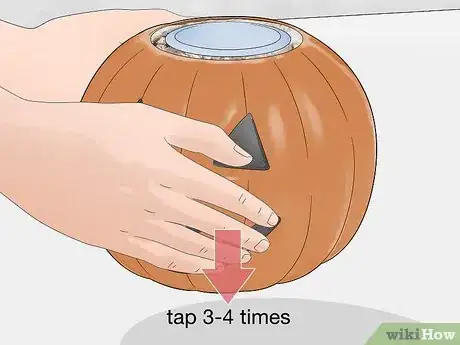
5Tap the pumpkin firmly on the ground to remove air bubbles. Lift the pumpkin 2–3 in (5.1–7.6 cm) off the ground, then firmly tap it on a solid surface. Do this at least 3-4 times to help push any air bubbles to the top. The more times you do this, the smoother your pumpkin will be when it's dry.[16]
- You can also tap the sides of the pumpkin firmly with your trowel or spoon.
-
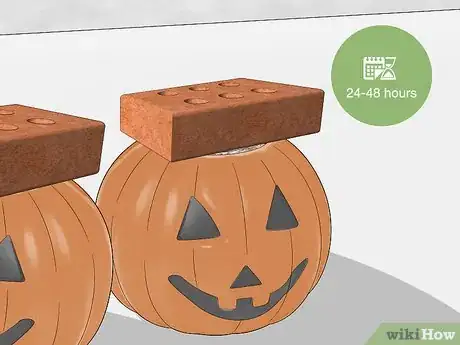
6Cover the top of the bucket with a brick or other heavy object. As the concrete dries, it may push the cup or bottle out of the plastic pail. To prevent that, add a heavy weight to the top to hold the cup in place.[17]
- Make sure to use something that it's okay to stain, since it may get concrete on it.
-
7Let the concrete dry for at least 24-48 hours. Place the plastic pumpkin in a dry place where it can sit undisturbed for a day or 2. Don't rush the drying process, since if you unmold the pumpkin before it's ready, it will crumble.[18]
- It can take up to a month for concrete to be fully cured, but after 1-2 days, it should be dry enough to hold its shape outside of the mold.
-
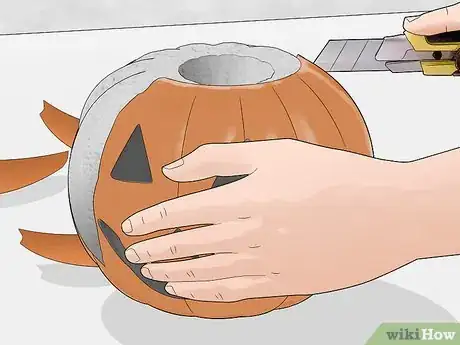
8Use a utility knife to carefully remove the pail and cup. Carefully score along the plastic pumpkin pail with a craft or utility knife. If you need to, peel the plastic away in sections. Then, make a cut on the inside of the cup or bottle in the center of the pumpkin and pull it away, as well.[19]
- If you placed Styrofoam in the bottom of the pumpkin, use your craft knife to cut it away, as well.
-
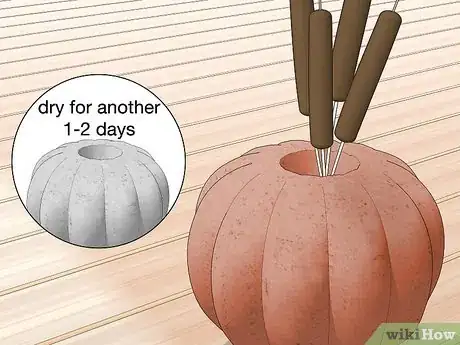
9Let the pumpkin finish drying for another 1-2 days. Even though the pumpkin will hold its shape at this point, it's best to wait another few days before you paint the concrete or add any decorations. After that, though, you'll have a durable, unique jack-o-lantern that you can use again and again![20]
Things You'll Need
Making Concrete Pumpkins with Pantyhose
- Tarp
- Dust mask
- Waterproof gloves
- Old clothes
- Plastic bucket
- 20 lb (9.1 kg) bag of concrete mix
- 3–4 cups (710–950 mL) water
- Sturdy, long-handled spoon
- Pantyhose (1 pair for every 2 pumpkins)
- String or rubber bands
- Craft knife
Using a Plastic Pumpkin as a Mold
- Tarp
- Dust mask
- Waterproof gloves
- Old gloves
- Plastic bucket
- 40 lb (18 kg) bag of concrete mix
- Trowel or sturdy spoon
- Plastic pumpkin pail
- Scissors
- Plastic cup or bottle
- Craft knife
- Styrofoam block (optional)
References
- ↑ https://www.bobvila.com/articles/concrete-pumpkins/
- ↑ http://365daysofcrafts.nikimeiners.com/decorative-concrete-pumpkin-tutorial/
- ↑ https://www.hometalk.com/10102300/concrete-pumpkin-project?expand_all_questions=1
- ↑ http://365daysofcrafts.nikimeiners.com/decorative-concrete-pumpkin-tutorial/
- ↑ https://acraftymix.com/blog/hollow-concrete-pumpkins/
- ↑ http://365daysofcrafts.nikimeiners.com/decorative-concrete-pumpkin-tutorial/
- ↑ http://365daysofcrafts.nikimeiners.com/decorative-concrete-pumpkin-tutorial/
- ↑ http://365daysofcrafts.nikimeiners.com/decorative-concrete-pumpkin-tutorial/
- ↑ https://www.lilyardor.com/concrete-pumpkin-diy/
- ↑ http://365daysofcrafts.nikimeiners.com/decorative-concrete-pumpkin-tutorial/
- ↑ https://www.bobvila.com/articles/concrete-pumpkins/
- ↑ https://www.bobvila.com/articles/concrete-pumpkins/
- ↑ https://www.hometalk.com/10102300/concrete-pumpkin-project?expand_all_questions=1
- ↑ https://www.bobvila.com/articles/concrete-pumpkins/
- ↑ https://www.bobvila.com/articles/concrete-pumpkins/
- ↑ https://www.bobvila.com/articles/concrete-pumpkins/
- ↑ https://www.bobvila.com/articles/concrete-pumpkins/
- ↑ https://www.countryliving.com/diy-crafts/how-to/a5892/hometalk-diy-concrete-pumpkin-planter/
- ↑ https://www.countryliving.com/diy-crafts/how-to/a5892/hometalk-diy-concrete-pumpkin-planter/
- ↑ https://www.bobvila.com/articles/concrete-pumpkins/
