This article was co-authored by wikiHow Staff. Our trained team of editors and researchers validate articles for accuracy and comprehensiveness. wikiHow's Content Management Team carefully monitors the work from our editorial staff to ensure that each article is backed by trusted research and meets our high quality standards.
This article has been viewed 20,028 times.
Learn more...
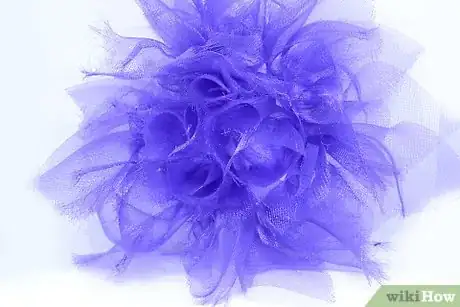
Decorative mesh is a crafting supply that comes in a variety of fun, bright colors. Though it's usually used to make wreaths or as filler in floral arrangements, you can actually use the material to create decorative flowers that you can hang on your wall. You don't even have to be an expert crafter to tackle the project -- as long as you can fold and pin, you can create a beautiful flower. Your only decision is whether to add smaller petals to the center of the flower or use tubes made from the mesh instead.
Steps
Creating the Large Mesh Petals
-
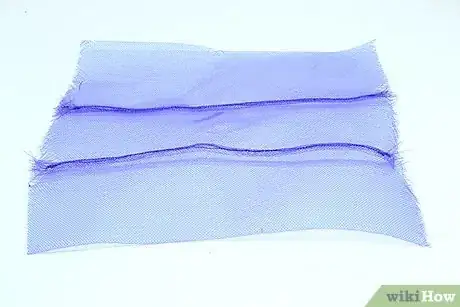
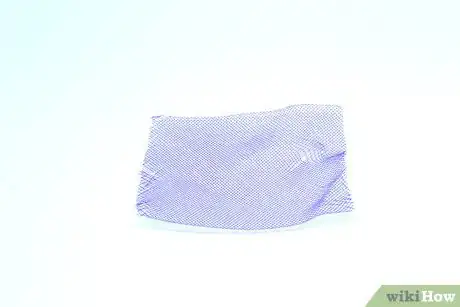
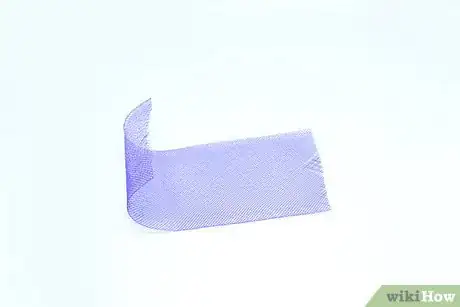
1Cut the mesh into large squares. To make one large deco mesh flower, you’ll need a 10-yard (9-m) by 21-inch (53-cm) roll of decorative mesh. Use a pair of scissors to cut approximately 12 to 15 21-inch (53-cm) squares of the mesh.[1]
- To give your flower some depth, you may want to use two different colors of mesh for the large squares. It’s best to use shades from the same color family, though, such as rose and baby pink.
-
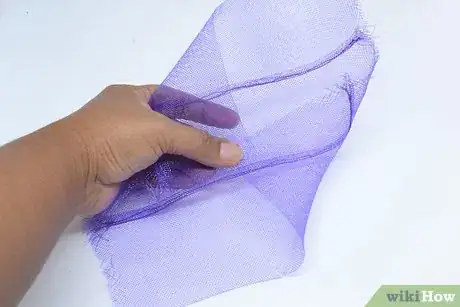
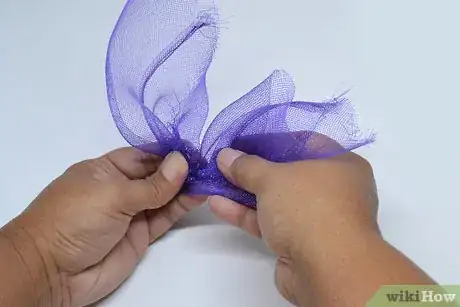
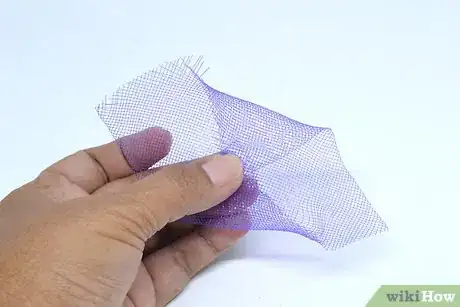
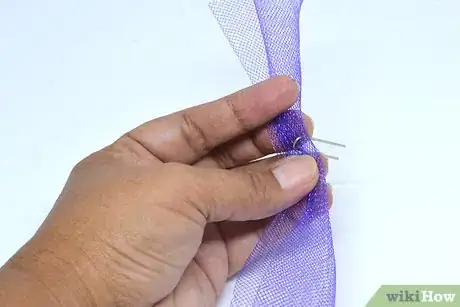
2Pull the opposite corners to the center and gather together. After you’ve cut out the large mesh squares, fold opposite corners of the square in toward the center. Use your fingers to pinch the square together at the center to form petal-like shapes on either side so it has a bow tie-like appearance.
- Try to fold the corners in as evenly as possible, but don’t worry about the petal shapes being perfect. The flower will have a more natural appearance if the petals are slightly irregular.
Advertisement -
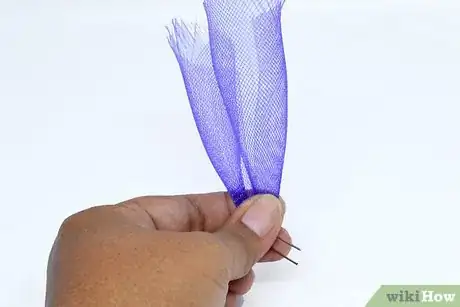
3Fold the mesh in half. Once the mesh square is resembles a bow tie, fold the pieces in half. Both of the “petals” should point in the same direction so they can form the outer layer of the flower.
Arranging the Large Petals
-
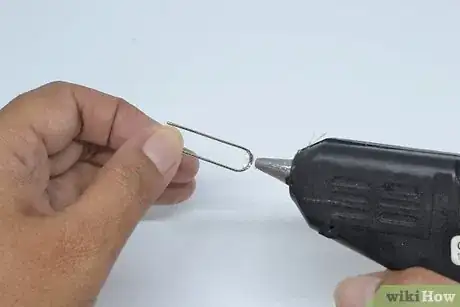
1Add glue to the center of a floral pin. To attach the petals to the foam disc that serves as the flower’s base, you’ll need U-shaped floral pins. Use a hot glue gun to add a dab of glue to the center of the pins so you don’t have to worry about the petals coming loose.[2]
- You can use straight floral pins to attach the petals as well. Be sure to add some glue just below the head of the pin, though, so the petals are secure.
-
2Pin the petal in place around edge of a foam disc. For the flower’s base, you’ll need a 6-inch (15-cm) styrofoam disc. With the glue on floral pin, insert it through the bottom of the petals and press it into the foam along the outer edge of the foam disc.[3]
- You can move the mesh around to arrange the petals as you like, but wait 5 to 10 minutes after you pin them so the glue has time to set.
-
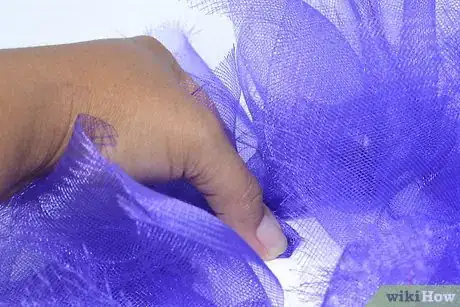
3Repeat the process until the entire outer edge of disc is lined. After you’ve pinned the first set of petals to the foam disc, take another square of decorative mesh and repeat the entire process of folding and pinning it. Continue adding large squares of mesh until the entire outer edge of the foam disc is covered.[4]
Filling in the Flower's Center with Smaller Petals
-
1Cut the mesh into small squares. To fill in the center of the flower, you’ll need smaller squares of mesh to form petals. Use the scissors to cut approximately 10 to 12 10-inch (25-cm) squares from the decorative mesh.[5]
- Depending on the look that you’re going for, you can either use the same color mesh as the outer layer of petals or choose a contrasting shade.
- White and yellow make ideal shades for the flower’s center.
-
2Repeat the folding and gathering process. Just as with the large mesh squares, fold opposite corners of the smaller square in toward the center. Pinch the center with your fingers to gather it together and then fold it in half.
-
3Add glue to a floral pin and pin the petal in the center of the foam. Take another U-shaped floral pin and add a dab of glue to the center. Insert the pin into the center of the mesh petals and press it into the center of the foam disc.[6]
- As with the larger petals, allow the hot glue to set for at least 5 minutes before you try to play with the arrangement of the smaller petals.
-
4Continue adding small petals until the center is full. Once you’ve added the first set of smaller petals to the center of the flower, repeat the procedure of folding and pinning the small mesh squares. Keep adding the petals until the entire center is filled in.[7]
- If you prefer, you can tuck the ends of the petals in the center of flower underneath to give it a puffed appearance.
Adding Tubed Mesh to the Center of the Flower
-
1Cut small squares of mesh. If you prefer to fill in the center of your flower with tubed mesh, you still need to cut out squares from the mesh. Use scissors to create approximately 15 to 20 10-inch (25-cm) squares from the mesh.[8]
- Because the tubes are more compact than the fluffier petals, you will need more squares to fill in the center of the flower.
-
2Roll the mesh into a tube and stick a pin in it. After you’ve cut out all of the mesh squares, roll s square up into a tube. Next, take a straight floral pin and insert it the center of tube.[9]
- Because the tubes are more compact, it isn’t necessary to add hot glue to the pin. However, if you want to ensure that your flower is sturdy, you can add a dab below the head of the pin.
-
3Fold the tube in half and attach to the center of the flower. When the pin is in the center of the tube, fold the mesh in half to form two “petals.” Press the pin into the foam disc at the center of the flower, making sure that it’s secure.[10]
-
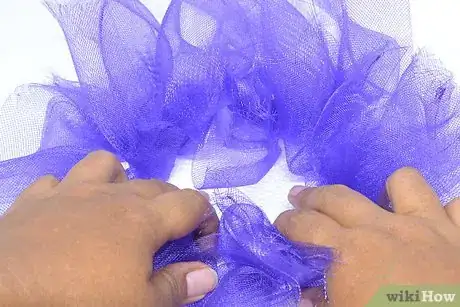
4Repeat the process until the flower is full. To fill in the rest of the flower’s center, take another square of mesh and repeat the rolling and pinning procedure. Continue the process until the center is filled in.[11]
- If you like, you can use the tube method to create the outer layer of petals as well. Just cut the 21-inch (53-cm) squares and roll them up in the same way you would the smaller pieces of mesh.
Things You’ll Need
- 1 10 yard by 21-inch (9-m by 53-cm) roll of decorative mesh (or half rolls in different colors)
- 6-inch (15-cm) styrofoam disc
- U-shaped or straight floral pins
- Scissors
- Hot glue gun
References
- ↑ http://craftsbyamanda.com/deco-mesh-flowers/
- ↑ http://craftsbyamanda.com/deco-mesh-flowers/
- ↑ http://craftsbyamanda.com/deco-mesh-flowers/
- ↑ http://craftsbyamanda.com/deco-mesh-flowers/
- ↑ http://craftsbyamanda.com/deco-mesh-flowers/
- ↑ http://craftsbyamanda.com/deco-mesh-flowers/
- ↑ http://craftsbyamanda.com/deco-mesh-flowers/
- ↑ http://craftsbyamanda.com/deco-mesh-flowers/
- ↑ http://craftsbyamanda.com/deco-mesh-flowers/
