X
wikiHow is a “wiki,” similar to Wikipedia, which means that many of our articles are co-written by multiple authors. To create this article, 12 people, some anonymous, worked to edit and improve it over time.
This article has been viewed 11,781 times.
Learn more...
One of the most fundamental concerns about daily living is keeping track of time. While many people use digital devices like cellphones to tell time, it is still important to be able to read a standard (analog) clock. Read on to learn how to create a teaching clock for children, or make an actual working clock out of cardboard.
Steps
Method 1
Method 1 of 4:
Making a Teaching Clock
-
1Make a circle out of cardboard. You can use corrugated cardboard or poster board.
- Use a compass or string and pencil to draw a circle of the desired size.
- Cut the cardboard using a craft knife or scissors.
-
2Decorate the cardboard to make a clock face.
- Add numbers using a marker, crayon, pen, or stickers.
- Add other decorations as desired.
Advertisement -
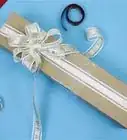
3Add hands to complete the clock.
- You can make the hands any shape. An arrow shape or pointed line works well.
- The hands can be any material, but they should be strong enough to withstand being moved around the clock face.
- Attach the hands to the clock face with a brass fastener.


Advertisement
Method 2
Method 2 of 4:
Teaching Kids to Tell Time
-
1Teach preschoolers basic concepts of time. Preschoolers usually aren't able to read an analog clock, but they are aware that it is a tool to measure the passage of time.[1]
- Teach preschoolers the concept of "big hand, little hand." Show them when the clock hands are in a specific position, it's time for a certain event. For example, when "the big hand is on the 12 and the little hand is on the 5," it's time for supper.
- As the child gains an understanding of how to read a clock, progress to terms like minute and hour hand.
- Teach preschoolers the concept of "big hand, little hand." Show them when the clock hands are in a specific position, it's time for a certain event. For example, when "the big hand is on the 12 and the little hand is on the 5," it's time for supper.
-
2Teach school-age kids how to read an analog clock. Generally, children should be able to read hour and half-hours on a clock by the time they are in kindergarten. Most children are able to understand the passage of time, and how it relates to day and night by third grade.[2]


Advertisement
Method 3
Method 3 of 4:
Making a Working Clock Out of Cardboard
-
1
-
2Make a circle out of cardboard. You can use corrugated cardboard or poster board.
- Use a compass or string and pencil to draw a circle of the desired size.
- Cut the cardboard using a craft knife or scissors.
-
3Decorate the cardboard to make a clock face.
- Add numbers using a marker, crayon, pen, or stickers.
- Add other decorations as desired.
-
4Make a hole in the center of the clock face.
-
5Insert the mechanism shaft into the hole.
- Apply the hardware provided in the package according to the instructions.
-
6Add the hands to complete the clock.
.jpg)
.jpg)
.jpg)
.jpg)
Advertisement
Method 4
Method 4 of 4:
Making a Cardboard Cuckoo Clock
-
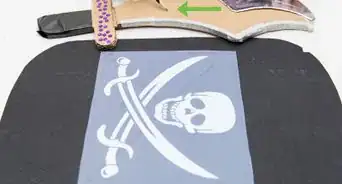
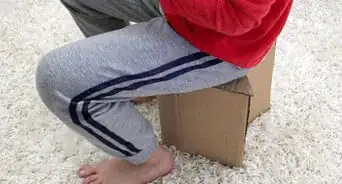
1Take two rectangles of cardboard and draw right triangles in each of the upper corners. You should have 2 identical pieces of cardboard.
-
2Cut the triangle off the cardboard rectangles.
-
3Cut cardboard rectangles to form the sides and roof of the clock.
-
4Attach the clock face and mechanism to the front of the clock.
-
5Decorate the clock as desired.
- Add any decorations you want to. You may also want to add a pendulum to complete cuckoo clock effect.


Advertisement
Things You'll Need
- Big cardboard box
- Needles for hands (as in a real clock hands or needles)
- Clockwork mechanism


References
About This Article
Advertisement