This article was co-authored by wikiHow Staff. Our trained team of editors and researchers validate articles for accuracy and comprehensiveness. wikiHow's Content Management Team carefully monitors the work from our editorial staff to ensure that each article is backed by trusted research and meets our high quality standards.
This article has been viewed 9,876 times.
Learn more...
Frisbees are a lot of fun to play with, but they can hurt or break things if thrown too excitedly. Fabric Frisbees are a great alternative for young children and indoor play. Made out of soft fabric, they won't hurt if accidentally thrown at a sibling's head. They also won't break anything if thrown against a window or TV while playing indoors. Best of all, they are washable and customizable!
Steps
Making a Frisbee
-
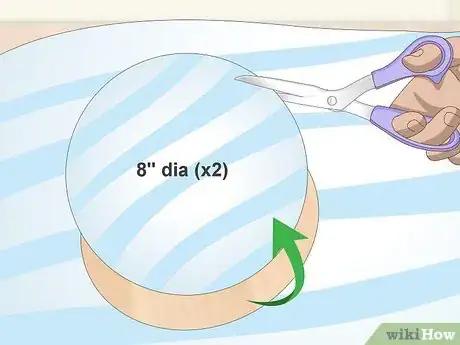
1Cut two 8-inch (20.32-centimeter) circles out cotton fabric. You can use the same color and pattern for both circles, or you can use different ones. You could even use a solid color for one circle, and a coordinating pattern for the other one.[1]
- Use a large bowl, plate, or compass to trace the circle.
- Try to cut through both pieces of fabric at once. This save times and ensures that they are even.
-
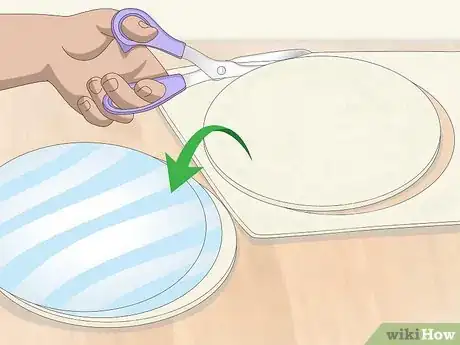
2Cut two 8-inch (20.32-centimeter) circles out of cotton batting. Use the fabric circles to trace 8-inch (20.32-centimeter) circles onto cotton batting. Cut the circles out of the batting one at a time. The batting will make the Frisbee more stable.[2]Advertisement
-
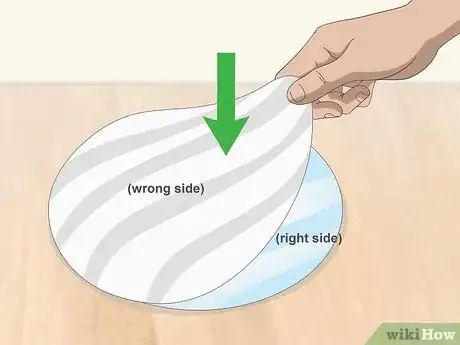
3Place the two fabric circles together, with the right sides facing in. When you turn the Frisbee right-side-out at the end, the right side of the fabric will be showing.
-
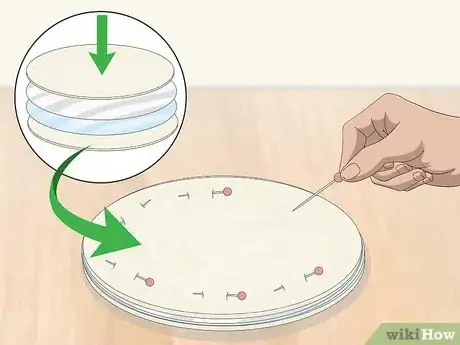
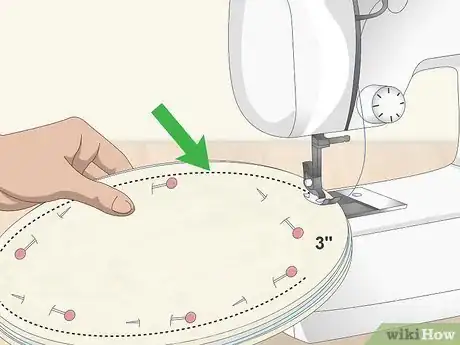
4Pin the cotton batting circles to both side of fabric disk. Place a cotton batting circle on top of your fabric disk. Flip the whole thing over, and place the other cotton batting circle on top. Pin the disk together using sewing pins. You should have the cotton batting circles on the outside, and the fabric circles on the inside.
-
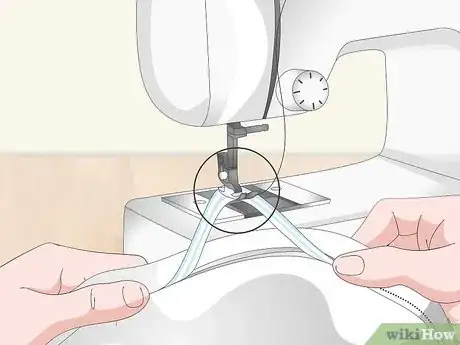
5Sew around the circle, leaving a small gap for turning. Use a sewing machine and a straight stitch to sew around the disk, ¼-inch (0.32-centimeter) from the edge. Leave a 3-inch (7.62-centimeter) gap between the start and end of your sewing.[3]
-
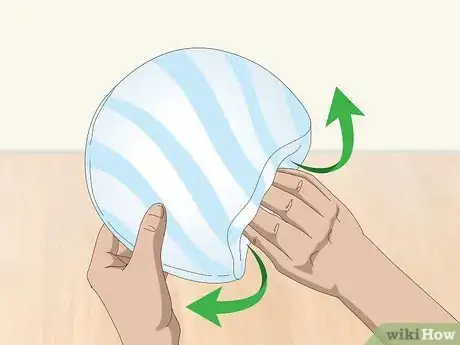
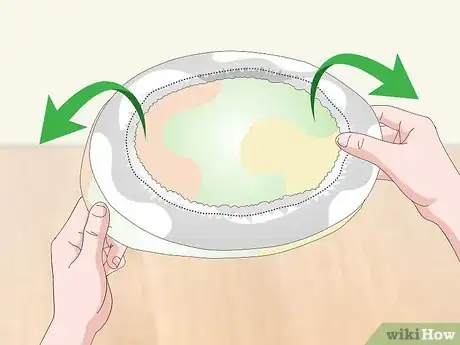
6Turn the Frisbee right-side-out. Remove the sewing pins first, then turn the Frisbee right-side-out through the hole. Run a knitting needle, or another long, slender tool, along the inside of the Frisbee to help shape it. You should now see the right side of your fabric on both sides.
-
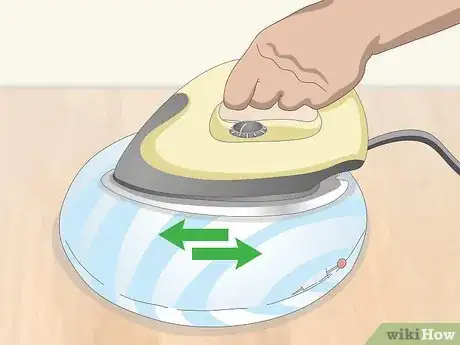
7Iron the Frisbee flat, tucking in the opening. Tuck in the raw edges from the opening, and pin them in place. Run an iron over the Frisbee using the cotton setting. Flip the Frisbee over, and iron the other side.
-
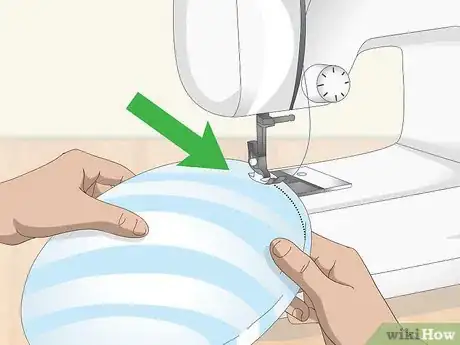
8Sew the opening shut, removing the pins as you do so. Use a ladder stitch to sew the opening shut. If you don't know how to ladder stitch, you can close the opening using fabric glue instead.
-
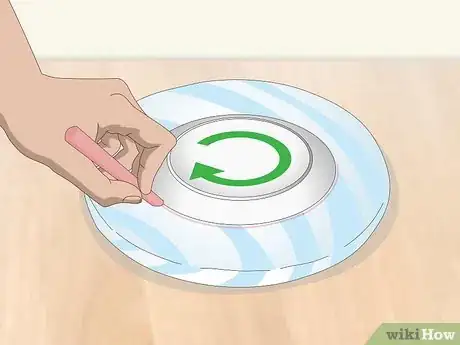
9Trace a smaller circle inside the Frisbee. Use a bowl, plate, or compass to trace a 4 to 5-inch (10.16 to 12.7-centimeter) wide circle in the center of your Frisbee.[4] Use a washable dressmaker's chalk or pen to do this.
- If your Frisbee has a front and back, trace the circle on the back.
-
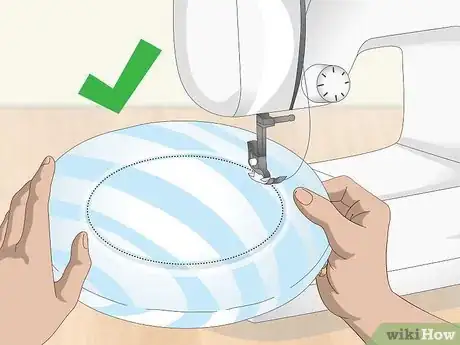
10Topstitch the circle on your sewing machine. You can use the same thread color as the fabric, or a contrasting one. This will add an element of design as well as keep the cotton batting in place.[5]
- Backstitch a few times at the front and start of your sewing.
Making a Frisbee Cover
-
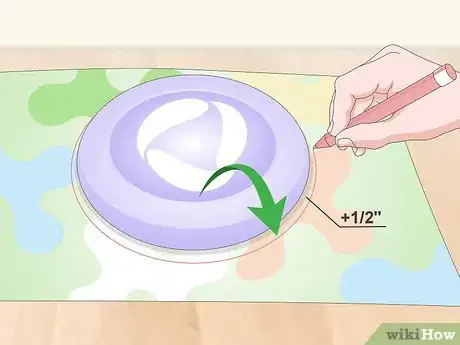
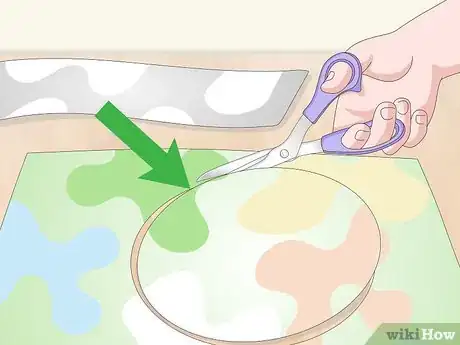
1Use a Frisbee to trace a circle on a piece of fabric, including seam allowances. Place a Frisbee down on a piece of colorful cotton fabric. Use a dressmaker's chalk or pen to trace around the Frisbee, ½-inch (1.27-centimeter) from the edge.[6]
-
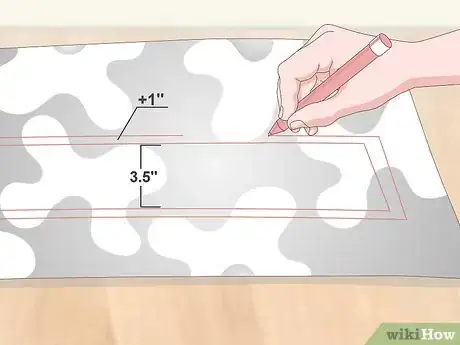
2Draw a narrow rectangle on the fabric, long enough to wrap around the Frisbee. Measure around the Frisbee and add 1 inch (2.54 centimeters) for seam allowance. Draw a rectangle on the fabric that is 3½ inches (8.89 centimeters) wide and whatever the Frisbee's circumference is (plus the seam allowance).[7]
- You can draw the rectangle on the same piece of fabric, or use a different color/pattern.
-
3Cut the fabric out along the lines that you drew. The circle will make the top of the Frisbee and the rectangle will make the inside hem.
-
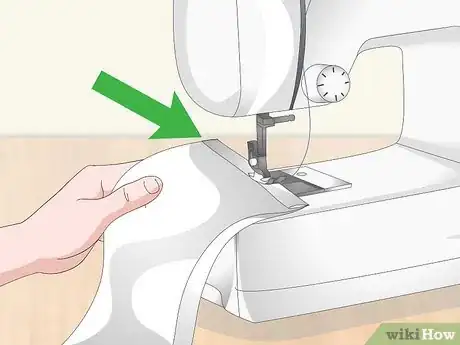
4Sew the narrow ends of the rectangle together to make a loop. Fold the narrow ends of the rectangle together, right sides together. Sew along the edge using a ½-inch (1.27-centimeter) seam allowance.[8]
-
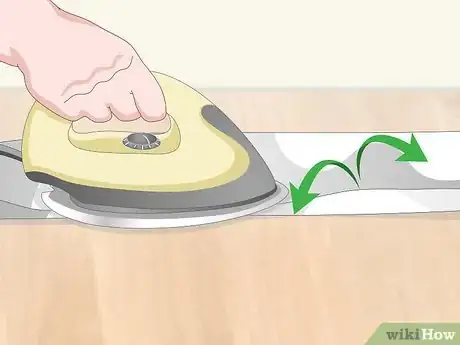
5Press the seam open with an iron. This will make it easier to insert the elastic later on. If you'd like to, you can topstitch both of the hems down close to the seam. This will add an element of design and keep the hems from fraying.
-
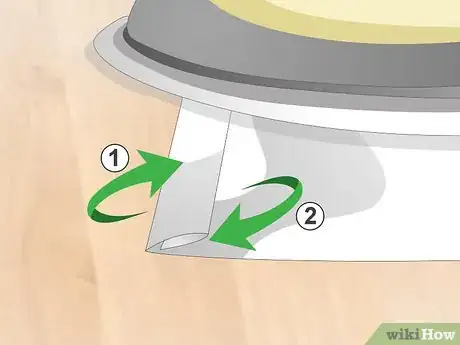
6Fold one of the raw edges over twice to make the hem. Working your way around the loop, fold one of the raw edges in by ¼-inch (0.32-centimeter). Press it flat with an iron as you go. When you are done, fold the edge in by ½-inch (1.27-centimeter) and press it with an iron once more. Make sure that you are folding towards the wrong side of the fabric.
-
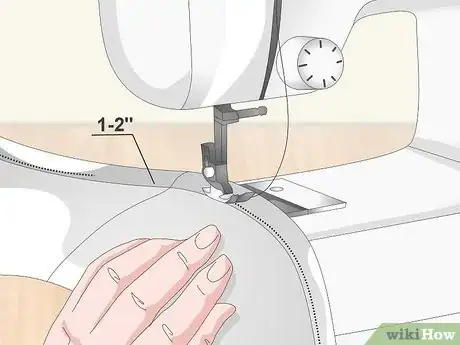
7Topstitch the hem down, leaving a small gap. Try to sew as close to the inside, folded edge as you can so that you'll have room for the elastic. Leave a 1 to 2-inch (2.54 to 5.08-centimeter) gap between the start and end of your sewing so that you can insert the elastic.
- You can use a matching thread color or a contrasting one.
-
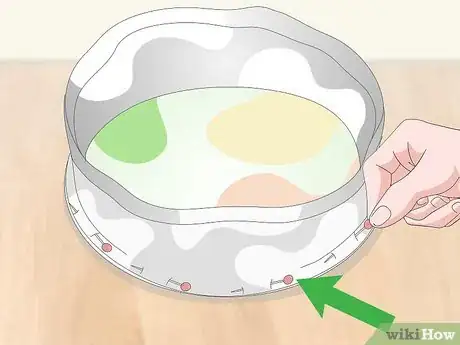
8Pin the loop to the circle with the right sides facing in. Turn the circle so that the right side is facing you. Make sure that the wrong side of the loop is facing out, then pin the remaining raw edge all the way around the circle.
-
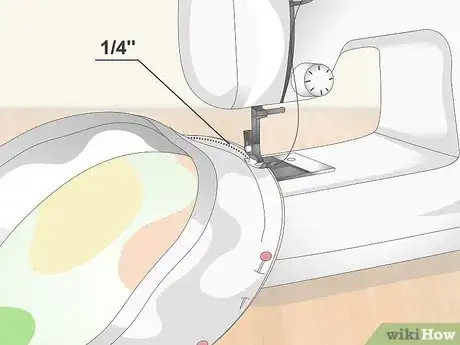
9Sew around the circle. Use a ¼-inch (0.32-centimeter) seam allowance and a matching thread color. When you are done sewing, consider cutting notches into the seam. This will make the cover lay more smoothly after you turn it inside out.[9]
-
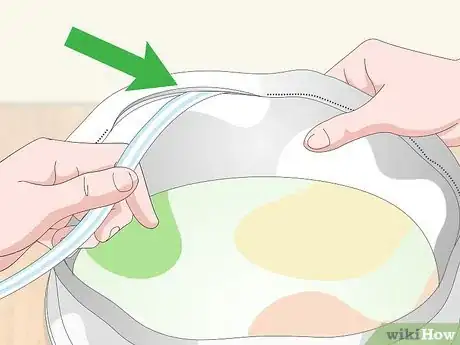
10Thread some elastic through the loop's hem. Frisbee, then cut some ⅜-inch (0.95-centimeter) wide elastic according to that length. Use a safety pin to thread the elastic through the opening in the hem. Remove the safety pin when you are done.[10]
-
11Sew the ends of the elastic together. Overlap the ends until the loop rests neatly against the circle. Sew the ends together using a straight stitch. Trim off any excess elastic, if necessary.
- Don't make the elastic too tight. You want to be able to stretch the cover over your Frisbee.
- Don't make the elastic too loose, or the cover will fall off.
- Give your Frisbee a nicer finish by tucking the elastic into the hem, then stitch the 1 to 2-inch (2.54 to 5.08-centimeter) gap shut.
-
12Turn the cover inside out. At this point, your cover is complete, and ready to be slipped over a Frisbee. If you want to, press both sides of the cover with an iron first, before slipping it over a Frisbee.
Things You'll Need
Making a Frisbee
- Cotton fabric (1 to 2 colors or patterns)
- Cotton batting
- Dressmakers chalk or pen
- Fabric scissors
- Sewing machine
- Sewing pins
- Needle
- Thread
- Iron
Making a Frisbee Cover
- Pinking sheers
- Cotton fabric (1 to 2 colors or patterns)
- ⅜-inch (0.95-centimeter) wide elastic
- Safety pin
- Paper and pen for tracing
- Fabric scissors
- Sewing machine
- Sewing pins
- Needle
- Thread
- Iron
References
- ↑ http://www.makeandtakes.com/fabric-frisbee-indoor-play
- ↑ http://www.makeandtakes.com/fabric-frisbee-indoor-play
- ↑ http://www.makeandtakes.com/fabric-frisbee-indoor-play
- ↑ http://www.makeandtakes.com/fabric-frisbee-indoor-play
- ↑ http://www.makeandtakes.com/fabric-frisbee-indoor-play
- ↑ http://swoodsonsays.com/diy-frisbee-makeover/
- ↑ http://swoodsonsays.com/diy-frisbee-makeover/
- ↑ http://swoodsonsays.com/diy-frisbee-makeover/
- ↑ http://swoodsonsays.com/diy-frisbee-makeover/
