This article was co-authored by Connie Tao. Connie Tao is a Bridal Designer and the Founder of Connie Tao Designs in Pasadena, California. Connie has over 12 years of experience and specializes in creating handmade custom wedding dresses and evening gowns. She and her team also do alterations and redesigns to existing garments. Connie received her Bachelors Degree in Fashion Design from Otis College of Art and Design.
This article has been viewed 8,912 times.
A flower filled tulle skirt is the perfect addition to any fairy outfit. While you may be able to buy one online, it is much simpler and cheaper to make one at home. Best of all, you can customize the skirt to suit your style by picking out the colors and flowers yourself. This wikiHow will show you how to make a basic flower filled tulle skirt.
Steps
Making the Skirt Base
-
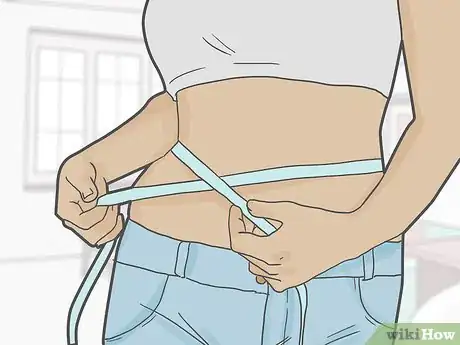
1Find your waist radius. Measure around your waist first. Divide that number by 3.14. Divide the answer again by 2. Record that number as your "waist radius".[1]
-
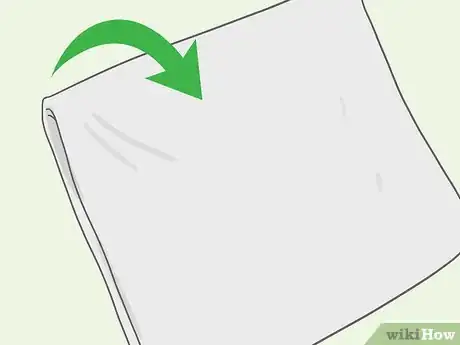
2Fold your basic fabric in half. Chiffon and organza make great choices here. You can also use a light silk fabric as well, but avoid anything too heavy, like satin. If you want something with more coverage, use two layers of fabric. Stack them together and fold them both at the same time.
- You will be adding the tulle later one. This is just for the base of the skirt.
- Something light in color, such as white or ivory, would work best.
Advertisement -
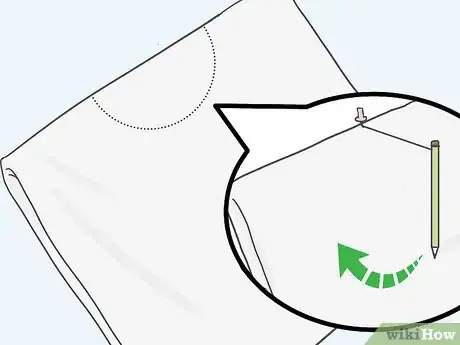
3Sketch the waist part of your pattern using your waist radius as a guide. Tie a pen to a piece of string. Pin the string to the middle of the folded part of the fabric. Make sure that the string is the same length as your waist radius, then use the string as a compass to draw an arch on the fabric.[2]
-
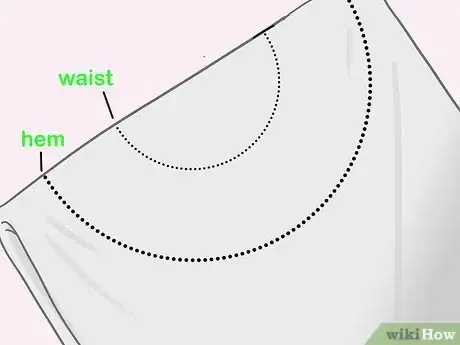
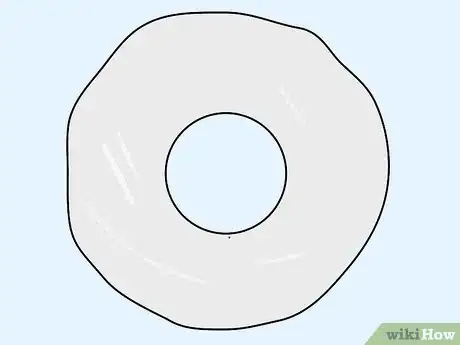
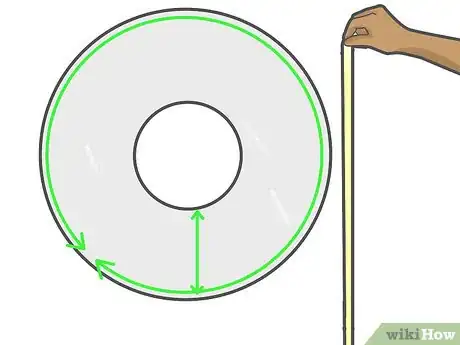
4Sketch the hem of your skirt. Decide how long you want the skirt to be. Add that number to your waist radius. Adjust the length of the string to match this new length. Use the string and pen like a compass to draw a second arch on your fabric. You'll have something that looks like half of a doughnut.[3]
-
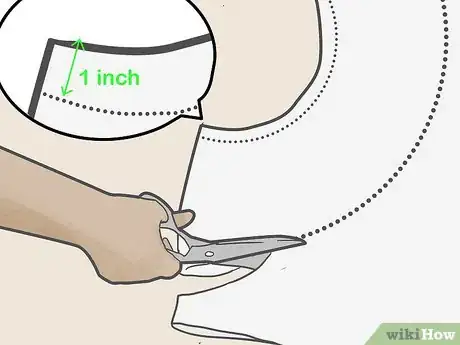
5Cut the pattern out, adding 1-inch (2.54-centimeter) seam allowances. Keep the fabric folded as you cut it. Be sure to add the 1-inch (2.54-centimeter) to both the hem and the waist. After you cut the pattern out, cut along the left folded edge; leave the other folded edge intact.[4]
-
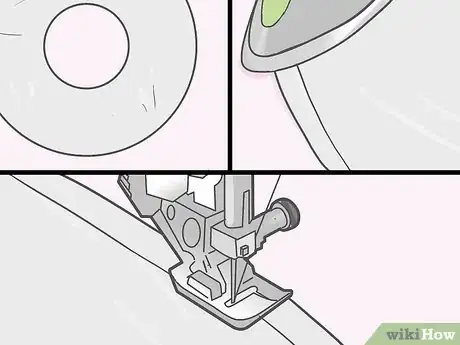
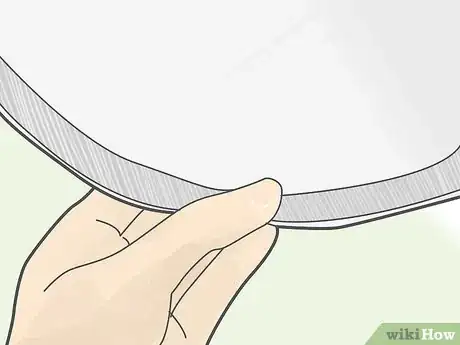
6Unfold your fabric, then hem the bottom edge of the skirt. Unfold your fabric so that you get a full circle, then turn it so that the wrong side is facing up. Fold the outer edge of the skirt in ½-inch (1.27-centimeter), then press it flat with an iron. Fold it by another ½-inch (1.27-centimeter), and press it flat once more. Topstitch it using a matching thread color, ⅛-inch (0.32-centimeter) from the inside, folded edge.
- If you are using two layers of fabric, baste them together first.
- Make sure that you are using a heat setting suitable for the type of fabric you are working with.
- Make your sewing more durable by backstitch at the start and end of your sewing.
-
7Sew a ½-inch (1.27-centimeter) horsehair band into the hem, if desired. You don't have to do this, but it will make the hem of your skirt stiffer and give it a ruffled effect. Use a matching thread color and remember to backstitch.
- Make sure that you are sewing the horsehair band to the wrong side of the fabric.
- Horsehair bands come in different colors. Use one that closely matches your fabric.
Adding the Flowers
-
1Lay the skirt out flat on a smooth surface. Make sure that the right side is facing up, and the wrong, hemmed side, is facing down.
-
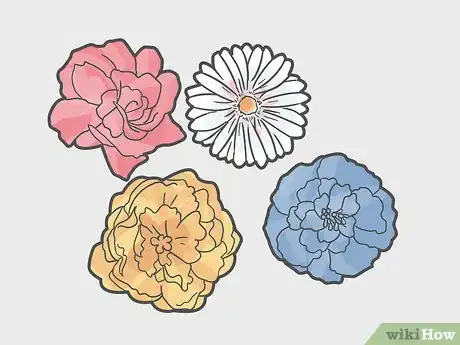
2Prep your flowers. Get lots of fake flowers in a variety of sizes: large, medium, and small. Gently pull the flowers off of the stems, then discard the stems. If you can't pull the flowers off, you will need to cut them off, just below the base, with some sturdy wire cutters.
- Choose flowers that are relatively flat, such as daisies. Certain types of roses and dahlias may also work.
- Choose a color scheme. Try something with only warm tones, or something with only cool tones.
-
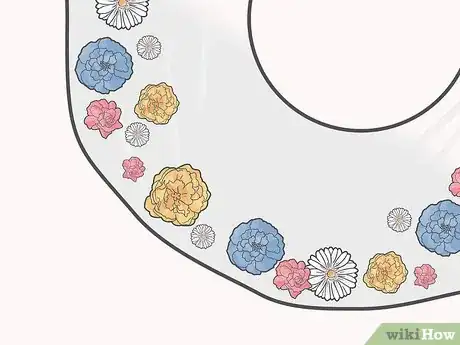
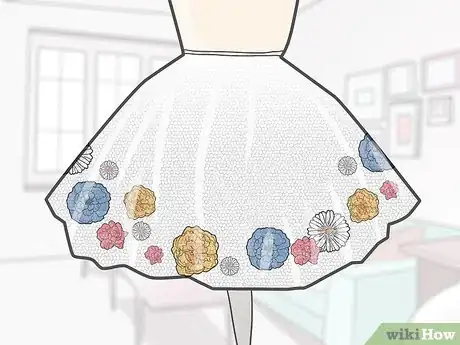
3Arrange the flowers on the skirt. Start with the largest flowers first, then fill the gaps in with your medium and small flowers. Try to place most of the largest flowers towards the bottom of the skirt, and the smaller ones towards the middle. Avoid going too high up the skirt.[5]
- Try adding some large, statement/fancy flowers. Don't get carried away, however!
- Don't arrange your flowers in a straight horizontal or vertical line. Try to arrange them in a more organic pattern.
- You can use as many or as few flowers as you want. The more flowers you use, the fuller your skirt will be!
- You can also simply mark the flower's positioning on the skirt with a pencil.
-
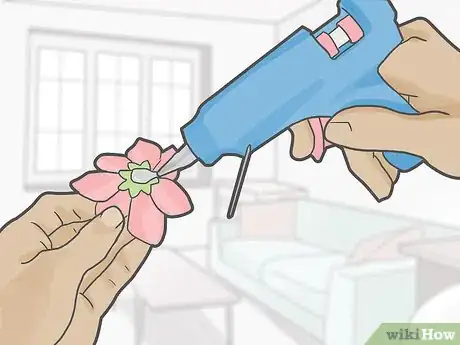
4Glue the flowers in place. Once you are happy with the arrangement. pick up the flowers one by one, and glue them to the fabric using a hot glue gun. If you don't have any hot glue, you can use fabric glue instead, but it will take longer to dry.
- The glue should be applied to the flower, which should then be placed on the tulle skirt.
-
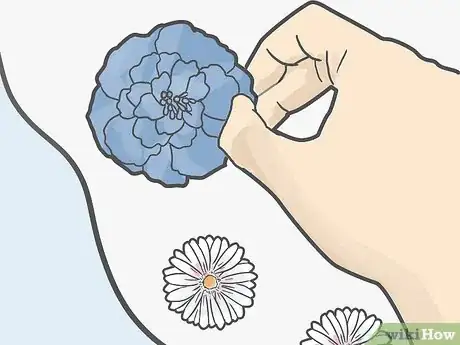
5Fill in any gaps, if necessary. If you went with a very full design, pick the skirt up and bend it here and there. If you notice any gaps between your clumps of flowers, fill them in with smaller flowers, petals, or leaves. This way, when you wear the skirt, you won't get any gaps showing between the flowers when the skirt moves.[6]
Adding the Tulle
-
1Take the measurements of your skirt. Measure the length of your skirt first, from waist to hem, and add a couple of inches/centimeters. This will be the height of your tulle. Next, measure along the hem of your skirt, from side-to-side, then add a couple of inches/centimeters. This will be the width of your tulle.
-
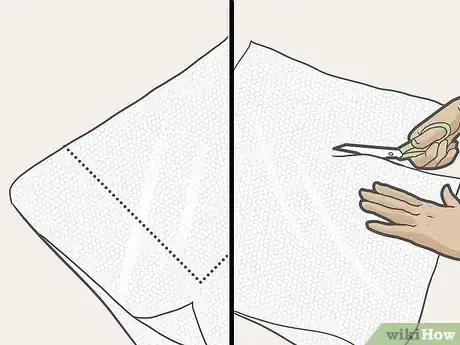
2Fold a piece of tulle in half, then cut it according to your measurements. Fold the tulle in half first, then use your measurements to cut out a rectangle. The folded part of the tulle will make the bottom of your skirt. It should match the length of the hem.[7]
- Use fine, tulle netting. Avoid the stiff tulle with large holes meant for hat-making.
-
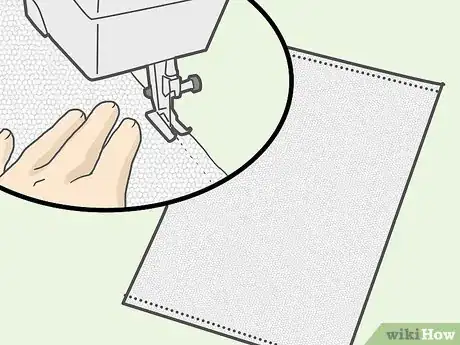
3Sew two, gathering lines along both of the top edges of your tulle. Unfold the tulle fabric first. Sew a straight line along the top edge of the tulle using a ¼-inch (0.64-centimeter) seam allowance. Sew another line just below that using a ½-inch (1.27-centimeter) seam allowance. Your stitching is now ready for gathering.
- Repeat this step for the bottom edge of the tulle.
- Use the longest stitch length you can. Do not backstitch.
-
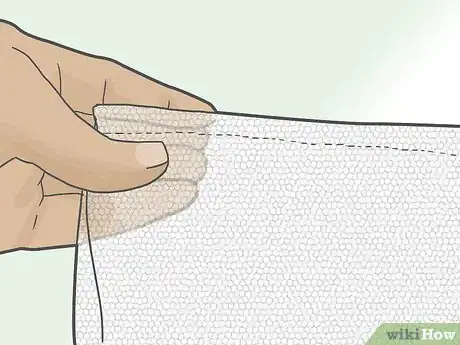
4Gather the top and bottom stitches. Go back to the top edge of your tulle. Find the bobbin threads from the two lines you sewed. Gently tug on them at the same time to gather the tulle. Keep gathering until the tulle is the same length as the waist of your skirt.[8]
- Repeat this step for the bottom edge of the tulle.
- You may have to gather from the other side of the tulle as well. Only pull on the bobbin threads, however.
-
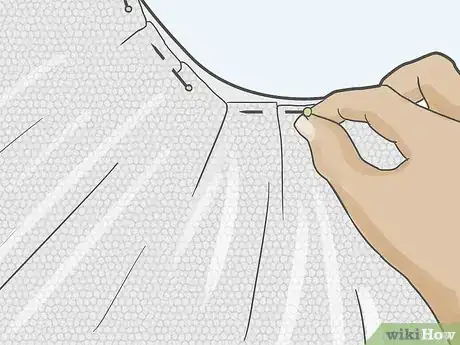
5Fold and pin the tulle around the skirt. Turn your skirt so that the front is facing you. Pin the top, gathered edge of the tulle to the waist of your skirt. Flip your skirt over so that the back is facing you. Pin the bottom, gathered edge of the tulle to the waist of the skirt as well. The tulle will fold around the hem of the skirt, sandwiching the skirt inside it.[9]
- You want the tulle layer to be the same length as the skirt. If the tulle is too long, pull it past the waist of the skirt.
- Gently fluff out the bottom edge of the tulle so that it's the same length as your skirt's hem.
-
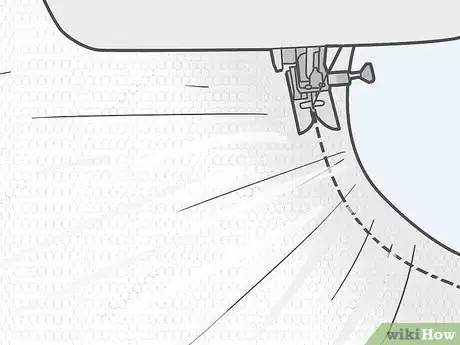
6Baste along the waist and side edges of the skirt using ½-inch (1.27-centimeter) seam allowances. Start by sewing along the waist of the skirt, removing the pins as you go. Next, go to the left side edge of your skirt. Shift the tulle so that it matches up with the chiffon, then pin it in place. Baste the layers into place, removing the pins as you go, then repeat for the right side.
- Do not fold and sew the skirt in half just yet. You are simply sewing the layers together to make things easier later on.
Finishing the Skirt
-
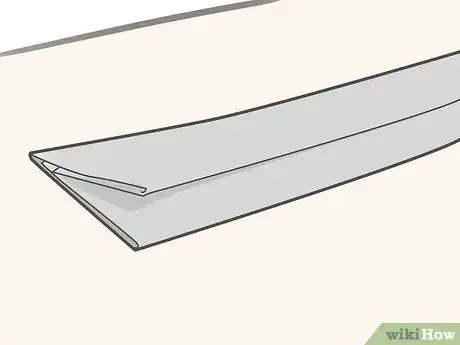
1Cut some ½-inch (1.27-centimeter) bias tape the same length as the waist. Measure the waist of your skirt first. Cut ½-inch (1.27-centimeter) wide bias tape according to that measurement. The bias tape can be the same color as your skirt, or a contrasting one.[10]
- If you can't find a matching color, try making your own bias tape.
- If you choose a contrasting one, try matching it to one of the flowers.
-
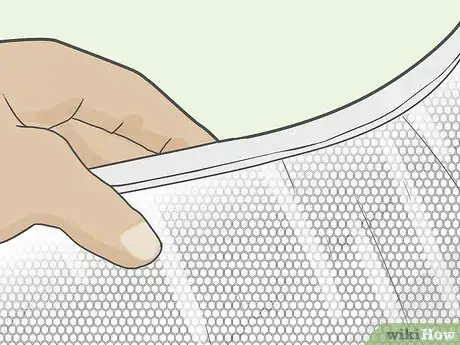
2Pin and sew the bias tape to the waist. Open up the bias tape, and slide it over the top edge of your skirt. Pin it in place, so that the waist part of your skirt is sandwiched inside of it. Sew along the both edge of the bias tape using a ⅛-inch (0.32-centimeter) seam allowance and a matching thread color.
- Remember to backstitch at the start and end of your sewing.
- Be sure to remove the pins as you sew.
-
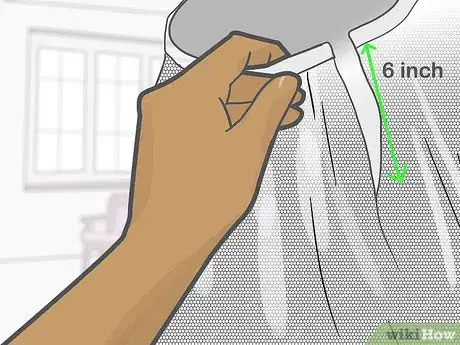
3Sew up side of the skirt, leaving 6-inch (15.24-centimeter) slit for the zipper. Fold the skirt in half, so that the side edges match up. Make sure that the wrong side is facing out. Sew along the side edge using a ½-inch (1.27-centimeter) seam allowance. Stop when you are 6 inches (15.24 centimeters) from the waist.[11]
-
4Fold the side edges of the waistband and slit down by ½-inch (1.27-centimeters). This will give you a cleaner finish. Be sure to pin everything in place. Do not iron the tulle, or it will melt.
-
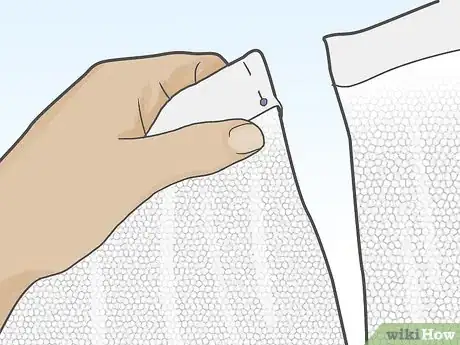
5Pin an invisible zipper to the slit. Place an invisible zipper over the slit. Make sure that the top of the zipper matches up with the waistband of the skirt. Check the slit from the inside of the skirt, and make sure that the zipper is not visible.[12]
- Even though invisible zippers won't be visible in the end, try to use a color that matches your skirt.
- Don't worry if the bottom of the zipper extends below the slit.
- Iron the zipper flat first. This will help it lay better.[13]
-
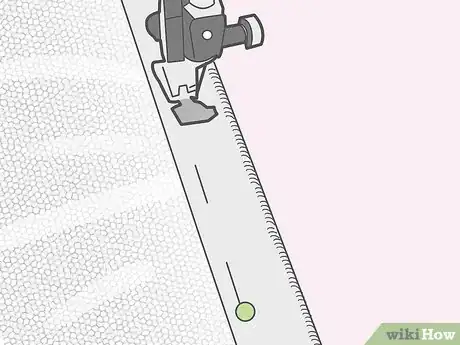
6Sew the zipper into place. Remember to backstitch at the start and end of your sewing. When you reach bottom of the slit, backstitch a few times across the zipper. This will help keep everything in place. [14]
-
7Add the finishing touches. Use a sharp pair of scissors to trim off any loose threads. Cut off the excess zipper above the waistband. Turn the skirt inside out, and give it a shake to fluff everything out.
Things You'll Need
- Chiffon or organza fabric
- Tulle fabric
- ½-inch (1.27-centimeter) horsehair braid
- ½-inch (1.27-centimeter) bias tape
- Fake flowers
- Invisible zipper
- Thread
- Iron
- Fabric scissors
- Sewing pins
- Sewing machine
- Measuring tape
- Dressmaker's chalk or pen
- Hot glue gun and hot glue sticks
References
- ↑ https://www.youtube.com/watch?v=shYY-TsESFg
- ↑ https://www.youtube.com/watch?v=shYY-TsESFg
- ↑ https://www.youtube.com/watch?v=shYY-TsESFg
- ↑ https://www.youtube.com/watch?v=shYY-TsESFg
- ↑ https://doxiequeen1.wordpress.com/2014/09/16/making-a-fall-flower-fairy-part-one/
- ↑ https://doxiequeen1.wordpress.com/2014/09/16/making-a-fall-flower-fairy-part-one/
- ↑ https://doxiequeen1.wordpress.com/2014/09/16/making-a-fall-flower-fairy-part-one/
- ↑ https://doxiequeen1.wordpress.com/2014/09/16/making-a-fall-flower-fairy-part-one/
- ↑ https://doxiequeen1.wordpress.com/2014/09/16/making-a-fall-flower-fairy-part-one/
