X
wikiHow is a “wiki,” similar to Wikipedia, which means that many of our articles are co-written by multiple authors. To create this article, volunteer authors worked to edit and improve it over time.
This article has been viewed 10,976 times.
Learn more...
Do you want to know how to make a mondrian pattern, but don't know how? Well if so, read this article to learn how to do so.
Steps
-
1Choose a canvas or surface onto which you will place your design like a tabletop or onto a wall as a mural, directly. Ensure that it is clean, dry and free from oil (as these marks may show through the finished piece).
-
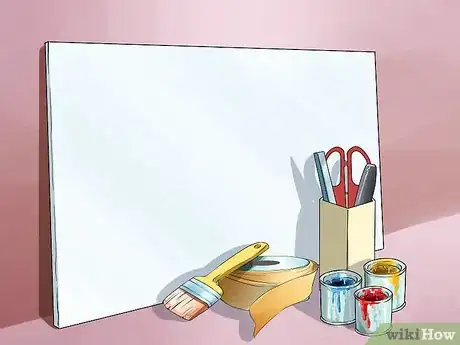
2Depending on the size of your chosen canvas or surface, you will need to adapt the quantities accordingly. The tape used to mask will need to depend on the proportion to this surface also, for the most authentic Mondrian "feel". You will need the following:
- Reference material - or a sketch of your own design
- Canvas or flat surface to decorate on.
- Pencil
- Tape measure
- Tape for masking off square areas and lines
- Sharp scissors
- Acrylic paints in these colours: White, black, cobalt blue, cadmium yellow, red madder (or an orange-red)
- Brushes - any will work, you will need one large brush for priming in black, and perhaps one for each colour will save you washing out thoroughly between colour changes.
- (Optional) Varnish to seal your work - vital if your design is going on to a work surface or somewhere that gets heavy wear and tear.
- Room to step back from the painting at the masking stage and check your lines!
Advertisement -
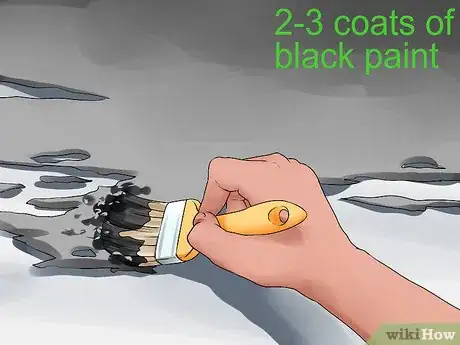
3Start by priming the surface in black - two to three coats, allowing each to dry before applying the next.
-
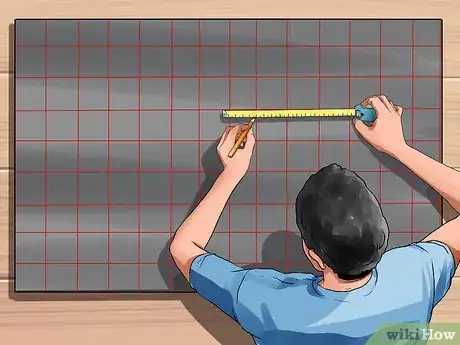
4Using your tape measure and pencil, divide the canvas into a grid of squares by measuring equal points along the edges. Mark these lightly along the sides, and then rule out straight lines across the canvas, corresponding point to corresponding point.
-
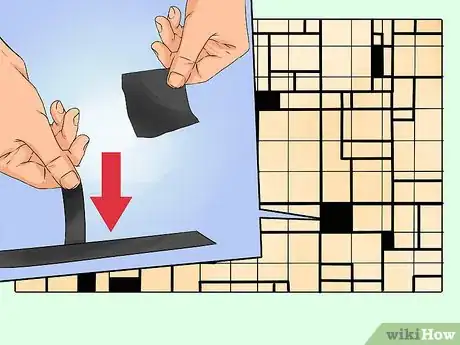
5This is where your reference material comes in and where you should take the most time. Apply your tape to the black surface, using your pencil lines as guides, to create the blocks we will later fill with colour. Be sure to cut the tape neatly and as squarely as possible, and as you apply it place the cut end of the tape up to the outside edge of the last piece of tape to 'box in' the colour and ensure clean, crisp lines.
-
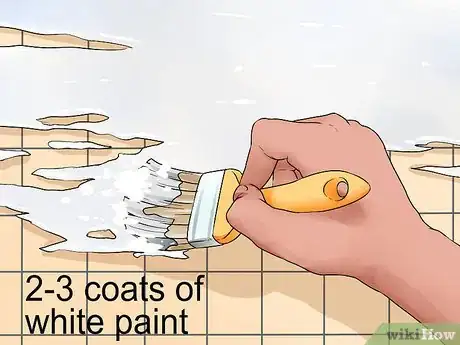
6Make sure your tape is stuck firmly, and give the whole canvas* another two to three coats of white paint. Until it is a solid, uniform white. Patience is needed here!*If you want black blocks of colour in your designs, obviously do not paint past the taped lines in these areas, leave them black.
-
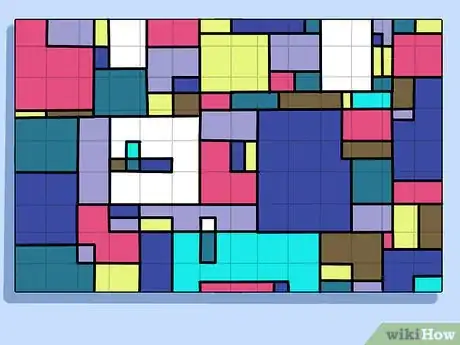
7Leaving all tape in place when the white paint is dry, begin filling in blocks of colour as you wish. Remember - less is more until you're sure you're happy with the design. Keep looking back to Mondrian's work for guidance, or use your imagination! This bit is up to you!
-
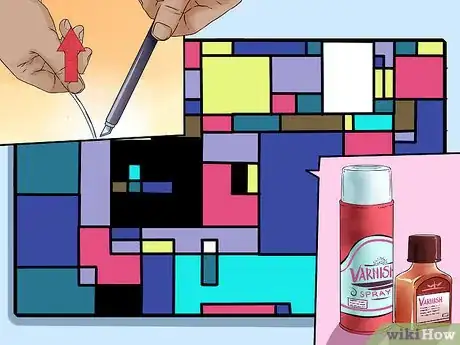
8When all paint is dry (overnight to be sure) - the big reveal! Carefully peel away the tape to reveal the black lines and complete the work - et voila! Protect your new design with appropriate sealer or varnish, and once dry, stand back and admire!
Advertisement
About This Article
Advertisement
