X
wikiHow is a “wiki,” similar to Wikipedia, which means that many of our articles are co-written by multiple authors. To create this article, 9 people, some anonymous, worked to edit and improve it over time.
This article has been viewed 14,511 times.
Learn more...
A moss table is a fun way of bringing a little bit of landscaping into your living room. This table looks like a miniature garden or landscape, all carefully arranged and safely tucked underneath glass to protect the moss.
Steps
Part 1
Part 1 of 3:
Obtaining the materials


Part 2
Part 2 of 3:
Preparing the moss holding base
-
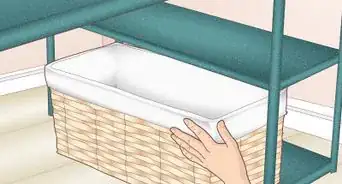
1Buy some plywood for under the table, with pieces also for the sides. Measure the pieces to fit under the glass-top area of the table – one base piece and four sides measuring the same length as the table. Making the sides deeper is better, to create a feeling of depth. Form the base from the plywood for the moss to be assembled on and attached under the coffee table.
- Measure twice, cut once.
-
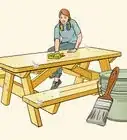
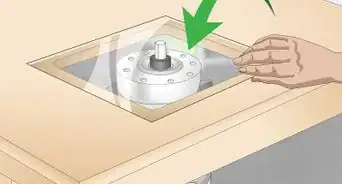
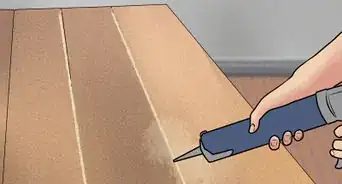
2Attach the plywood base to the underside of the table. Use L wood brackets and some very small screws to keep the holding base in place.
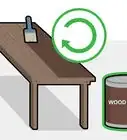
- You can purchase thin pieces of wood veneer to include in the design.


Advertisement
Part 3
Part 3 of 3:
Making the moss design
-
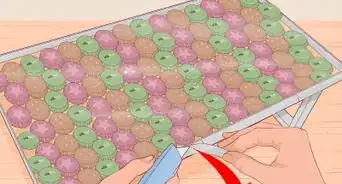
1Decide how you would like to place the pieces of moss in the holding base. Choose to put different colors alongside each other, to vary the appearance of the moss, and include such additions as pieces of driftwood or branches, to create visual breaks and interesting effects.
- Use a good pair of scissors to cut moss into the shapes desired.
-
2Add Styrofoam pieces underneath the moss pieces. Doing this will help to create a raised effect. This can be done here and there or all the way across, depending on the design you're aiming for.
-
3Add decorative sand for the third element. The sand can be placed in gaps, to add more visual appeal and a color variant. It can also help bring forth the landscape effect.
-
4Keep adding the design pieces.
- Make adjustments as you go until you're happy with the design.
-
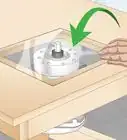
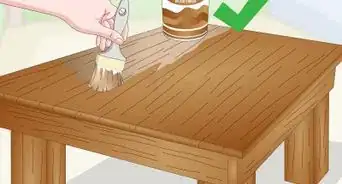
5Attach the glass on the top.
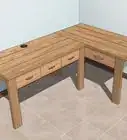
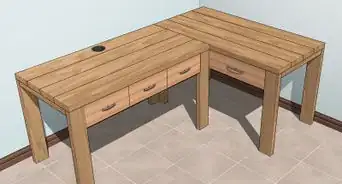
- Note the side table; this is how the cocktail table looked initially.
-
6Done. Now you have a beautiful moss table.


Advertisement
Community Q&A
-
QuestionDoes it have to be live moss?
 noCommunity AnswerLive moss is a lot prettier but requires more set-up than this. Do a little more research before adding live moss. Fake moss is another, much easier option.
 -
QuestionHow will the moss get water?noCommunity AnswerYou could design a drawer system so you could mist it every day, or remove the glass each time you need to water it.
Advertisement
Things You'll Need
- Cocktail table with a glass centerpiece
- Mood moss, sheet moss, and deer moss
- Plywood to make the table moss holding base
- Veneer wood
- Glue
- Styrofoam
- Decorative sand
- Driftwood or branches, etc.
- Scissors


-Step-9.webp)


About This Article
Advertisement