X
wikiHow is a “wiki,” similar to Wikipedia, which means that many of our articles are co-written by multiple authors. To create this article, volunteer authors worked to edit and improve it over time.
This article has been viewed 11,012 times.
Learn more...
The RJ-45 connector is most commonly known for its use in ethernet networking. It’s similar to a telephone jack, but it is wider. Most connectors are described through their prongs that attach to port; this is what differentiates the cables from one another. In RJ-45, the “RJ” stands for “registered jack”, while the “45” stands for the “number of interface standard”.
Steps
Part 1
Part 1 of 3:
Stripping the Protective Casing
-
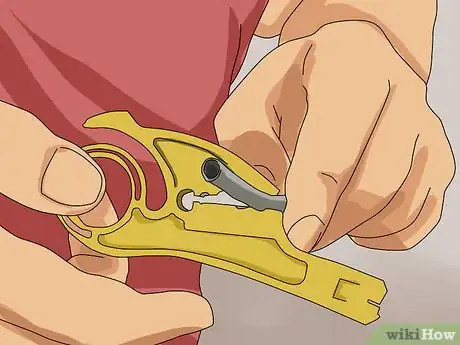
1Adjust the dial of the wire stripper. Twist the dial until it can cut into your cable without damaging the wires inside.
- Make sure that it is the right dial to match the size of your cable.
-
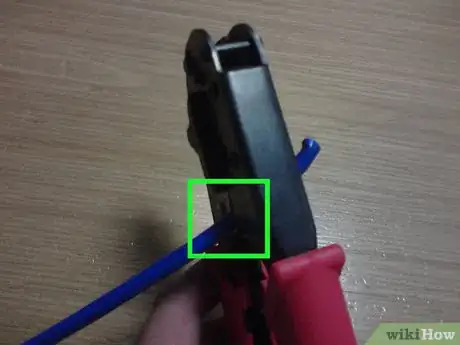
2Insert the wire into the notch. Stick the wire into the notch of the wire stripper and gently squeeze the stripper, so it can cut through the rubber cushioning/insulation.
- Check to see if the length of the cable is not too short or too long as your inserting it into the notch.
Advertisement -
3Cut through the insulation. Spin the wire stripper around the wire once it cuts the rubber insulation to make sure that the insulation is cut all the way through.
- Double check to make sure that the inner wires are not damaged, to prevent issues from occurring as you continue!
Advertisement
Part 2
Part 2 of 3:
Exposing and Organizing the Wires
-
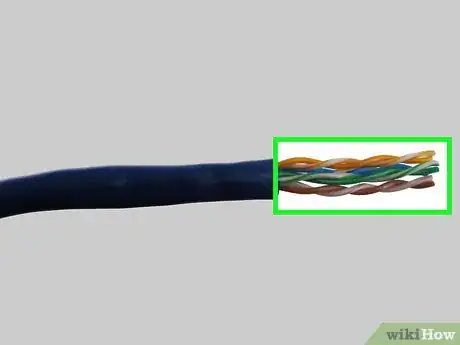
1Pull off the cut insulation so that the inner wires are exposed.
-
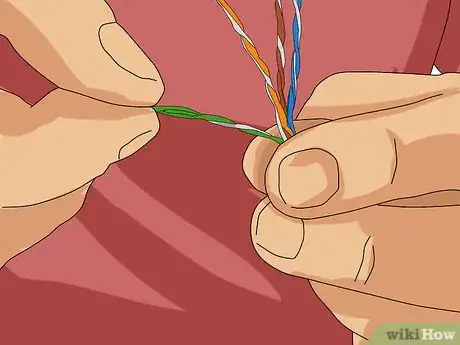
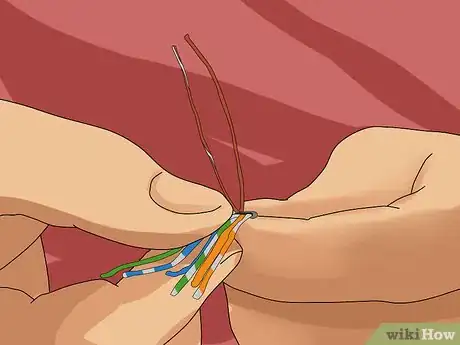
2Untwist the wires. Make it so the colored wires are separated from each other.
-
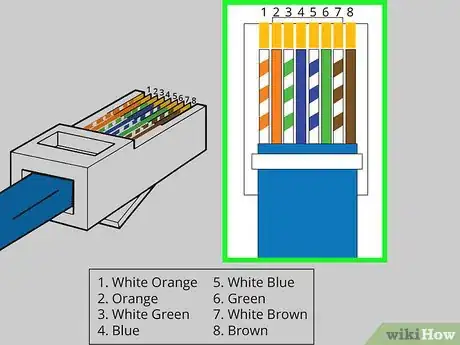
3Organize the wires.
- The wires should be organized using the straight through method.
- Both T-568A and T-569B will work, so pick one of the patterns and apply it to both sides of the cable.
-
4Check the length. Line up the wiring with connectors to see if the length is good.
-
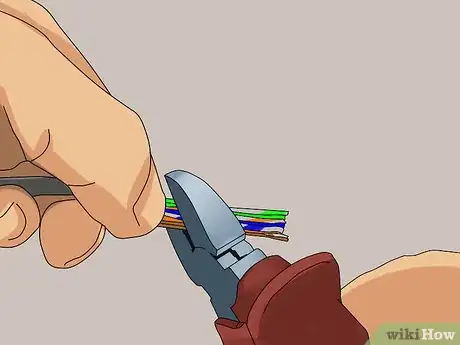
5Cut the excess if the length is longer than needed.
Advertisement
Part 3
Part 3 of 3:
Connecting Everything Together
-
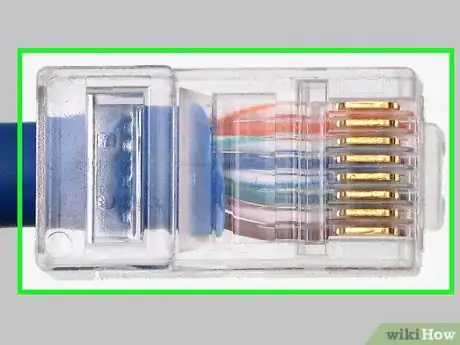
1Insert the wires in the connector. Slide the wires inside the connector so that it is all the way though.
-
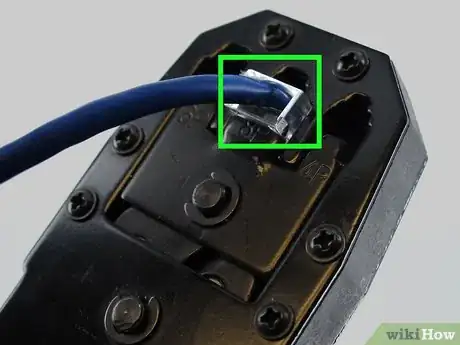
2Crimp the connector. Use the crimping tool by squeezing the connector relatively hard to secure the wires inside the connector.
-
3Double check that all the wires are in the correct order
-
4Use the crimper on cables. Be careful because after this point you can not redo anything
-
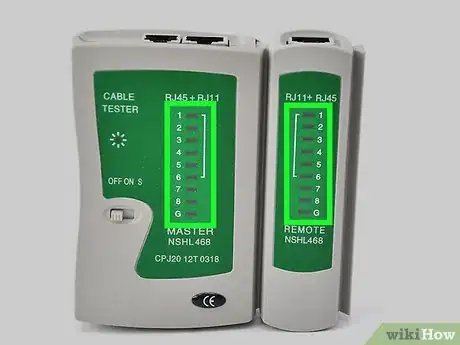
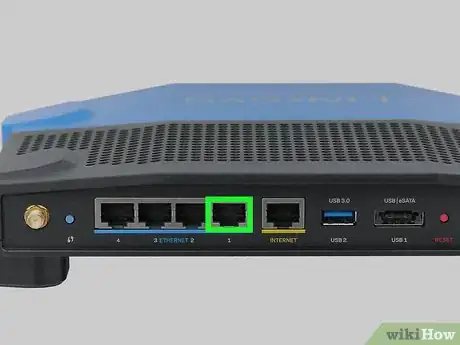
5Test the cables. Test the cables by inserting it into a cable tester or the back end of a router.
-
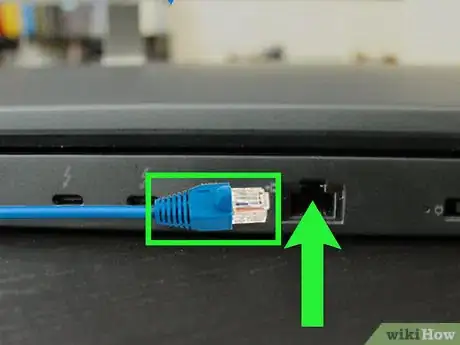
6Plug in the cables for use!
Advertisement
Warnings
- If it is plugged into the correct port and is still not working, you must restart the process of making your cable with a new connector.⧼thumbs_response⧽
Advertisement
Things You'll Need
- Crimper (Note: some crimpers come with a wire cutter)
- RJ-45 connector
- Ethernet Strippers
- Cable tester (optional)
- Cabling: Choose from Cat5, Cat5e (most common), Cat6, Cat6a, Cat7 (When deciding on what cable you are looking for, you should keep two things in mind: speed and cost.)
About This Article
Advertisement
