wikiHow is a “wiki,” similar to Wikipedia, which means that many of our articles are co-written by multiple authors. To create this article, 10 people, some anonymous, worked to edit and improve it over time.
The wikiHow Tech Team also followed the article's instructions and verified that they work.
This article has been viewed 166,796 times.
Learn more...
You can connect several computers in a network to a single scanner. This allows each computer to access and use the scanner's functions, so that if a picture or document is scanned, it can be sent to multiple computers simultaneously. This is a useful setup for those who do not have (or want) scanners for each computer, such as a household, a classroom, or an office. The steps below detail how to network scanners in Windows Vista, 7, and Mac OS X using a networked computer as a dedicated file server.
Steps
Setting Up a Scanner for Mac OS X Networks


Connecting a Scanner to a Networked Computer Using Mac OS X
-
1Open Image Capture or Printer/Scanner Queue.
-
2Choose the scanner you're using from the "SHARED" group in the left pane.
-
3Open Preview from the Applications Folder (or your dock if an icon is placed there).
-
4Select "File," then "Import from Scanner," and then "Include Network Devices."
-
5Select "File," "Import from Scanner," and then select the scanner your using.


Setting Up and Adding a Scanner to a Networked Computer Using Windows 7 and Vista
-
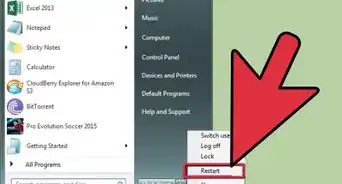
1Open the Start menu and select "Control Panel."
- Select "Network" if you are using Windows Vista.
-
2Type "network" in the search box. Click on "View network computers and devices" under "Network and Sharing Center." Disregard this step if you are using Windows Vista.
-
3Find the scanner in the list of devices, right-click it, then select "Install."
-
4Follow the on-screen instructions to finish adding the scanner.