This article was co-authored by wikiHow staff writer, Darlene Antonelli, MA. Darlene Antonelli is a Technology Writer and Editor for wikiHow. Darlene has experience teaching college courses, writing technology-related articles, and working hands-on in the technology field. She earned an MA in Writing from Rowan University in 2012 and wrote her thesis on online communities and the personalities curated in such communities.
This article has been viewed 4,586 times.
Learn more...
You created a bunch of checks in Quickbook, but can't figure out how to print them. This wikiHow will show you how to print the checks you've created in Quickbooks in Windows or macOS. You can print checks when logged in on the web or when using the desktop program.
Steps
Using a Web Browser
-
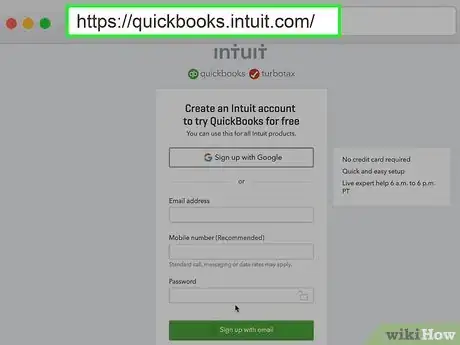
1Go to https://quickbooks.intuit.com/ and log in. As soon as you log in, the application will launch your most recent project.
-
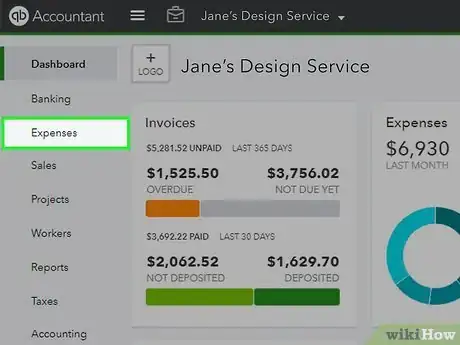
2Click Expenses. You'll see this in the toolbar on the left side of the page.[1]Advertisement
-
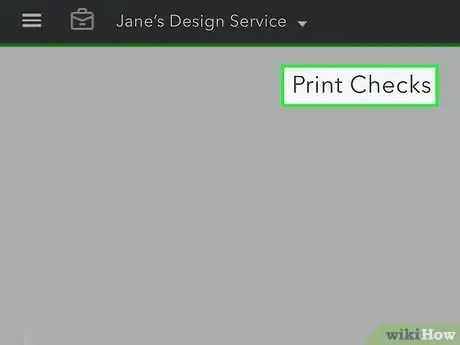
3Select Print Checks. This should be in the top right corner of the page.
-
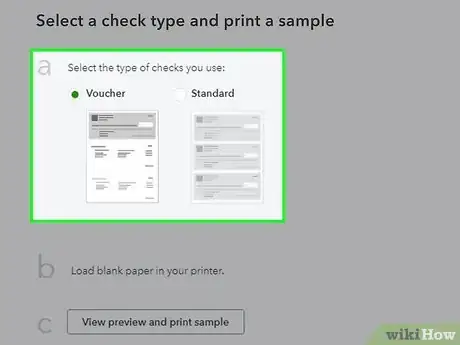
4Select the type of checks you are printing. You can choose to print vouchers, which are longer checks with more detail, or you can print standard checks.
-
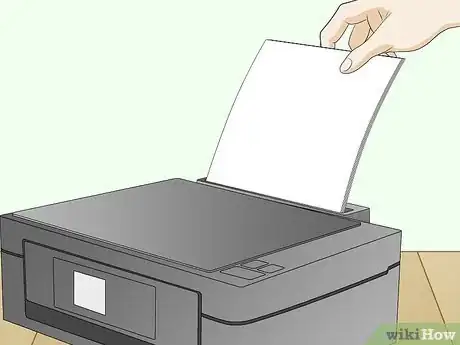
5Load blank check paper into your printer. There should be arrows on the paper to help you insert it correctly.
-
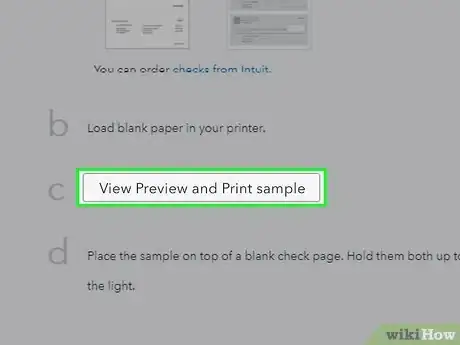
6Click View Preview and Print. You'll see this button in a substep of instructions to print your checks.
- Click Print from the preview pop-up to continue.
-
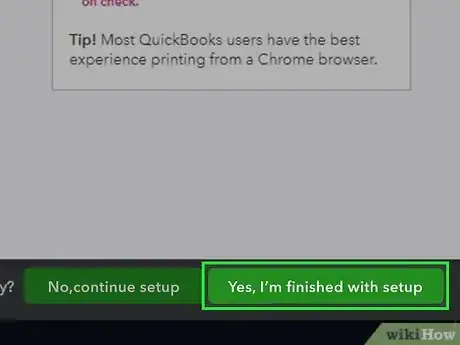
7Click Yes, finish with setup. If the numbers for the check amount do not print in the designated area on your check, continue aligning your printer by clicking No, continue with setup. If they match, continue with printing by selecting Yes.
- When you select Yes, your checks will print.
- You may need to align your printer by re-printing and updating Adobe Reader to get the perfect print.
Using the Desktop Program
-
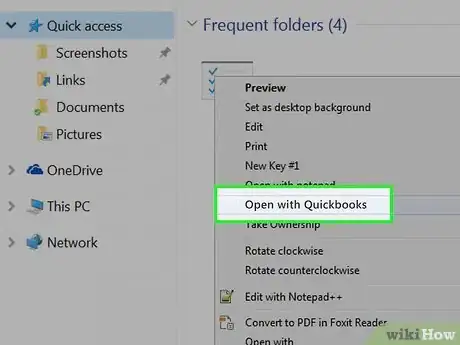
1Open your project in Quickbooks. You can either open the project from the program by clicking File > Open or by right-clicking the file and selecting Open With….
-
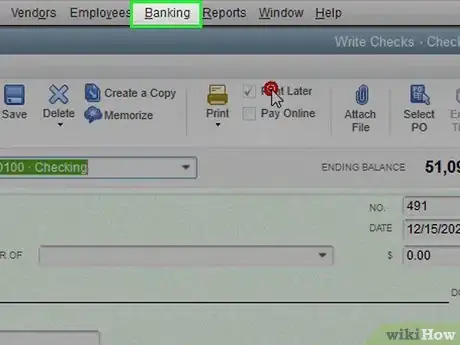
2Click Banking. You'll see this in the menu ribbon above the document with File, Edit, View, Lists, Favorites, Company, Customers, and Vendors.
-
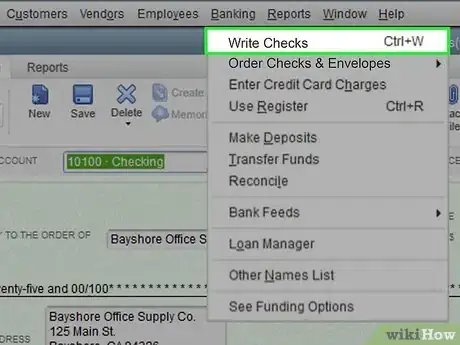
3Click Write Checks. This is usually the first option in the drop-down menu.
-
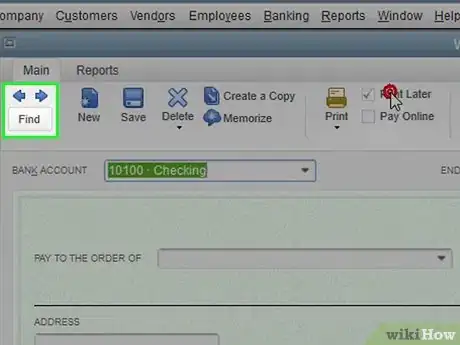
4Click the arrows to navigate through your checks. You'll see these icons at the top of the Write Checks menu.
-
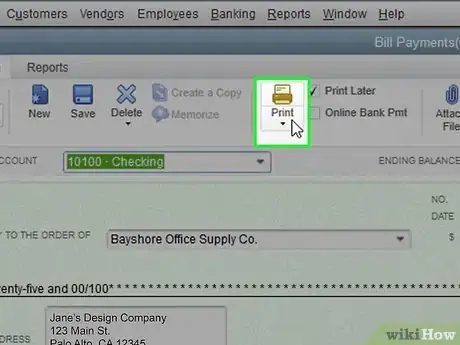
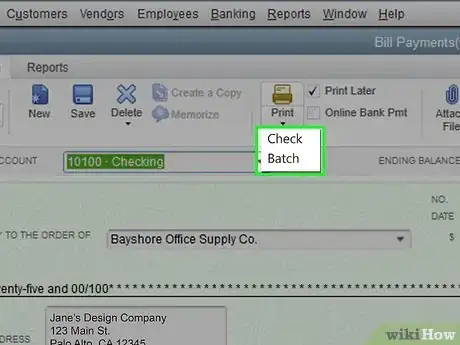
5Click the arrow under the print icon. You'll find the print icon in the third grouping from the left and a menu will drop-down.
-
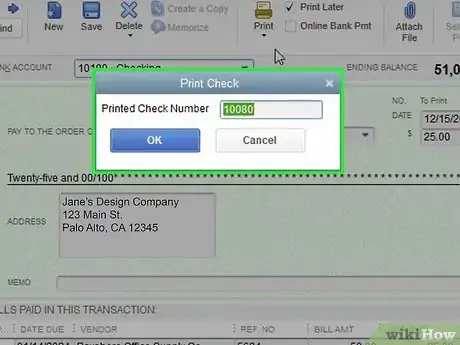
6Select to print a single check or batch of checks. If you select to print a single check, you'll be prompted to enter the check number you are printing.
- If you're printing a single check, click OK to continue after you've entered the check number to print. You'll need to set print options before clicking Print.
- If you're printing a batch of checks, you'll be prompted to select the checks to print in a pop-up window. Click to select or deselect checks, then click OK.
-
7Click Print. You'll need to set print options, like which printer to use, before clicking Print. [2]
References
About This Article
1. Go to https://quickbooks.intuit.com/ and log in.
2. Click Expenses.
3. Click Print Checks.
4. Select the type of checks you are printing.
5. Load blank check paper into your printer.
6. Click View Preview and Print.
7. Click Print.
8. Click Yes, finish with setup.
