X
wikiHow is a “wiki,” similar to Wikipedia, which means that many of our articles are co-written by multiple authors. To create this article, volunteer authors worked to edit and improve it over time.
This article has been viewed 5,455 times.
Learn more...
This article teaches you how to stream and record in Streamlabs OBS for PC. It will detail how to set up Streamlabs OBS, how to record in Streamlabs OBS, and how to stream using Streamlabs OBS.
Steps
Part 1
Part 1 of 3:
Setup
-
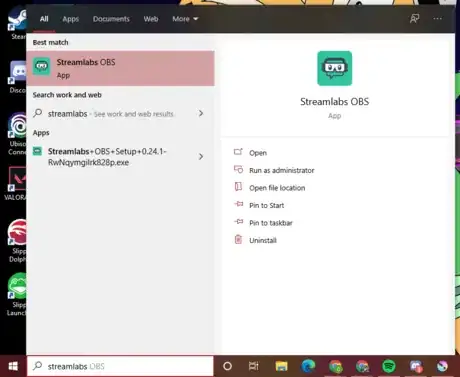
1Open Streamlabs OBS.
-
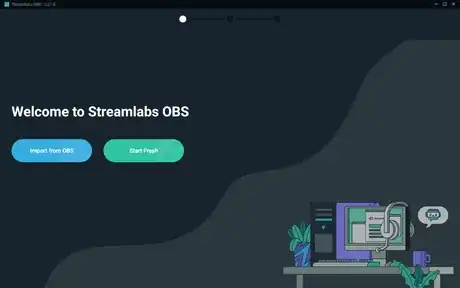
2Choose from one of these options.Advertisement
-
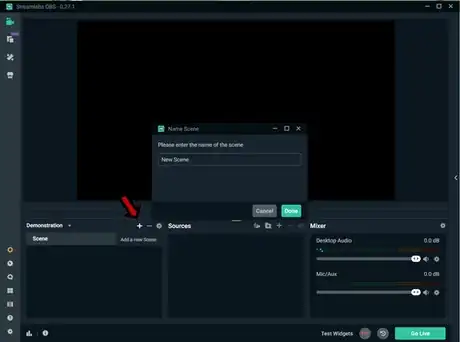
3Create a new scene.
-
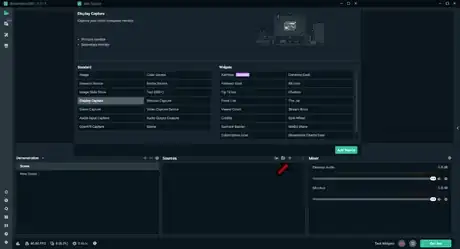
4Click on the + next to sources.
- If you want to capture your display, click on display capture.
- If you want to capture a capture card, click on video capture device.
- Streamlabs OBS describes what each selection is for if you click on it.
-
5Click on done.
-
6Select the display you want to record or stream.
-
7Click on done.
-
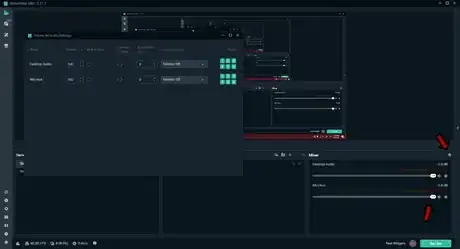
8Adjust your audio.
- You can also add additional audio sources by creating a new scene.
Advertisement
Part 2
Part 2 of 3:
Recording
Part 3
Part 3 of 3:
Streaming
-
1Sign into your Twitch, Facebook, or YouTube account through the Streamlabs OBS Client.
- This is the easiest way to get started with streaming on Streamlabs OBS. When you sign into any of these accounts, your stream key will be linked to the Streamlabs OBS client.
- Streamlabs may have prompted you to do this step before or during the downloading process. If so, you can just skip this step.
-
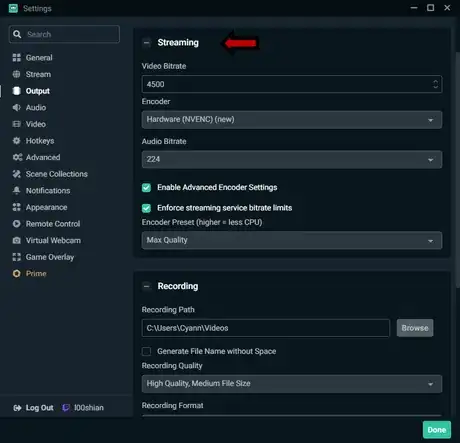
2Adjust your stream settings.
- To access these settings, click on the cog in the bottom left-hand corner of the Streamlabs OBS window, and click on Output.
- Depending on your network and your computer hardware, your settings may vary. Twitch has guidelines for stream settings based on your hardware and network connection here: Broadcast Guidelines
-
3Click on the green Go Live button to start streaming to your channel.
Advertisement
About This Article
Advertisement
