This article was co-authored by Luigi Oppido. Luigi Oppido is the Owner and Operator of Pleasure Point Computers in Santa Cruz, California. Luigi has over 25 years of experience in general computer repair, data recovery, virus removal, and upgrades. He is also the host of the Computer Man Show! broadcasted on KSQD covering central California for over two years.
This article has been viewed 264,858 times.
Did you accidentally delete an important video? Are you afraid it's gone for good? Before you give up hope on a cherished memory or funny cat clip, you may be able to retrieve it. With one of a variety of free programs and a little luck, you can have the video back in your possession in just a few minutes.
Steps
-
1Check the Recycle Bin or Trash for the video. The Recycle Bin (Trash on Mac OS X) holds files before they are permanently deleted, which allows you to restore in case your change your mind or deleted something by accident. To restore a video from the Recycle Bin, open the Recycle Bin on your desktop, right-click on the video, and select Restore. The video will be returned to its original location.
- Large files may bypass the Recycle Bin. If that's the case then you may need recovery software.
- If you are using an iPod or iPhone and need to recover a deleted video, see Step 4.
- Once you delete a file on Google Drive, Google holds onto it for 30 days. To recover it, go to the left-hand tab on Google Drive and click "Trash." Click the file, then hit the "Restore from trash" button at the top right-hand corner—it looks like a clock icon. When you finish, your data will return to its original location.
-
2Check your cloud storage. If you are using an Apple or Google phone, there is a good chance that your video may be backed up in your personal cloud storage. If you are using a Google device, check your Google+ Videos, as many newer devices will automatically backup videos to your Google+ account. If you are using an iPhone or iPod, check your iTunes Videos library. Your video may synced and available to transfer back to your device.Advertisement
-
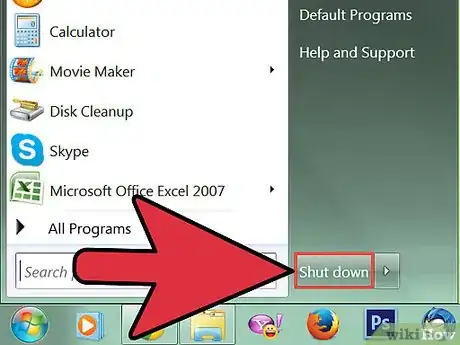
3Immediately stop accessing the drive or device. If you can't find your videos on your computer, don't save anything new or delete anything else. By not saving anything new, you greatly increase your chances of recovering the video. This is because when a file is deleted from your computer, it is actually set to be overwritten by new data. If no new data is saved, then that data does not get overwritten and it can usually be recovered.
- For best results, bring your powered off computer to a data recovery specialist who can use the most efficient techniques and run the right software to find your file again.
-
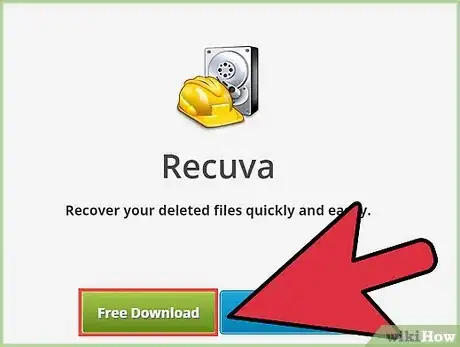
4Download a third-party data recovery program. Make sure that you don't save it to the drive that you need to recover the video from, or you may overwrite the video you need to recover. To be completely safe, download it on a different computer and then put it on a thumb drive. Recovery programs can search hard drives, USB drives, SD cards, and even iPods and other portable media players. Some of the more popular free programs include:
- Recuva
- Ease US Data Recovery
- Phoenix Scansoft
- FreeUndelete
- ADRC Data Recovery
- Data Rescue (OS X)
- FileSalvage (OS X)
- Get the portable version of the recovery program if possible. This will allow you to run the program from a thumb drive without having to install it on the drive that you want to recover the video from.. Not all file recovery programs offer portable versions.[1]
- If you are attempting to recover a video from a portable device, flash drive, SD card, you don't need to worry about portable versions or not using your computer's drive. Simply download and install the recovery program on your computer.
- To have a highest probability of getting your file back, run each of your file recovery programs one at a time—if one of them doesn't find your file, another program might.
-
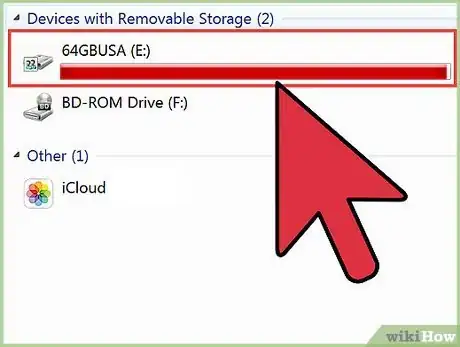
5Plug in your device (if applicable). If you are trying to recover a video from a camera or iPod, plug it into the computer using a USB cable. You will need to put your iPod into DFU mode in order for the recovery software to access it. SD cards should be inserted into an SD card reader or adapter so that the computer can access it.
-
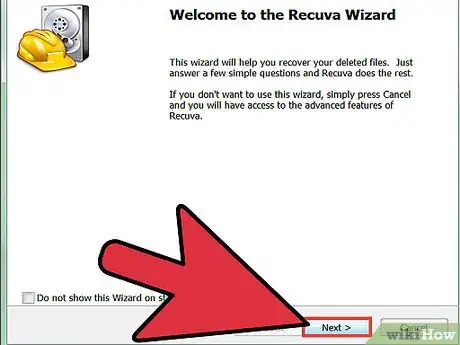
6Run the recovery program. Each program is different, but they all follow the same basic procedure. If you are running a portable version of a recovery program, you will often need to specify where the recovered video should be placed. To maximize recoverability, you should place recovered videos on a separate drive than where they are being recovered from.
-
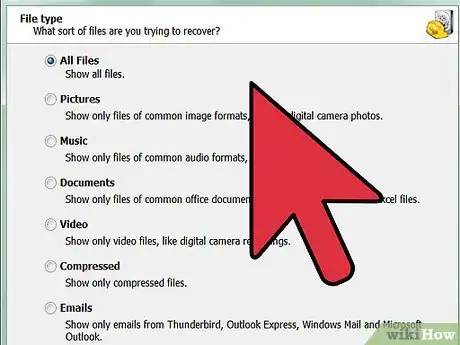
7Specify what you are looking for. Browse for the disk, drive, or device that the file was deleted from. Most recovery programs will ask what type of file you are searching for, so specify the video format if possible to speed up the search. You can also specify the video name, or get a list of all recoverable files to browse through.[2]
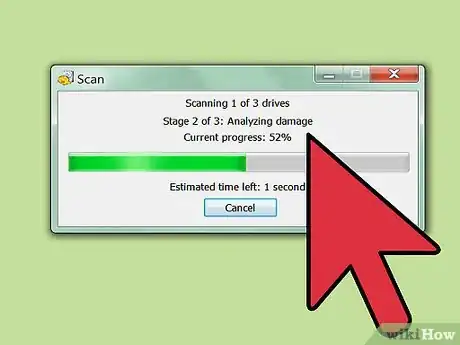
- Some programs will give you the option to perform a deep scan while looking for files. This will take significantly longer, but may result in more files found.
-
8Browse for the video you want. Once the scan has returned results, look through the list to see if your video was recovered. Different programs will have different methods for recovery, but in general you just need to select your file and click the Restore button.
- Not all videos will be 100% recoverable. This is because files are often stored in multiple parts of your hard drive, and one part of the file may have been overwritten.
- Some programs restore the video to its original location, others will restore it to a Recovery folder that you specify.
Community Q&A
-
QuestionHow can I recover deleted videos on a Proline 1051H?
 Community AnswerClick on "Settings" then click "Deleted Videos". Once open, click on "Recover" once you've located the one you want to recover.
 -
QuestionHow can I recover a deleted video from a device?
 Crystal WangCommunity AnswerUse ApowerRecover to recover your deleted video. It can safely recover deleted files on a Windows PC or Mac, whether they are on the computer hard drive, external hard disk, memory cards, digital cameras, camcorders, or flash drives. It can retrieve various types of data in almost all kinds of formats, such as photos, audio, videos, documents, archives, emails and more.
References
About This Article
1. Check your cloud storage.
2. Check the Trash or Recycle Bin.
3. Download a data recovery app.
4. Run the app.
5. Browse for the video.
