X
This article was co-authored by wikiHow staff writer, Nicole Levine, MFA. Nicole Levine is a Technology Writer and Editor for wikiHow. She has more than 20 years of experience creating technical documentation and leading support teams at major web hosting and software companies. Nicole also holds an MFA in Creative Writing from Portland State University and teaches composition, fiction-writing, and zine-making at various institutions.
The wikiHow Tech Team also followed the article's instructions and verified that they work.
This article has been viewed 16,872 times.
Learn more...
This wikiHow teaches you how to automate sending email messages in Gmail and Microsoft Outlook.
Steps
Method 1
Method 1 of 2:
Using Boomerang for Gmail
-
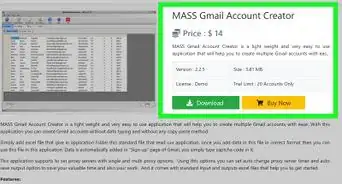
1Go to the Boomerang install site. You can install Boomerang, a free Gmail extension that automates the sending of email messages, from this site.
-
2Click Install Boomerang. A browser pop-up will appear.Advertisement
-
3Click Add extension. The text on the button varies by browser—click the button that permits the extension to install. Once the extension is installed, a new icon will appear near the top-right corner of the browser.
-
4Click NEXT on the welcome window. This opens the tutorial.
-
5View the tutorial. This takes you through a series of tutorials and demo videos. Click each video to watch. Once finished (or if you want to skip), click NEXT until the tutorial is done.
-
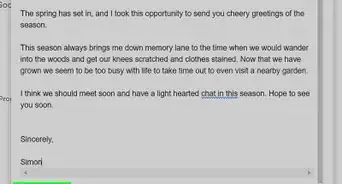
6Compose the email you want to send later. Enter the email address(es), the subject, and the message as necessary.
-
7Click the red Send Later button. It’s at the bottom-left corner of the message.
-
8Select or specify the date to send. You can enter a specific date or choose one of the presets, such as In 2 days or In 1 month.
-
9Click Confirm. Since it’s your first time using the extension, a permissions screen will appear.
-
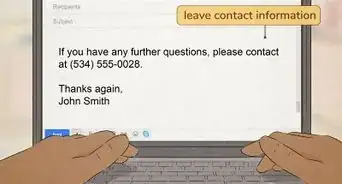
10Click ALLOW. You’ll only have to do this the first time you use the extension. Once done, you’ll see a short notification at the top of the page that the email will automatically be sent at the specified time.


Advertisement
Method 2
Method 2 of 2:
Using Microsoft Outlook
-
1Open Outlook on your computer. You’ll usually find it under ″Microsoft Office″ in the All Apps area of the Start menu (Windows) or the Applications folder (macOS).
-
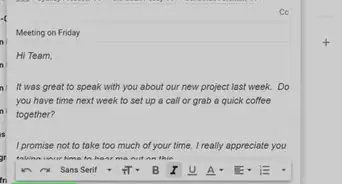
2Compose the email you want to send later. Enter the email address(es), the subject, and the message as necessary.
-
3Click the Options tab. It’s at the top of the email window.
-
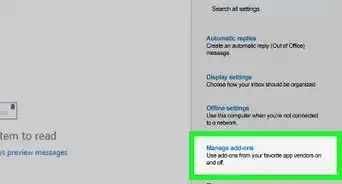
4Click Delay Delivery. It’s near the far-right corner.
-
5Check the ″Do Not Deliver Before″ box.
-
6Enter a delivery date.
-
7Enter a delivery time.
-
8Click Close.
-
9Click Send.


Advertisement

About This Article

Nicole Levine, MFA
wikiHow Technology Writer
This article was co-authored by wikiHow staff writer, Nicole Levine, MFA. Nicole Levine is a Technology Writer and Editor for wikiHow. She has more than 20 years of experience creating technical documentation and leading support teams at major web hosting and software companies. Nicole also holds an MFA in Creative Writing from Portland State University and teaches composition, fiction-writing, and zine-making at various institutions. This article has been viewed 16,872 times.
How helpful is this?
Co-authors: 5
Updated: December 27, 2020
Views: 16,872
Categories: Email
Advertisement