This article was co-authored by wikiHow Staff. Our trained team of editors and researchers validate articles for accuracy and comprehensiveness. wikiHow's Content Management Team carefully monitors the work from our editorial staff to ensure that each article is backed by trusted research and meets our high quality standards.
The wikiHow Tech Team also followed the article's instructions and verified that they work.
This article has been viewed 537,059 times.
Learn more...
This wikiHow teaches you how to use Windows' built-in email application to send photos in Windows 10, 8, 7, Vista and XP.
Steps
Windows 10
-
1Open the Mail app in Windows 10.
-
2Click ⊕ New mail in the upper-left corner.Advertisement
-
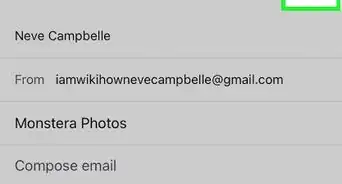
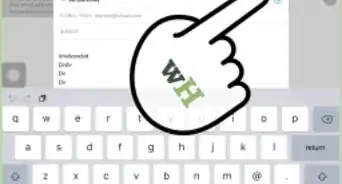
3Enter the recipient's email address. Type it in the "To" field.
-
4Add a subject in the "Subject" field.
-
5Type the body of the email message.
-
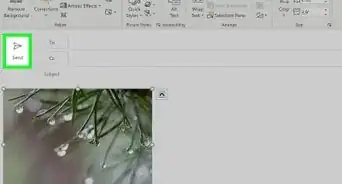
6Click the Insert tab at the top of the screen.
-
7Click Pictures.
-
8Click the Pictures folder.
- Most of the pictures on your computer will likely be stored here.
-
9Choose the picture(s) you want to send.
- Most Internet service providers (ISPs) restrict the size of attachments, so if you're sending multiple pictures, it may be a good idea to send several emails with a few attachments.
-
10Click Attach.
-
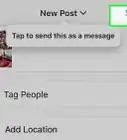
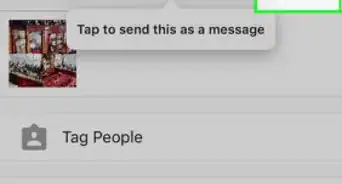
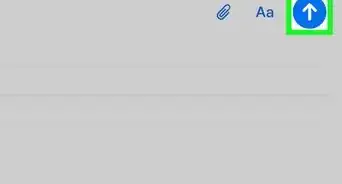
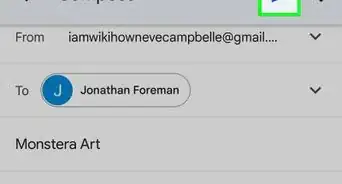
11Click Send in the upper-right. Your pictures will be sent to the person to whom the email is addressed.
-Step-1-Version-2.jpg)
-Step-2-Version-2.jpg)
-Step-3-Version-2.jpg)
-Step-4-Version-2.jpg)
-Step-5-Version-2.jpg)
-Step-6-Version-2.jpg)
-Step-7-Version-2.jpg)
-Step-8-Version-2.jpg)
-Step-9-Version-2.jpg)
-Step-10-Version-2.jpg)
-Step-11-Version-2.jpg)
Windows 8
-
1Click the Windows menu.
-
2Open the Mail App. It's in the Start menu.
-
3Click ⊕ to start a new message. It's in the upper-right.
-
4Enter the recipient's email address. Type it in the "To" field.
-
5Add a subject in the "Subject" field.
-
6Type the body of the email message.
-
7Click the paper clip icon at the top of the screen. This opens the "File Picker" window.
-
8Click Files.
-
9Click the Pictures folder.
- Most of the pictures on your computer will likely be stored here.
-
10Choose the photo(s) you want to send.
-
11Click Attach.
-
12Click the "Send" button at the top of the screen. It's an envelope icon with lines behind it. Your pictures will be sent to the person to whom the email is addressed.
-Step-12-Version-2.jpg)
-Step-13-Version-2.jpg)
-Step-14-Version-2.jpg)
-Step-15-Version-2.jpg)
-Step-16-Version-2.jpg)
-Step-17-Version-2.jpg)
-Step-18-Version-2.jpg)
-Step-19-Version-2.jpg)
-Step-20-Version-2.jpg)
-Step-21-Version-2.jpg)
-Step-22-Version-2.jpg)
-Step-23-Version-2.jpg)
Windows 7
-
1Click the Start menu. It's the Windows logo in the lower-left corner.
-
2Click Pictures.
-
3Choose your picture(s).
- Press and hold Ctrl while clicking to select multiple pictures.
-
4Click E-mail in the toolbar.
-
5Select a picture size from the drop-down.
-
6Click Attach. Doing so launches your email application and attaches the pictures you selected.
-
7Enter the recipient's email address. Type it in the "To" field.
-
8Add a subject in the "Subject" field.
-
9Type the body of the email message.
-
10Click Send in the upper-left of the window. Your pictures will be sent to the person to whom the email is addressed.
-Step-24-Version-2.jpg)
-Step-25-Version-2.jpg)
-Step-26-Version-2.jpg)
-Step-27-Version-2.jpg)
-Step-28-Version-2.jpg)
-Step-29-Version-2.jpg)
-Step-30-Version-2.jpg)
-Step-31-Version-2.jpg)
-Step-32-Version-2.jpg)
-Step-33.jpg)
Windows Vista
-
1Click the Start menu. It's the Windows logo in the lower-left corner.
-
2Click All Programs.
-
3Click Windows Photo Gallery.
-
4Choose your picture(s).
- Press and hold Ctrl while clicking to select multiple pictures.
-
5Click E-mail in the toolbar.
-
6Select a picture size from the drop-down.
-
7Click Attach. Doing so launches your email application and attaches the pictures you selected.
-
8Enter the recipient's email address. Type it in the "To" field.
-
9Add a subject in the "Subject" field.
-
10Type the body of the email message.
-
11Click Send in the upper-left of the window. Your pictures will be sent to the person to whom the email is addressed.
-Step-34.jpg)
-Step-35.jpg)
-Step-36.jpg)
-Step-37.jpg)
-Step-38.jpg)
-Step-39.jpg)
-Step-40.jpg)
-Step-41.jpg)
-Step-42.jpg)
-Step-43.jpg)
-Step-44.jpg)
Windows XP
-
1Click the Start menu. It's the Windows logo in the lower-left corner.
-
2Click My Pictures and choose a folder.
- This method works for photos with file sizes that are greater than 64 KB. You can check the file size of the photo by right-clicking the file and selecting "Properties."
-
3Choose your picture(s).
- Press and hold Ctrl while clicking to select multiple pictures.
-
4Click E-mail this file. It's on the left, under "File and Folder Tasks."
-
5Choose a file size for your photos. If you'd like to send smaller photo files, click the "Make all my pictures smaller" radio button.
-
6Click OK.
-
7Enter the recipient's email address. Type it in the "To" field.
- Add a subject in the "Subject" field.
-
8Type the body of the email message.
-
9Click Send in the upper-left of the window. Your pictures will be sent to the person to whom the email is addressed.
-Step-45.jpg)
-Step-46.jpg)
-Step-47.jpg)
-Step-48.jpg)
-Step-49.jpg)
-Step-50.jpg)
-Step-51.jpg)
-Step-52.jpg)
-Step-53.jpg)
Community Q&A
-
QuestionHow can I send the pictures from my phone through an email?
 Community AnswerClick on the paper clip (attachments), choose your picture (file), click on it and press send when it appears on your email.
 -
QuestionHow do I know if my email with photos has been sent and received?
 Community AnswerTo see if an email has been sent, you should be able to check your "sent" folder. To find out whether it's been received, you'll pretty much just have to wait for the recipient to let you know.
 -
QuestionI find no option of email in task bar when I want to send a photo.
 Community AnswerAt the bottom of the email, it might display a picture of a paper clip. That is an option to send an attachment. You should be able to hit the attachment button and it should let you pick a file or folder to send as an attachment to the email.


About This Article

1. Open the Windows Mail app.
2. Click New Mail.
3. Enter a recipient, subject, and message.
4. Click Insert.
5. Click Pictures.
6. Open the Pictures folder.
7. Select a picture and click Attach.
8. Click Send.