This article was co-authored by Art Fricke. Art Fricke is a home renovation and repair specialist and the owner of Art Tile & Renovation based in Austin, Texas. With over 10 years of experience, he specializes in bathroom and kitchen renovations. Art focuses on a single contractor approach to customized renovation work, and performs projects such as installing custom tile showers, fixing tiled shower leaks, replacing cracked tiles, and installing floor and wall tile.
There are 19 references cited in this article, which can be found at the bottom of the page.
This article has been viewed 15,786 times.
Tile floors are easy to customize, easy to clean, and make for a classy addition to any home. But the brittle nature of tiles and the constant foot traffic means that the tiles are likely to crack at some point.[1] However, there are steps you can take mitigate tile cracking. Reinforcing your floor will make for a more solid and level surface, while repairing tiles with epoxy is an easy fix for single tiles that become cracked.
Steps
Reinforcing Floor Joists
-
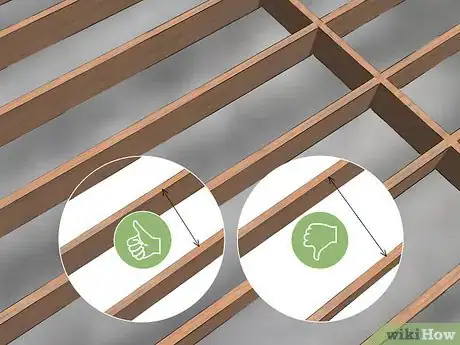
1Measure the distance between floor joists. Many problems with tile stem from issues with the subfloor it sits on. The subfloor is often comprised of a layer of plywood and then a layer of cement board laid across floor joists. Too much space between floor joists means that the subfloor may sag, which can lead to tile cracking. You can add more blocking between joists to give more support to the subfloor. [2]
- Measure the distance between floor joists with a measuring tape. This is the measurement you’ll use for the pieces of blocking, as the blocking is going to fit between the floor joists.
-
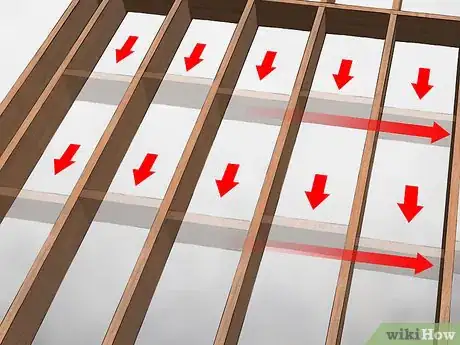
2Determine how much blocking you’ll need. You can place the blocking at even intervals throughout the room or in areas that specifically need reinforcement. Depending on the size of the floor, you may want to space blocks closer together in order to make the joists more resistant to movement, which will in turn lead to less tile damage. [3]Advertisement
-
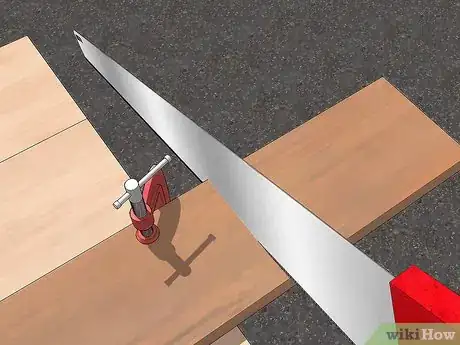
3Cut the blocking to length. Using the measurement you took of the space between floor joists, mark very-slightly longer intervals on the boards you’re going to use for blocking. Once the blocking is measured on the boards, use a saw to cut the blocking. [4]
- A carpenter’s square can be used to ensure a straight line when marking your saw guidelines on the boards.
- Remember to leave around 1⁄8 in (0.32 cm) of space between block measurements to account for the width of the saw blade. If you don’t leave this space, each of your blocks will be short.
-
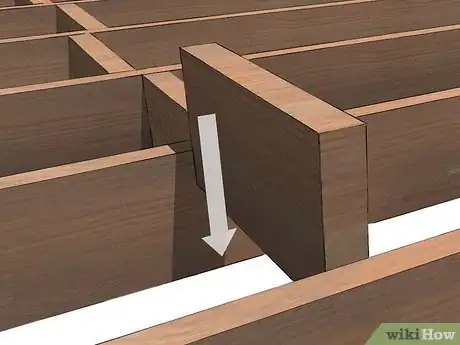
4Put the blocks between the joists and use a hammer to tap them into place. The blocking should fit snugly but should not have to be pounded. If you are struggling to get them in, they may be too wide and can add a bend to the joist boards. If they are too small, they can cause squeaking underfoot. [5]
-
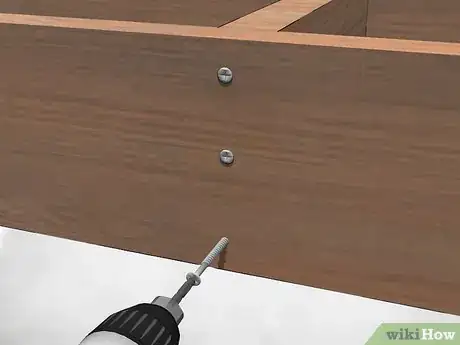
5Secure the blocking between the joists with screws. Screws are preferable to nails because the shape of the screw and the way it is driven into the wood allows for less movement than nails, which is one cause of floor squeaking. [6]
- Position a screw on the outside of the joist beam angled downward toward the floor. Using a drill with the appropriate bit, drive the screw through the joist and into the blocking. Do this on both sides of the blocking.
Creating a Thicker Subfloor
-
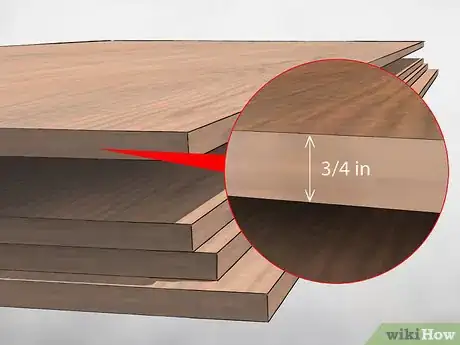
1Get 5⁄8 in (1.6 cm) or 3⁄4 in (1.9 cm) thick sheets of plywood. Floors usually employ half-inch thick plywood as part of the subfloor. However, to minimize flexion of the subfloor – which in turn can cause cracking in tiles – you can use thicker plywood. A layer of cement board over the plywood will make the subfloor even firmer.
- Thicker sheets of plywood make for reduced expansion and contraction of the subfloor due to humidity or cold. [7]
-
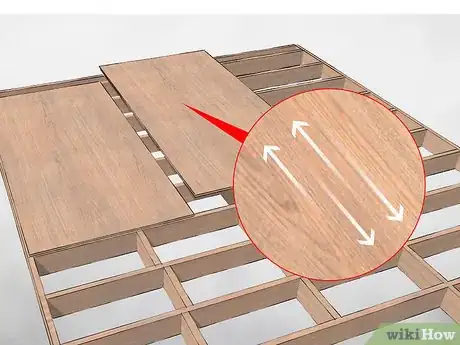
2Plan out how the plywood is going to sit on the joists. You’ll want the grain of the plywood to run perpendicular to the joists, as grain running with the joists makes for a weaker floor. The plywood should also be staggered so that the edges of each row do not overlap, which will likewise strengthen your floor and minimize movement.
-
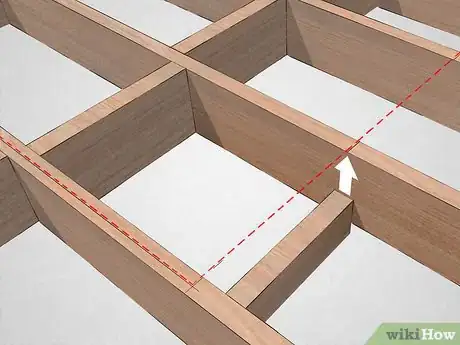
3Use a chalk line to ensure that the plywood is laid straight. A sheet of plywood is 4 ft (1.2 m) or 3⁄4 in (1.9 cm), so measure from the wall and make a mark on each joist at that length as a guideline for the sheets of plywood. Plywood set at even a slight angle will throw off the rest of the panels.
-
4Add blocking along the edges of where the plywood is going to lie. The edges of sheets of plywood should be supported so they do not cave in. Once you have laid out where the plywood is going to go, cut blocking to go along the perimeter of each piece where it is not supported by a joist.
-
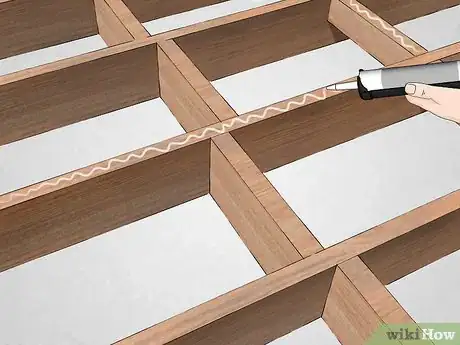
5Use adhesive to secure the plywood to the joists. Before putting down the plywood, use a caulk gun to squeeze an adhesive such as Liquid Nails onto the joists underneath where the plywood is going to be laid down. This adds for an extra layer of protection against movement. [8]
- Cut the tip off the tube of adhesive to allow a bead about a half an inch wide. [9]
-
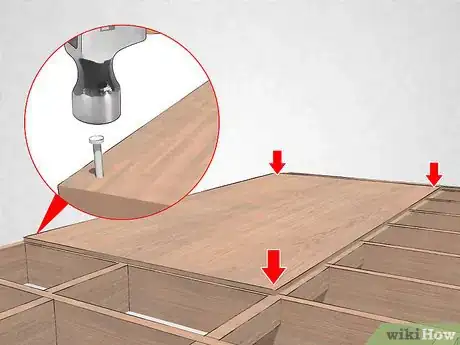
6Put down one sheet of plywood at a time and leave a 1/8 inch gap in between each sheet. Makes sure each side is aligned with the marks you made has room to expand with the heat. Experts recommend leaving a 1/8 inch gap on all side of the plywood. [10]
- Once the sheet is in place, pound a nail ¾ of the way in on each corner. This will keep the sheet in place but will allow you to easily remove the nail if you need to make adjustments.
-
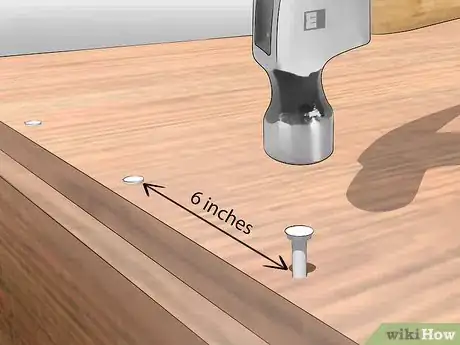
7Secure the plywood in place. Once all of the sheets are set down correctly, go through and pound the nails the rest of the way in. Follow the line of the joist underneath and space screws or nails every six inches. [11]
-
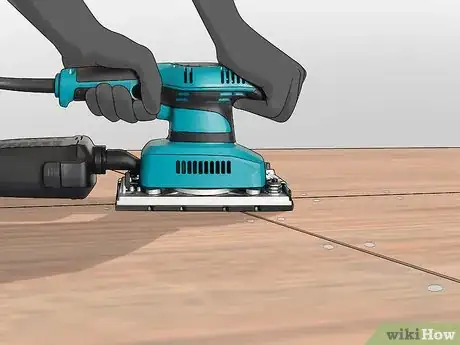
8Sand down any bumps or unevenness in the plywood. Once the plywood is laid and nailed down, use a level to check the plywood for small bumps and ridges. Use a belt sander to lightly sand down any uneven areas. Move the sander in a circular motion on the plywood to ensure an even sanding.
-
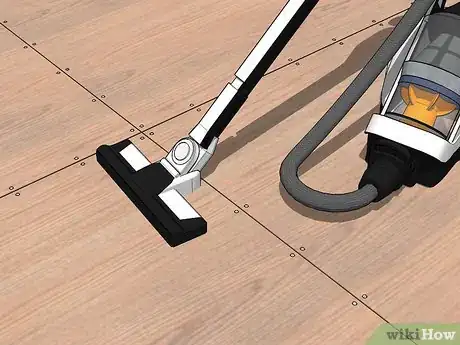
9Sweep the floor of sand and debris to get ready for the thinset mortar.[12] Once everything has been nailed down and sanded, you’re ready to add another layer to the subfloor. The first thing you need to do is sweep the floor of all debris. Vacuuming with a shopvac would be a good idea as well in order to get dirt trapped in crevices and other hard to sweep areas.
-
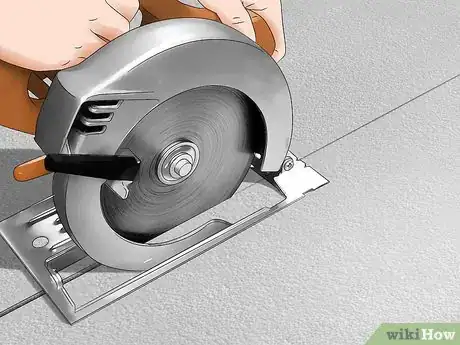
10Measure the cement board and cut it to size. If you are using a thinner cement board, you can score it with a knife and snap off what you don’t need. If the board is thicker, a circular saw can make precise cuts to fit the board to the contours of the room. [13]
-
11
-
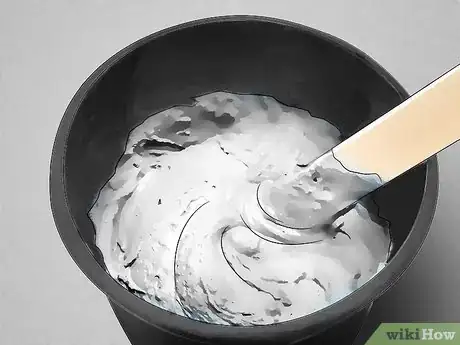
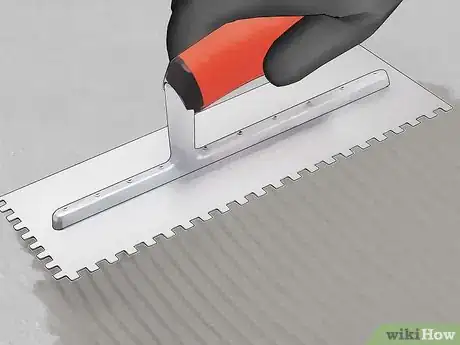
12Dollop out only enough mortar to for the piece of board you are about to set down. Use a ¼ inch notched trowel to spread the mortar. Go from left to right and make uniform lines with the trowel. The ridges created in the mortar should not droop. [16]
-
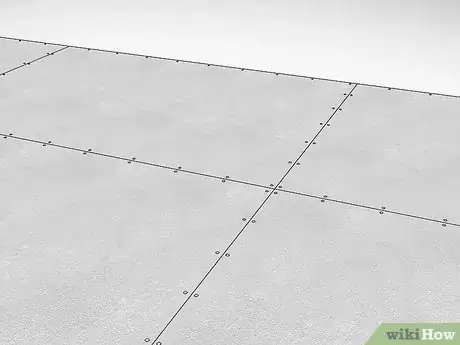
13Lay down the cement board rough-side up. The cement board can be laid directly on top of the adhesive leaving an eighth-inch gap between boards. Make sure the board is 1/2 inch away from the wall all the way around the room. [17]
- Fasten the cement board to the plywood with 1 1/4-inch cement board screws. The screws are designed so that they sit flush with the cement board when screwed in so the head sits flush with the panel. Drive the screws every 8 inches along the perimeter of the cement board and in its center. You will see circles on the board where the screws are supposed to go. [18]
- Be careful not to screw too deeply because it can easily crack the board.
- Screws should be 1/2 inch away from the edges of the cement board and 2 inches away from board corners. [19]
-
14Finish laying out the rest of the floor, staggering the joints as you go. Stagger the sheets of cement board as you lay them. Make sure that the edges of the cement board do not line up with those of the plywood. This adds structural strength and limits pathways for water. [20]
Repairing Small Cracks
-
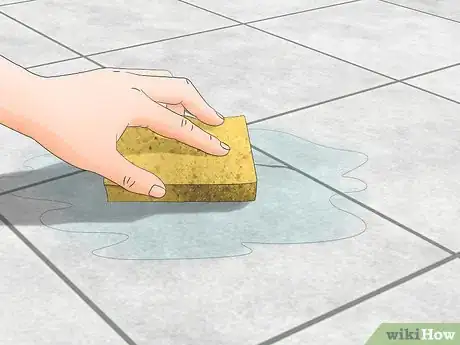
1Clean the tile with soap and water. The cracks in your tile may not call for a full overhaul in your flooring. If the cracks are minor, they can be patched with epoxies. First, take a sponge and soapy water and clean the surface of the tile, removing dust and debris.
-
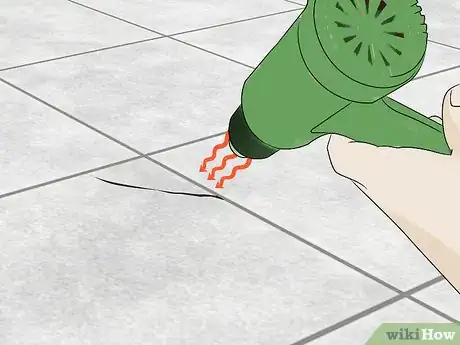
2Dry the tile with a hair dryer. It may take a little while for water that has seeped into the cracked tile to dry, so run a hair dryer over the tile to expedite the drying process.
-
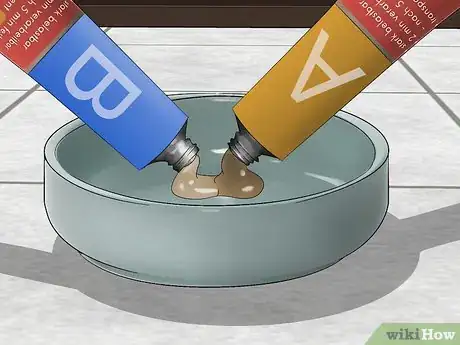
3Mix the epoxy. The epoxy will come in a tube with two chambers. Squeeze a little bit from both chambers onto a scrap piece of tile or cardboard and mix it with a stick.
- If the crack is especially deep, you may have to apply a primer and wait for it to dry before applying the epoxy.
-
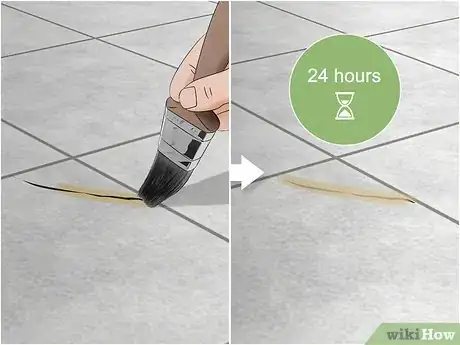
4Apply the epoxy and wait 24 hours for it to dry. Cover small cracks with a thin coating of epoxy by brushing it on with a small brush.[21] Fill in any deeper cracks with epoxy until the epoxy is level with the surface of the tile. Leave the epoxy to dry for approximately 24 hours. [22]
- Be careful with the epoxy. It is extremely strong and will dry on your skin within seconds!
-
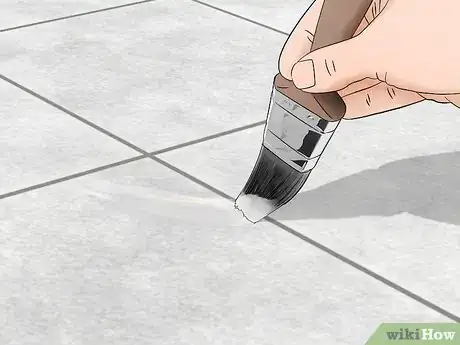
5Paint the tile. If the crack repair called for enough epoxy that it is visible on the tile after it has dried, you can use a small brush to paint over the epoxy and blend it in with the color of the tile.
-
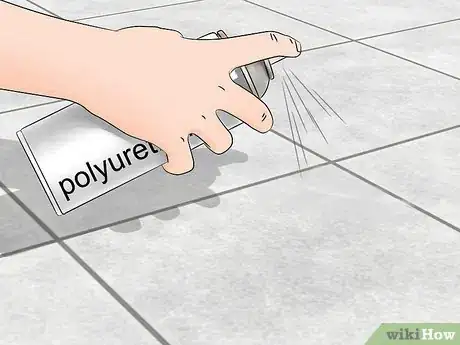
6Add an additional coat of polyurethane on top of the paint. Once the paint has dried, add a thin coat of polyurethane to the tile to keep it from chipping and to add another layer of water-repellent protection. [23]
Fixing Grout Seams
-
1Remove cracked or crumbling grout.[24] If there are cracks in the grout, water can seep in and start damaging the subflooring, loosen tiles, and even promote mold growth. Minimizing these cracks and repairing cracks that are there are critical steps to take to minimize tile cracking. [25]
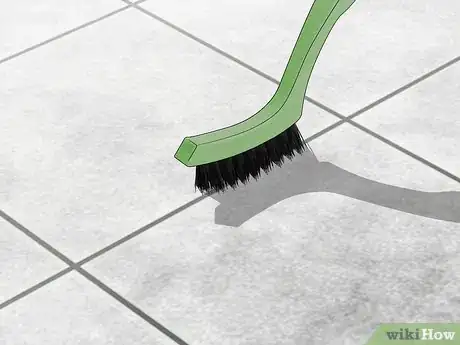
- Scrape out the damaged grout and clean the seam. Remove pieces of the old grout and other bits of material and dirt.
-
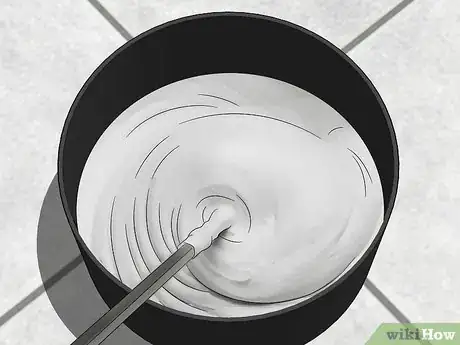
2Mix new grout. Mix a small amount of new grout according to the manufacturer’s instructions. The grout should be a pudding-like consistency. Too much or too little water in the mix will prevent the grout from functioning effectively, leading to loose tiles and opportunities for water leakage. If you need to add water, squeeze in a little at a time from a sponge. [26]
- There are different kinds of grout for different applications. There are grouts with urethane and epoxy mixed in, but most homes will use cement grout.
- If the joints between tiles are less than 1⁄8 in (0.32 cm), use grout without sand. Joints that are larger than this can use sanded grout.[27]
-
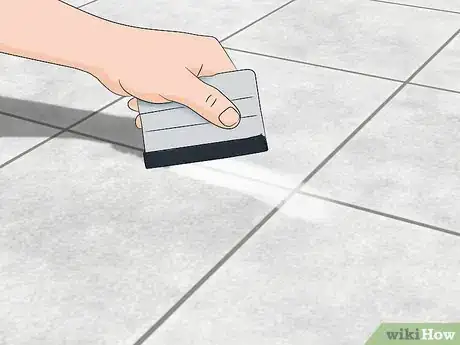
3Pack grout around the tiles. Use a rubber float held at a 45-degree angle to the floor to push the grout into the spaces between the tiles. Make sure there are no small holes or cracks along the edge of the tile. Use your finger to scrape off excess grout and make the new grout level with the grout surrounding it.[28]
- Work from the edges of the room toward the center so you don’t accidentally box yourself in.
-
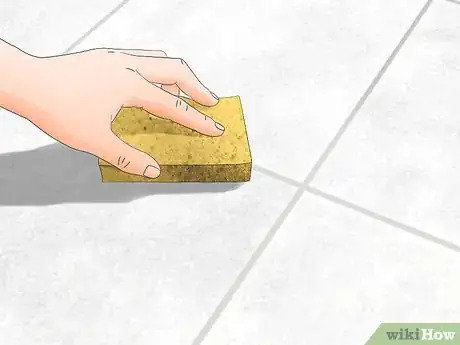
4Clean up excess grout with a sponge and warm, soapy water. Wait 20-30 minutes for the grout to start setting. It should be firm to the touch. Then wipe away grout left on the tile with a wet sponge, taking care not to pull grout out from between the tiles. [29]
- You’ll probably have to clean up dried grout on the tiles after the grout has set. Use a dry towel to clean the tiles, as a wet cloth will only continue to spread around particles of grout. [30]
-
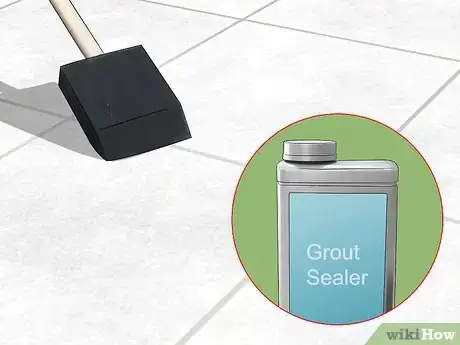
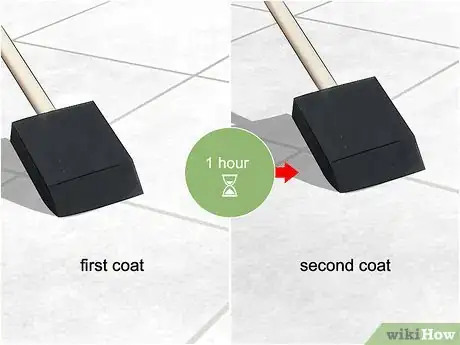
5Apply a coating of grout sealer after the grout is dry. Grout sealer comes in a small can and can be applied with a small foam brush. Pour some of the sealer into a cup and use the brush to trace the grout with sealer. Clean up any sealer that gets on the tiles within a few minutes. [31]
- Different sealers are used for different grouts. Make sure you have the correct sealer for the application.
-
6Add a second coat of grout sealer. Wait an hour and add a second coat of sealer using the same process. Test the second coat with a few drops of water – if they bead on the grout, then the grout has been sufficiently sealed. [32]
- Depending on the grout sealer you use, it could take between 24-28 hours to dry completely.
-
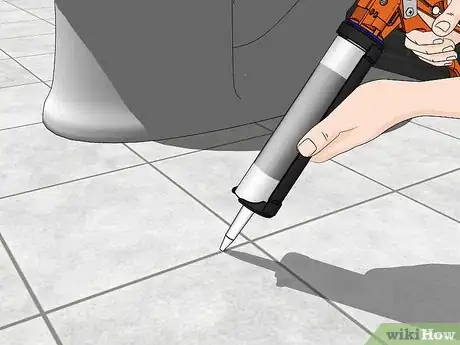
7Replace grout with caulk. If you are fixing the grout that has come loose next a toilet, sink, or tub, you might want to replace the grout with caulk instead of new grout. Silicone caulk is waterproof and can act as a better sealant in areas where there is a lot of water and can add some flexibility to the floor in areas where there is a lot of movement. [33]
- Check with an employee at the hardware store to make sure you are getting the right kind of caulk for the job.
- Clean out the seam so that no pieces of grout or other debris are present. Using a tube and caulk gun, gently fill the seam with a bead of caulk. For best results, keep moving as you apply the caulk. [34]
- Smooth the caulk. Use a wet fingertip or wet cloth to smooth the caulk. A small lip of caulk on the side of the tub will create a waterproof barrier between the tiles and the tub. A flexible buffer of caulk and less water seepage will lead to less tile problems later on.
Expert Q&A
Did you know you can get expert answers for this article?
Unlock expert answers by supporting wikiHow
-
QuestionDo ceramic tiles break easily?
 Art FrickeArt Fricke is a home renovation and repair specialist and the owner of Art Tile & Renovation based in Austin, Texas. With over 10 years of experience, he specializes in bathroom and kitchen renovations. Art focuses on a single contractor approach to customized renovation work, and performs projects such as installing custom tile showers, fixing tiled shower leaks, replacing cracked tiles, and installing floor and wall tile.
Home Renovation & Repair Specialist
-
QuestionWhat are the disadvantages of ceramic tile?
 Art FrickeArt Fricke is a home renovation and repair specialist and the owner of Art Tile & Renovation based in Austin, Texas. With over 10 years of experience, he specializes in bathroom and kitchen renovations. Art focuses on a single contractor approach to customized renovation work, and performs projects such as installing custom tile showers, fixing tiled shower leaks, replacing cracked tiles, and installing floor and wall tile.
Home Renovation & Repair Specialist
References
- ↑ Art Fricke. Home Renovation & Repair Specialist. Expert Interview. 1 July 2020.
- ↑ http://www.jlconline.com/how-to/interiors/preventing-tile-failures_o
- ↑ http://www.chicagotribune.com/business/chi-thu_tile_0410apr10-story.html
- ↑ http://www.finehomebuilding.com/pdf/021184090.pdf
- ↑ http://www.finehomebuilding.com/pdf/021184090.pdf
- ↑ http://www.finehomebuilding.com/2014/09/10/fix-squeaky-subfloor-with-extra-blocking
- ↑ http://www.chicagotribune.com/business/chi-thu_tile_0410apr10-story.html
- ↑ https://www.oneprojectcloser.com/install-plywood-subfloor/
- ↑ https://www.oneprojectcloser.com/install-plywood-subfloor/
- ↑ http://buildingadvisor.com/best-subfloor-for-ceramic-tile/
- ↑ https://www.thisoldhouse.com/ask-toh/how-to-prevent-tile-cracking
- ↑ Art Fricke. Home Renovation & Repair Specialist. Expert Interview. 1 July 2020.
- ↑ https://www.bobvila.com/articles/how-to-seal-grout/
- ↑ Art Fricke. Home Renovation & Repair Specialist. Expert Interview. 1 July 2020.
- ↑ https://www.homerepairtutor.com/how-to-install-hardiebacker-on-a-bathroom-floor/
- ↑ https://www.homerepairtutor.com/how-to-install-hardiebacker-on-a-bathroom-floor/
- ↑ https://www.thespruce.com/installing-cement-board-for-tile-1314980
- ↑ https://www.thespruce.com/installing-cement-board-for-tile-1314980
- ↑ https://www.homerepairtutor.com/how-to-install-hardiebacker-on-a-bathroom-floor/
- ↑ https://www.thisoldhouse.com/ask-toh/how-to-prevent-tile-cracking
- ↑ Art Fricke. Home Renovation & Repair Specialist. Expert Interview. 1 July 2020.
- ↑ https://www.askthebuilder.com/ceramic-tile-crack-prevention/
- ↑ https://www.askthebuilder.com/ceramic-tile-crack-prevention/
- ↑ Art Fricke. Home Renovation & Repair Specialist. Expert Interview. 1 July 2020.
- ↑ http://www.chicagotribune.com/business/chi-thu_tile_0410apr10-story.html
- ↑ https://www.thisoldhouse.com/how-to/how-to-tile-floor
- ↑ https://www.architecturaldigest.com/story/how-to-grout-tile
- ↑ https://www.architecturaldigest.com/story/how-to-grout-tile
- ↑ https://www.thisoldhouse.com/how-to/how-to-tile-floor
- ↑ https://www.bobvila.com/articles/how-to-grout-tile/
- ↑ https://www.thisoldhouse.com/more/protecting-grout
- ↑ https://www.bobvila.com/articles/how-to-seal-grout/
- ↑ http://www.chicagotribune.com/business/chi-thu_tile_0410apr10-story.html
- ↑ https://www.thisoldhouse.com/ideas/laying-down-perfect-bead

