This article was co-authored by wikiHow staff writer, Christopher M. Osborne, PhD. Christopher Osborne has been a wikiHow Content Creator since 2015. He is also a historian who holds a PhD from The University of Notre Dame and has taught at universities in and around Pittsburgh, PA. His scholarly publications and presentations focus on his research interests in early American history, but Chris also enjoys the challenges and rewards of writing wikiHow articles on a wide range of subjects.
There are 14 references cited in this article, which can be found at the bottom of the page.
This article has been viewed 7,925 times.
Learn more...
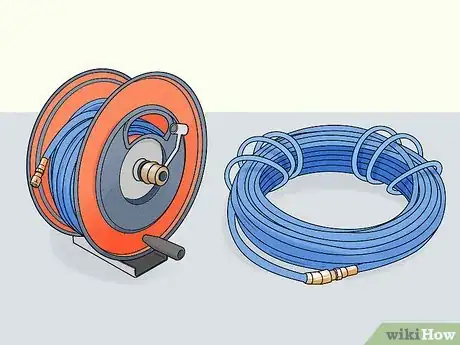
A good pressure washer, whether it’s electric or gasoline-powered, can make quick work of dirt and mildew on things like fencing, siding, concrete, and lawn furniture. When you’re done blasting away gunk and grime, make sure to store the hose properly so it remains undamaged and tangle-free. You can coil the hose by hand or use a hose reel to keep your pressure washer hose rolled up and ready to go.
Steps
Coiling the Hose
-
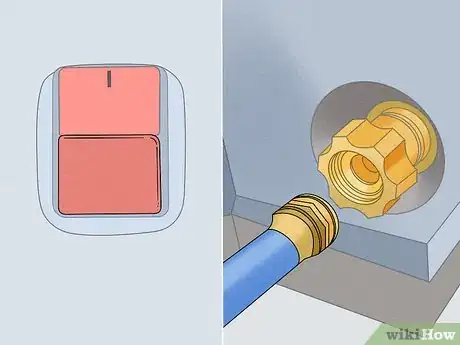
1Turn off the pressure washer and disconnect the hose. If you have an electric pressure washer, unplug it after shutting it off. Turn off the water supply, then squeeze the hose trigger to drain out as much water as you can. Unscrew the hose from the pressure washer and disconnect the trigger handle.[1]
- Whenever possible, follow the pressure washer’s instruction manual.
-
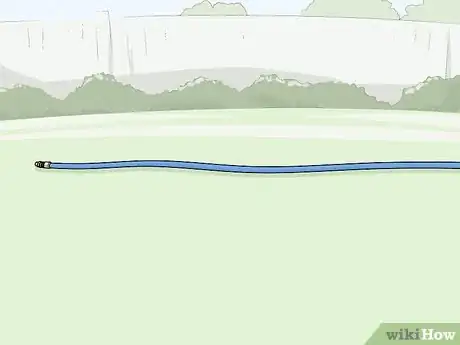
2Lay the hose out on the ground in a straight line. Detangling the hose and laying it out straight can take a minute or two, but it saves time and aggravation when you’re coiling up the hose for storage. Work out and twists and tangles with your hands and lay the hose out on a flat, relatively smooth surface.[2]
- Lay the hose out on grass if possible. Mulch and dirt are okay options, while concrete is acceptable. Avoid laying the hose on gravel if you can, because pulling the hose along rough material may damage it.
- If you don’t have room to lay out the hose in a single straight line, lay it out halfway, then double back and create a parallel line with the other half of the hose.
Advertisement -
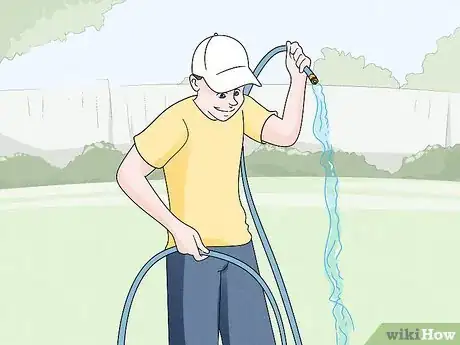
3Feed the hose over your shoulder to drain out the water. Start at one end of the hose and use both hands to lift the hose up, onto, and over your shoulder. Walk forward along the length of the hose and continue to feed it up over your shoulder. Gravity will cause any remaining water to drain out of the hose.[3]
- Lay the hose out in a straight line again once you’re finished, if necessary.
- Draining the hose completely reduces the possibility of mold or mildew growth inside.
-
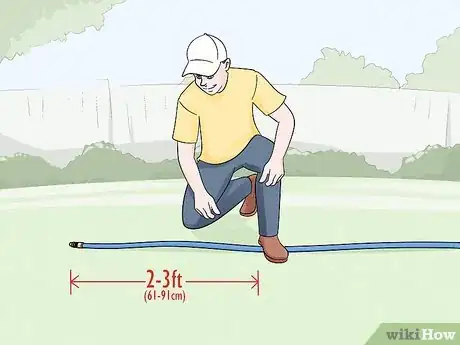
4Put your foot on the hose 2–3 ft (61–91 cm) from one end. The section from your foot to the end of the hose is a “tail” that you’ll use later on to help secure the coiled hose in place. Maintain light pressure with your foot as you move on to coiling up the hose.[4]
- Using your foot helps you to both visualize the “tail” and keep the hose steady while you coil it. Once you’ve mastered this coiling technique, though, it’s not absolutely necessary to use your foot.
-
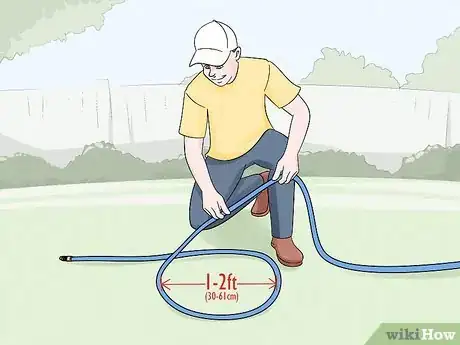
5Make a 1–2 ft (30–61 cm) diameter loop in the hose. Use both hands to pull about 3–4 ft (91–122 cm) of slack from the free end of the hose. Form it into a loop above both of your hands, then lay the loop onto the ground so that it’s just beyond where your foot is on the hose. Make sure it’s an “over” loop, meaning that the free (long) end of the hose passes over the short end that’s under your foot.[5]
- For convenience, make the loop on the smaller side in regards to diameter, but not so small that it’s difficult to coil the hose.
-
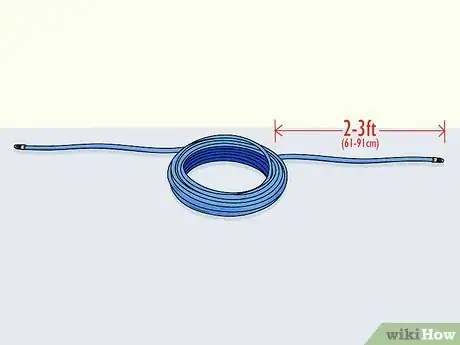
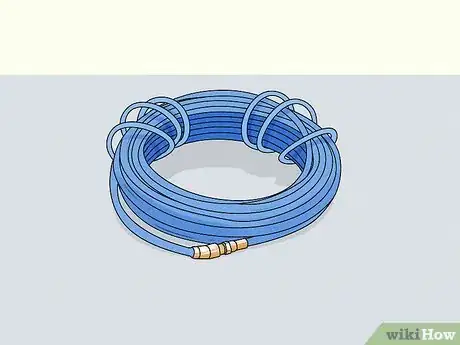
6Continue making loops until there’s 2–3 ft (61–91 cm) of hose left. Use both hands to create the same kind of loop over and over again, laying each new loop right on top of the previous one. Stop making loops once the free end of the hose creates a second tail that’s roughly equal in length to the first one.[6]
- Alternatively, create loops using the “roadie wrap,” which many pros consider the ultimate way to store hoses, cables, and cords. This maneuver involves alternating between making “over” and “under” loops of equal size, each on top of the other. To make the “under” loop, use the hose slack to form the loop between your hands (instead of above both of them), then lay it down so that the free end of the hose passes under the short end.[7]
-
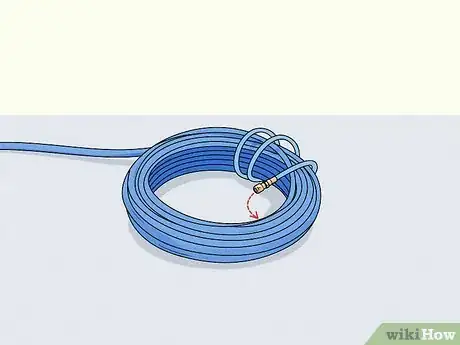
7Wrap one hose tail over and around the coils 2-3 times. Bring the first tail end—the one sticking out from under your foot—over and around the entire bundle of hose coils. Repeat this until the tail is to the inside of the coil bundle and is barely long enough to reach the bundle’s center point.[8]
- Pull the tail end fairly—but not excessively—tight around the coils with each wrap.
-
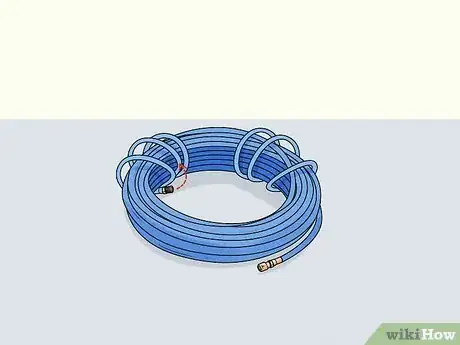
8Wrap the other tail under and around the coils. Instead of going over and around the coil bundle with each wrap, go under and around this time. Repeat the process until this second tail is barely long enough to make contact with the tip of the first tail at the center of the coil bundle.[9]
- Wrapping one tail over the coils and the other under the coils makes it virtually impossible for the hose to unintentionally unravel.
-
9Link the 2 hose tails together with their connection taps. Depending on the connections your pressure washer hose uses, the ends may snap together, or you may need to screw one end into the other. In any case, connecting the hose ends completely secures the wrapped hose for storage.[10]
- To unwrap the hose, simply reverse the entire process.[11]
Using a Hose Reel
-
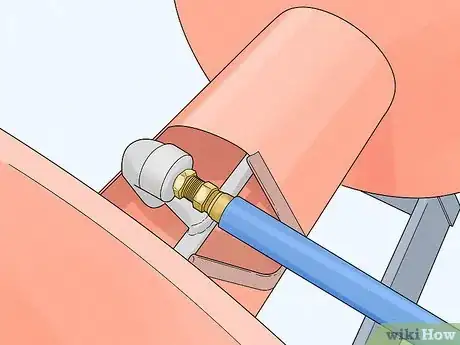
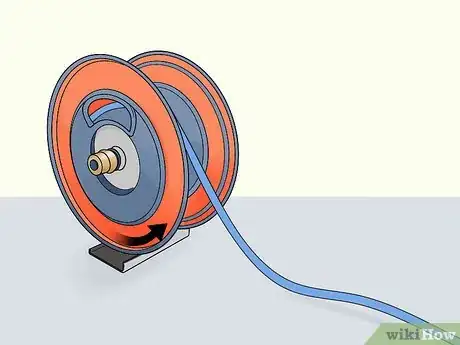
1Maintain the reel’s hose connection for short-term storage. Most hose reels have a pair of integrated hose connections—one that connects the hose to the reel, the other that connects the reel to the water supply and/or pressure motor. For short-term storage during regular use, just keep the pressure washer hose connected to the reel when rolling it up.[12]
- For your own convenience, disconnect the hose connection only for long-term storage, such as over the winter.
-
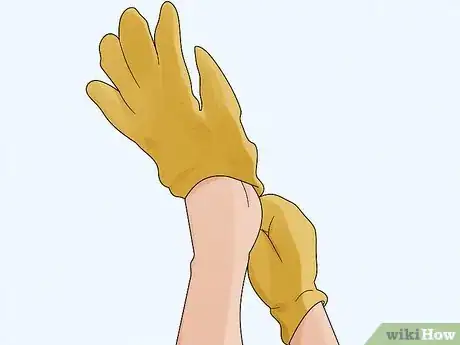
2Put on gloves to keep your hands protected and clean. Pressure washer hoses tend to pick up lots of soap residue, grease, mud, blades of grass, and other junk that you probably want to keep off your hands. Also, it’s possible that reeling in the hose quickly may cause friction burns on your bare hands.[13]
- A sturdy pair of gardening gloves is a good choice here.
-
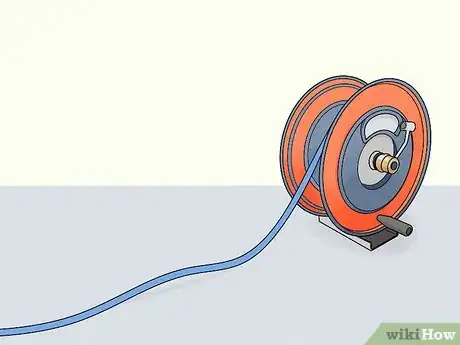
3Lay the hose out straight to make reeling it in easier. If you try to reel in the hose when it’s all twisted and tangled, you’ll have a much tougher time guiding it onto the hose reel evenly and neatly. Make things easier on yourself by taking a few moments to lay the hose out on the ground in a straight line that’s perpendicular to the reel.[14]
- If you’re short on space, run half of the hose length away from the reel, then turn around and run the other half of the hose back towards the reel.
-
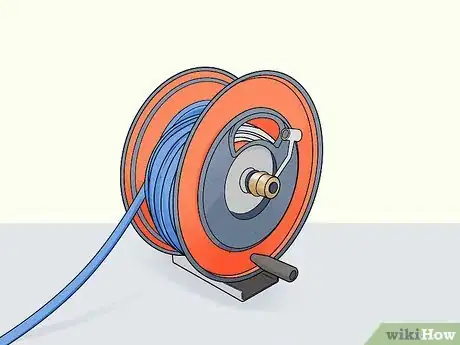
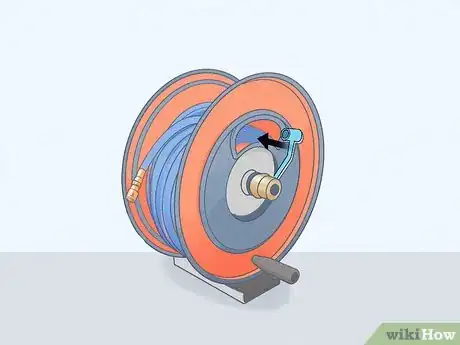
4Crank the reel with one hand and guide the hose with the other. Turn the hand crank—or, for a motorized hose reel, press the button or lever—to spin the reel and coil the hose. Loosely grip your other hand around the hose about 12 in (30 cm) away from the reel so that you can control its position as it coils onto the reel.[15]
- Crank the reel at a slow, steady pace by hand. If it’s a motorized reel, use a slow speed reeling option if available.
-
5Coil the hose in single layers, working from side to side. Use your guide hand to direct the hose onto the reel’s spindle, going from one side of the spindle to the other. Then, once you’ve created a single layer of coiled hose on the spindle, guide the hose from one side to the other in the opposite direction to build the second layer.[16]
- Continue with this side to side motion throughout, so that your reeled hose is made up of several distinct layers.
- Reeling in the hose neatly and evenly not only looks better, it makes it easier to unreel the hose later on. You can also fit a greater length of hose on a given reel whenever you do a neat job.
-
6Lock the reel, if possible, to keep the hose from unraveling. Many hose reels have a locking pin or button that prevents the reel from spinning freely. If your reel has this function, engage it so the hose doesn’t inadvertently unwind from the spindle.[17]
- This is especially important if you’re using a hose reel that’s mounted on the back of a vehicle, such as a landscaping truck. Any hose reel that’s mounted on a vehicle needs to have a locking mechanism.
Storing the Hose Long-Term
-
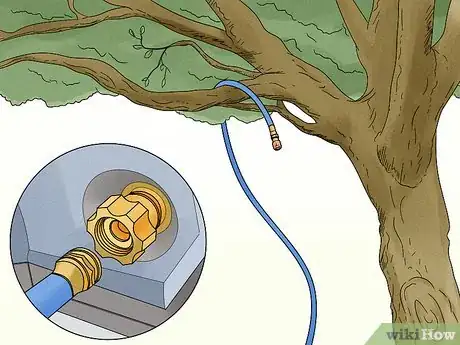
1Use gravity to drain all residual water from the hose. Disconnect both ends of the hose from any equipment, then lift one end with both hands and raise it over one of your shoulders. Feed the entire length of hose over your shoulder. Alternatively, sling the hose over a low tree branch or the top of a fence and pull the entire length of hose over it.[18]
- Lay a towel down on the top of the fence or tree branch to reduce the possibility of tearing the hose while draining out the water.
- Gravity will drain water out of the hose from both sides. The less water inside the hose, the less chance it has of splitting open due to the expansion of frozen water inside of it.
- Even if you don’t live in a cold climate, draining the hose before storing it for a long period is a good idea. Doing so reduces the chance of bacteria or mold growth inside the hose.
-
2Coil the hose or use a hose reel, as desired. Either option is a good choice for long-term storage, such as over the winter. Using a reel is the best space-saving option if you want to store the hose on a shelf in the garage, for example, but coiling the hose by hand works well if you want to store it by hanging it from a hook on the garage wall.
-
3Keep the hose out of extreme conditions to maximize its lifespan. If you won’t be using the hose for even a few days, store it somewhere where it won’t be exposed to direct sunlight, which can degrade the hose material over time. Definitely store the hose indoors over the winter, ideally in a garage, basement, or other spot that consistently remains above 32 °F (0 °C).[19]
- Try not to store the hose in a garage with a temperature that fluctuates above and below the freezing mark. The constant freeze-thaw cycle can damage the hose, even if there isn’t any water inside of it.
References
- ↑ https://www.lifesavvy.com/5013/how-to-keep-your-garden-hose-untangled/
- ↑ https://youtu.be/e9dxEE0NIKU?t=30
- ↑ https://extension.oregonstate.edu/gardening/techniques/can-i-leave-my-garden-hoses-outside-winter
- ↑ https://www.lifesavvy.com/5013/how-to-keep-your-garden-hose-untangled/
- ↑ https://youtu.be/e9dxEE0NIKU?t=40
- ↑ https://youtu.be/xiU5pV7hq7c?t=75
- ↑ https://youtu.be/p3LD6CL_83o?t=70
- ↑ https://youtu.be/xiU5pV7hq7c?t=80
- ↑ https://youtu.be/xiU5pV7hq7c?t=80
- ↑ https://youtu.be/e9dxEE0NIKU?t=115
- ↑ https://youtu.be/e9dxEE0NIKU?t=150
- ↑ https://youtu.be/Q5-F1yH6PSI?t=40
- ↑ https://youtu.be/2zUvwPC4XoM?t=200
- ↑ http://blogs.esouthernoregon.com/theliterarygardener/2017/07/30/taming-the-garden-snake/
- ↑ https://youtu.be/2zUvwPC4XoM?t=220
- ↑ https://youtu.be/2zUvwPC4XoM?t=220
- ↑ https://youtu.be/2zUvwPC4XoM?t=245
- ↑ https://extension.oregonstate.edu/gardening/techniques/can-i-leave-my-garden-hoses-outside-winter
- ↑ https://extension.oregonstate.edu/gardening/techniques/can-i-leave-my-garden-hoses-outside-winter
