This article was co-authored by wikiHow staff writer, Nicole Levine, MFA. Nicole Levine is a Technology Writer and Editor for wikiHow. She has more than 20 years of experience creating technical documentation and leading support teams at major web hosting and software companies. Nicole also holds an MFA in Creative Writing from Portland State University and teaches composition, fiction-writing, and zine-making at various institutions.
This article has been viewed 41,113 times.
Learn more...
Whether your slideshow is saved to your hard drive or the cloud, it's easy to upload it to SlideShare. After signing in to Slideshare.net, click "Upload," then choose "Select files to upload" (if the file is on your computer) or "Upload files from the cloud" (if it's saved to Google Docs, Box, Dropbox, Gmail, or OneDrive). After uploading, you can choose to keep your presentation private or share it with the world.
Steps
Uploading from Your Hard Drive
-
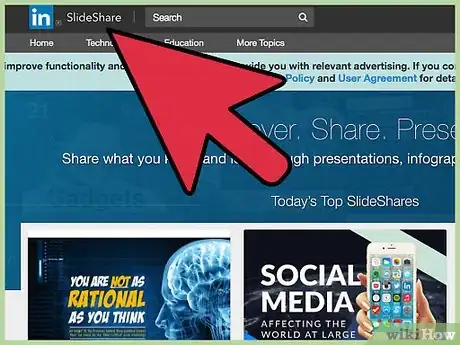
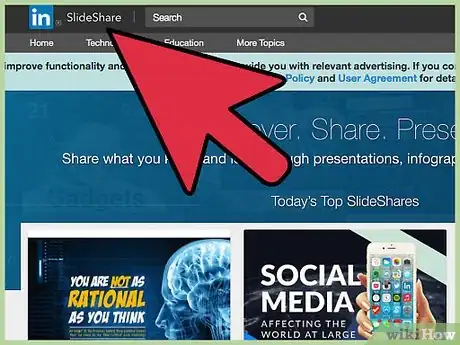
1Open SlideShare.net in your web browser. You’ll need to use a web browser to upload your slideshow to SlideShare, as the mobile app does not support uploading files.[1]
-
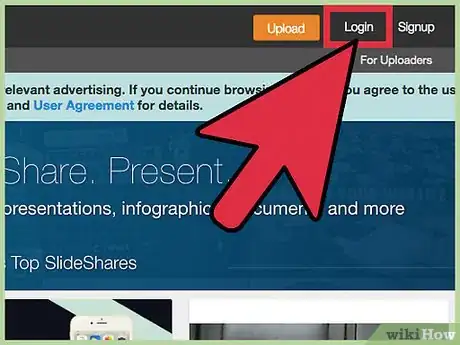
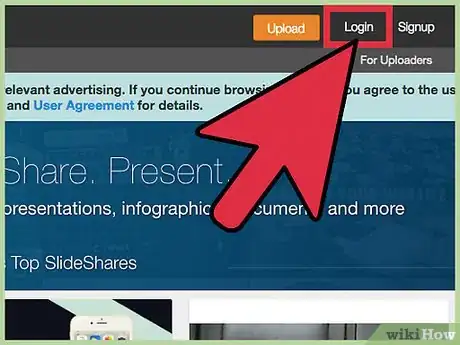
2Click “Login” and sign in to SlideShare. You’ll see this link at the top right corner of the website. Type your login credentials into the blanks, or click “Login with LinkedIn” to use your LinkedIn credentials instead.
- You need to be a LinkedIn member to use SlideShare. If you don’t have an account with LinkedIn, create one now.
Advertisement -
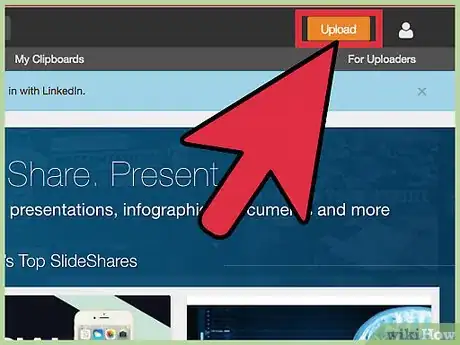
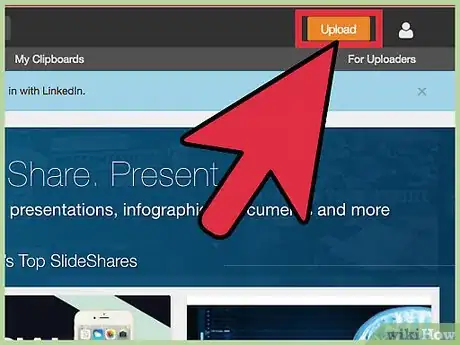
3Click the orange “Upload” button. You’ll see this button at the top right corner of the page.
-
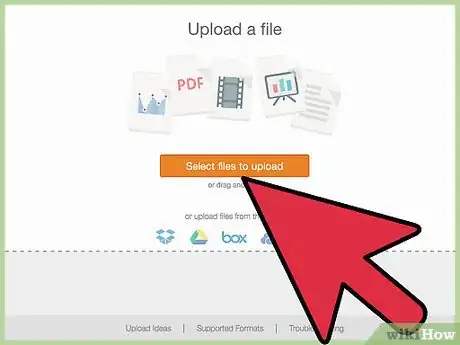
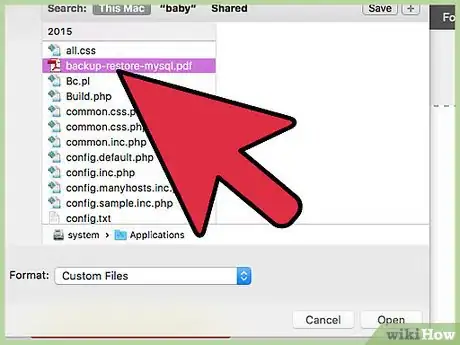
4Click “Select files to upload.” A file navigation window will appear.
-
5Double-click the file you want to upload. Once the upload is complete, you’ll see a thumbnail of the file.
- SlideShare supports the following slideshow formats: .pdf, .ppt, .pps, .pptx, .ppsx, .potx, .odp.
- The maximum slideshow file size is 300mb.
-
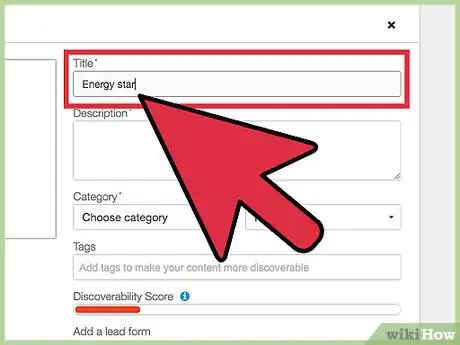
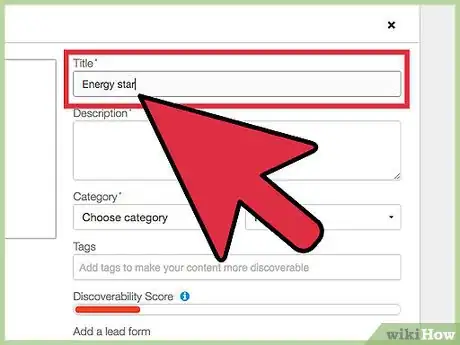
6Type the name of your presentation in the “Title” field. By default, the first line of text in the presentation will appear in the box. If you don’t want to keep that title, delete the text and type something new.
-
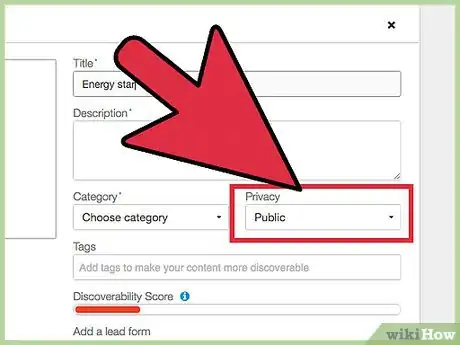
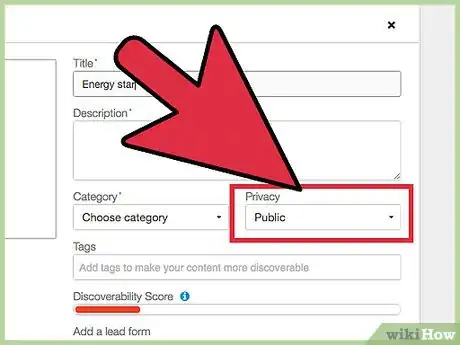
7Choose your Privacy settings. Click the Privacy drop-down to make your selection.
- Public: Anyone who searches the SlideShare site could potentially find and view your slideshow.
- Private – Anyone with Link: People cannot find your slideshow by searching SlideShare, but they will be able to view it if you share with them its URL.
- Private – Only Me: Your slideshow will only be accessible to you, and only when you are logged in to SlideShare.
-
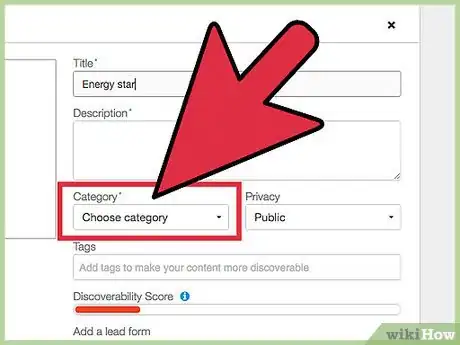
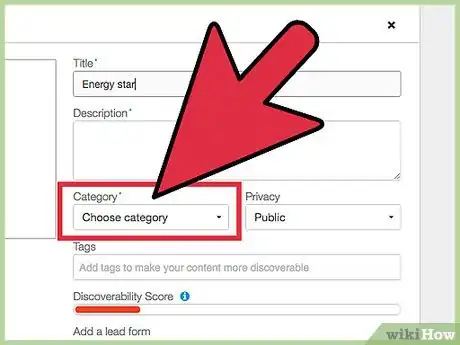
8Choose a Category. Click the “Category” drop-down to pick a category that’s suitable for your slideshow.
-
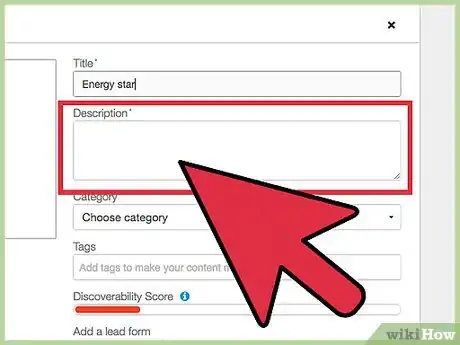
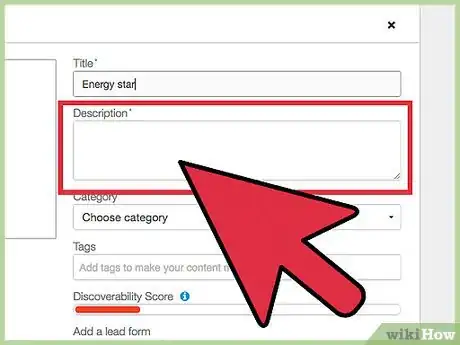
9Type a description into the “Description” field. What you type in this box depends on what you plan to do with your slideshow.
- If you make your slideshow public and want people to find it, type something that’ll give people an idea of what your presentation is all about.
- If the slideshow will stay private, type something that will jog your memory.
-
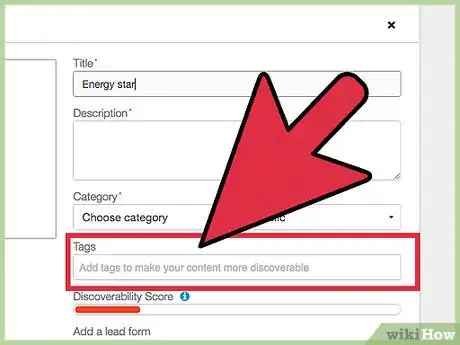
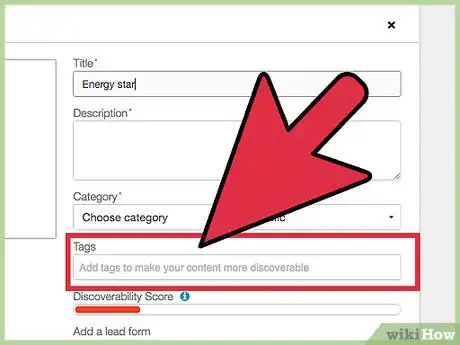
10Add some tags to the Tags box. If you want people to stumble upon your slideshow when searching the web (or browsing SlideShare), type keywords (“tags”) that pertain to your presentation. Be sure to separate each tag with a comma (,).[2]
- For example, if your slideshow is about teaching kindergartners to read, you might add these tags: children, literacy, reading, education.
- Notice that the green “Discoverability Score” bar grows in length as you add tags. The longer the bar, the easier your slideshow will be for people to discover. If the slideshow will be public, you’ll want the bar to fill completely with green.
-
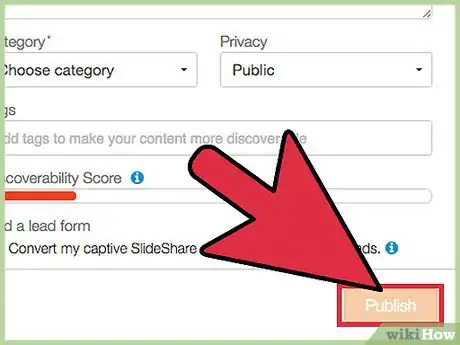
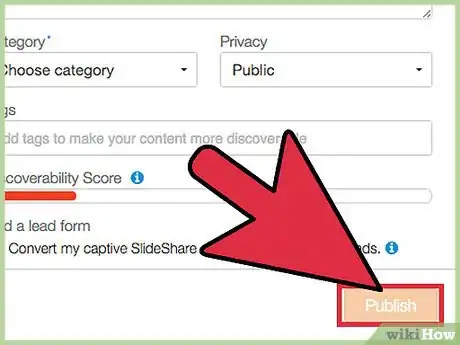
11Click “Publish” to save your slideshow. When the save is complete, your presentation will appear on the screen. You can move through the slideshow using the arrows just beneath the slides.
- If you want to change the tags, title, description, or category, click the “Edit” button beneath the preview.
- Click “Privacy Settings” to change the privacy level of the slideshow.
-
12View your slideshow from anywhere. Now that your slideshow is on SlideShare, you can access it from anywhere. After you log into SlideShare:
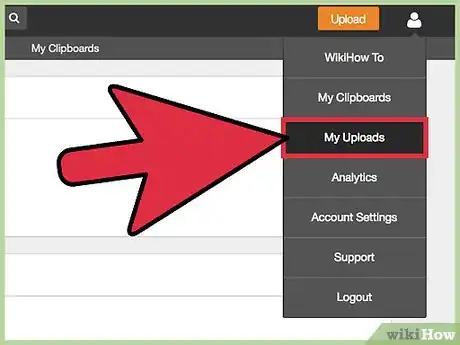
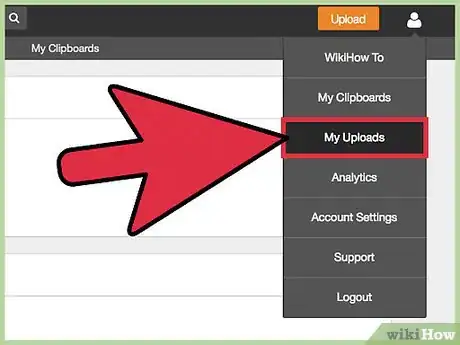
- Hover your mouse over your profile photo at the top right corner of the page.
- Click “My Uploads” in the menu.
- Select your slideshow.
Uploading from the Cloud
-
1Open SlideShare.net in your web browser. If your slideshow is saved to your Dropbox, OneDrive, Box, Google Drive, or attached to an email in your Gmail account, you can copy it to SlideShare without having to download it to your computer. You’ll need to do this from a web browser, as the mobile app does not support uploading files.[3]
-
2Click “Login” and sign in to SlideShare. You’ll see this link at the top right corner of the website. Enter your login credentials into the provided blanks, or click “Login with LinkedIn” to use your LinkedIn credentials instead.
- You need to be a LinkedIn member to use SlideShare. If you don’t already have an account with LinkedIn, create one now.
-
3Click the orange “Upload” button. This button appears at the top right area of the website. You’ll be transported to the “Upload a file” screen.
-
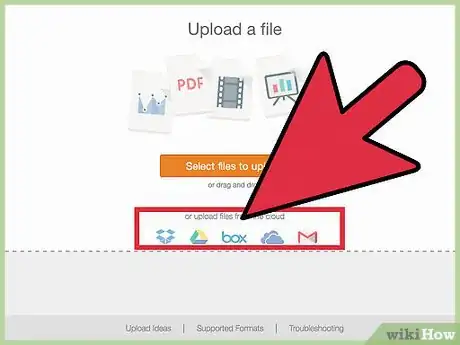
4Click the “Or upload files from the cloud” link. This link can be found at the bottom of the “Upload a file” box, just above the row of icons for different cloud services.
-
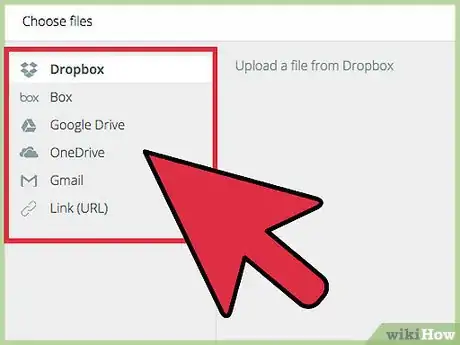
5Select your cloud service from the left sidebar. In addition to the cloud services Dropbox, Box, Google Drive, and OneDrive, you’ll also see an option for Gmail and “Link (URL).” Once you click the name of a service, you’ll see a button that says “Connect to [service].”
- If your slideshow is attached to a message in your Gmail account, choose “Gmail.” The message containing the attachment must be in your Inbox.
- If the slideshow is uploaded to another location (such as your personal website) and is accessible by URL, choose “Link (URL).” If you choose this option, you won’t see a button—instead, you’ll see a URL field.
-
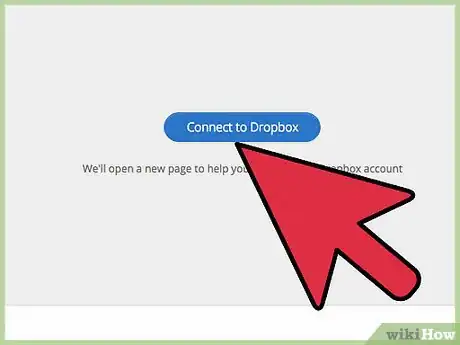
6Click “Connect to [service]” and sign in to your account. SlideShare will redirect you to your service’s sign-in screen. Once you are signed in, you’ll return to SlideShare, which should now display a list of your files.
- Depending on your service, you may also be prompted to give SlideShare permission to access your files.
- If you add a URL, type the URL into the blank and click “Search.” An icon for the slideshow will appear in the window.
-
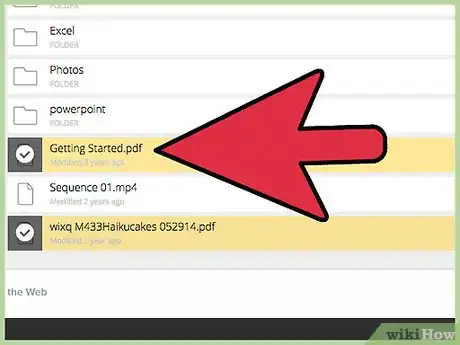
7Select the slideshow you want to upload. If it’s not in the main root of your cloud account, browse through the folders until you’ve located the file. All slideshows uploaded to SlideShare must meet these requirements:
- SlideShare supports these slideshow formats: .pdf, .ppt, .pps, .pptx, .ppsx, .potx, .odp.
- The maximum slideshow file size is 300mb.
-
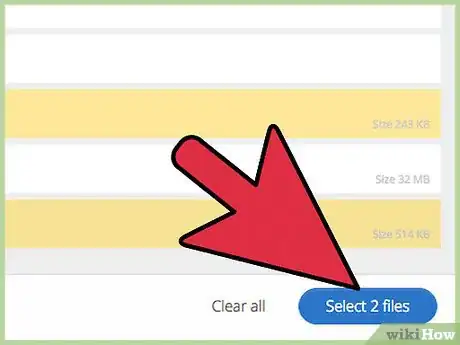
8Click the “Select one file” button. It’s a blue button at the bottom right part of the current window.
-
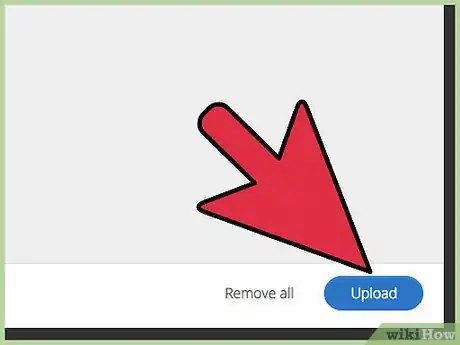
9Click “Upload.” The file will now upload to SlideShare. When the upload is complete, you’ll see a thumbnail of the slideshow on the right side of the screen, along with a mostly-blank form to fill out.
-
10Type the name of your presentation in the “Title” field. By default, the first line of text in the presentation will appear in the box. If you don’t want to keep that title, delete the text and type something new.
-
11Choose your Privacy settings. Click the Privacy drop-down to make your selection.
- Public: Anyone who searches the SlideShare site could potentially find and view your slideshow.
- Private – Anyone with Link: People cannot find your slideshow by searching SlideShare, but they will be able to view it if you share with them its URL.
- Private – Only Me: Your slideshow will only be accessible to you, and only when you are logged in to SlideShare.
-
12Choose a Category. Click the “Category” drop-down to select a category that suits your slideshow.
-
13Type a description of your presentation. The content of the Description field will depend on what you plan to do with your slideshow.
- If your slideshow will be publicly searchable, write something that will give people an idea of what your presentation is all about.
- If your slideshow will remain private, just write something that will jog your memory.
-
14Type some tags into the Tags box. If you want people to happen upon your slideshow, type a few keywords that relate to your presentation, and separate each word with a comma (,).[4]
- For example, if your slideshow is about teaching kindergartners to read, you can add tags like kindergarten, literacy, reading, and education.
- Notice the green “Discoverability Score” bar grows in length as you add useful tags. This means your slideshow will be easy for people to discover. If your presentation will be public, you’ll want that bar to stretch to its full length.
-
15Click “Publish” to save your slideshow. Once saved, you’ll see a preview of your presentation on the screen. You can view the slides using the navigational arrows at the bottom of the preview.
- If you want to change the tags, title, description, or category, click the “Edit” button beneath the preview.
- Click the “Privacy Settings” button to change the privacy level of the slideshow.
-
16View your slideshow. If you want to view your slideshow or edit its description at a later date:
- Log in to SlideShare.
- Hover your mouse over your profile photo at the top right corner of the page.
- Select “My Uploads.”
- Click the name or thumbnail of the slideshow to view it.
Community Q&A
-
QuestionI uploaded PowerPoint, but it does not open. What went wrong?
 QueenMayuriBronderCommunity AnswerMake sure you don't change the folder name or file name as the computer can won't be able to find it ever again.
References
- ↑ https://www.linkedin.com/help/linkedin/answer/53153/uploading-presentations-from-the-slideshare-mobile-app?lang=en
- ↑ https://www.askdavetaylor.com/how-do-i-upload-a-presentation-to-slideshare/
- ↑ https://www.linkedin.com/help/linkedin/answer/53153/uploading-presentations-from-the-slideshare-mobile-app?lang=en
- ↑ https://www.askdavetaylor.com/how-do-i-upload-a-presentation-to-slideshare/
