X
wikiHow is a “wiki,” similar to Wikipedia, which means that many of our articles are co-written by multiple authors. To create this article, volunteer authors worked to edit and improve it over time.
This article has been viewed 58,003 times.
Learn more...
WinBuilder is a free application designed to build and customize boot disks (Live CDs) based on ReactOS and Microsoft Windows.
The main advantage of WinBuilder is the relative ease of use, friendly GUI, and the ongoing community effort to further automate and develop the customization of these boot disks.
Steps
-
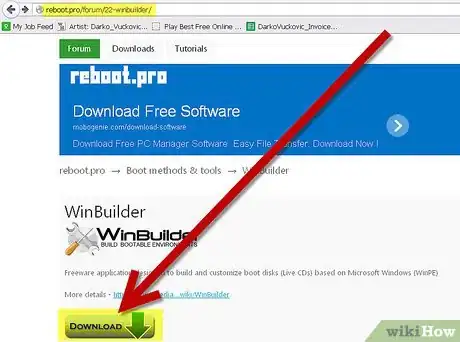
1Download Winbuilder from this link. Run the file you downloaded.
-
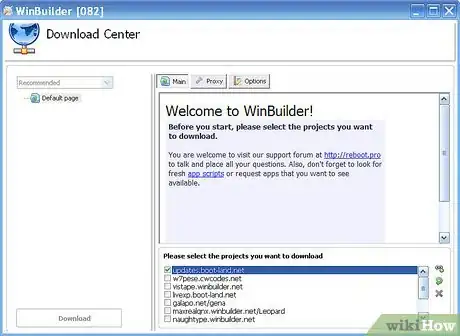
2Download Center is what you should first see.Advertisement
-
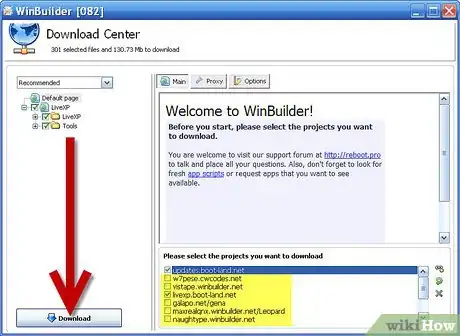
3If you don't have any projects you need to download some, check one of the boxes and choose minimum instead of recommended if you like.
-
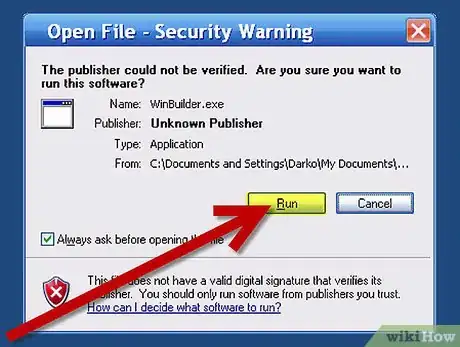
4After the download is completed you will see Open File - Security Warning window. Click "Run" to start WinBuilder.
-
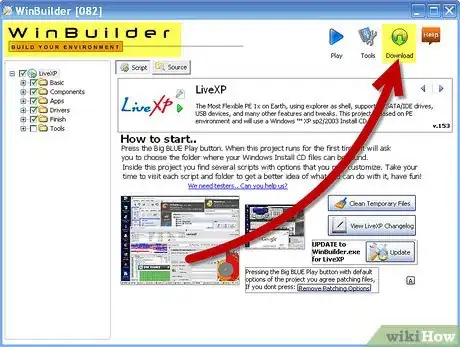
5WinBuilder will start and you can access the main interface. To return to Download Center click Download at the top right.
-
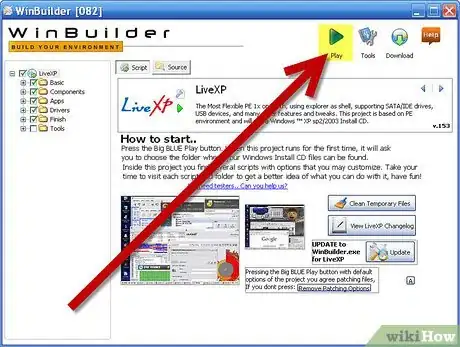
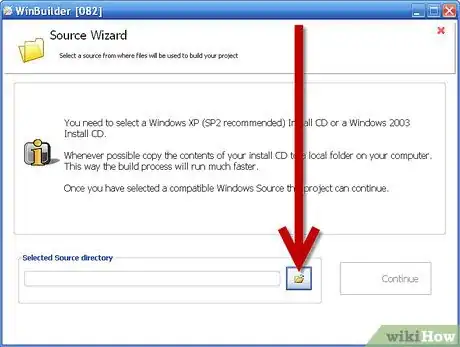
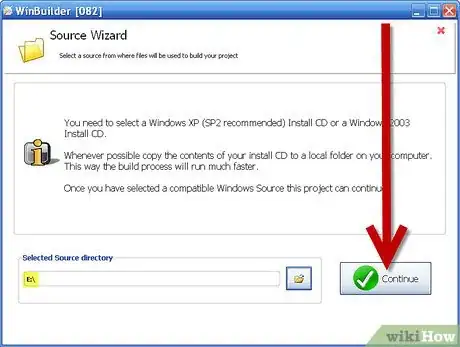
6Ensure your installation disk is inserted if you plan to use it, and hit the big blue play button to start creating your boot disk.
-
7
-
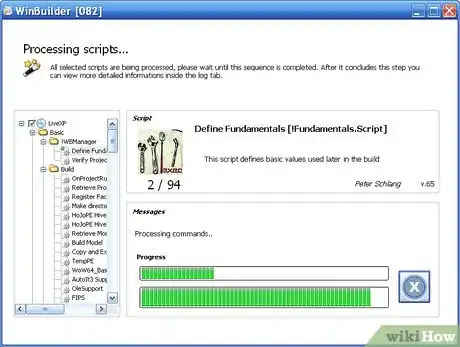
8The program will start processing scripts. Wait until it finishes.
-
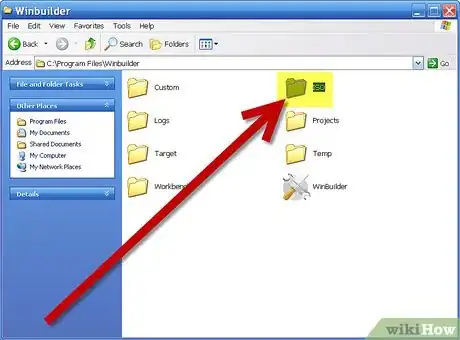
9Your live CD should be created as an image (in your ISO folder which is in your WinBuilder folder) which you then need to burn as an image onto a CD.
-
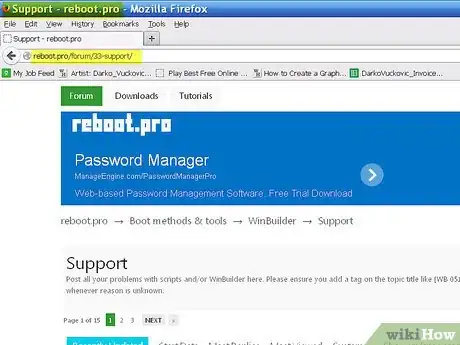
10If you have any problems visit this link.
Advertisement
Warnings
- Recovery, OEM, Dell CDs often won't work.⧼thumbs_response⧽
Advertisement
About This Article
Advertisement
