X
This article was co-authored by Christopher Batchelor, a trusted member of wikiHow's volunteer community. Christopher Batchelor is a wikiHow community member and technology enthusiast. He has experience using a range of different platforms and software, and likes to keep up with updates and new features.
This article has been viewed 111,431 times.
Learn more...
Most people who use Microsoft Word for designing creative printouts know about the WordArt feature and it's many features. If you don't know about it yet, follow the directions in this article to help you achieve these same techniques to make your printouts look spectacular.
Steps
-
1Open your Microsoft Word document, with whatever method you prefer to open the program with.
-
2Decide in which document, you'd like to start adding/using the WordArt feature in. You can either start a new document, or open an existing document, depending on where you would like to add the WordArt to.Advertisement
-
3Locate the place that you'd like to insert your first WordArt piece of text on your page.
- Type the previous text.
- You can either continue on that line (rarely used), or press enter to start a new line.
-
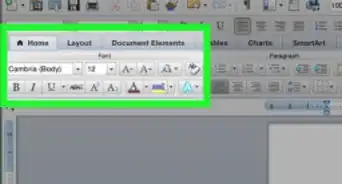
4Open your menu toolbar. For quick access if this toolbar isn't available, press and release Alt on your keyboard.
-
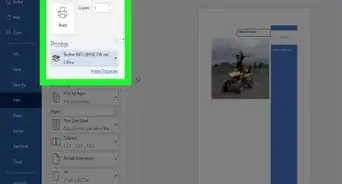
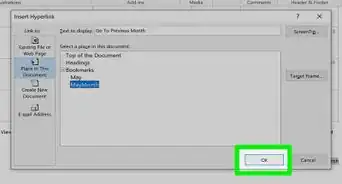
5Click the "Insert" option from this toolbar.
-
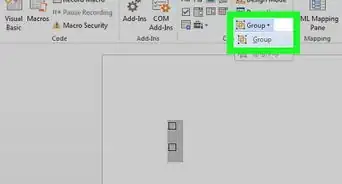
6Click the "Picture" button.This should open a drop-down list.
-
7Click the "WordArt" option from the drop-down that results. This should open a new window, along with adding a toolbar to the display window, that you can later move into a position on the screen near all the toolbars at the top of the screen. For now, you'll be concentrated on the dialog box that Microsoft Word brought up when you clicked the option to Insert a new piece of WordArt.
-
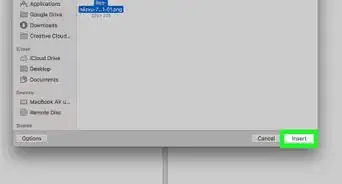
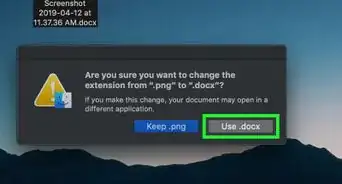
8Click to select the WordArt style that looks the best to you.
-
9Click the "OK" button. This will open a new dialog box that will help you type the text you want to be inserted to become a piece of WordArt.
-
10Type your text using proper formatting (such as correct capitalization, grammar, etc.). The text "Your text here" is automatically selected, which means as soon as you start typing, the former pre-filled text will be removed in place for the text you will type.
-
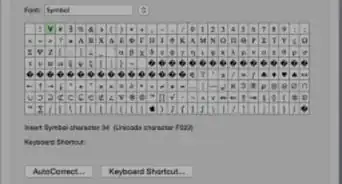
11Select alternate formatting (bold, italic, font size, font type) from the buttons above the box you type your stuff in.
-
12Learn how to move your WordArt text. This can be achieved for most viewers by clicking to select and either centering the text like most centering of any other text, or, for some versions (2007 and up) by right-clicking and dragging the text to a new location.
-
13Learn how to color your WordArt text. Use the same styles to color other text, as you would for this WordArt text. Just be sure the WordArt piece has been selected, before you begin to select your color. If you do end up selecting your color, you'll be selecting a font color for any additional text near the insertion "I" point on the screen.
- Learn how to copy the piece of WordArt to an alternate location, if you'd like. Use the Copy and Paste technique to copy and paste the item from one area to another, through the use of Windows clipboard (which is where all copy and pasted items are temporarily stored).


Advertisement
Community Q&A
-
QuestionWhat is Microsoft Word insert?
 Community AnswerMicrosoft Word "insert" is used to insert any element or object into a document.
Advertisement
Things You'll Need
- Microsoft Word program
- computer mouse and keyboard


About This Article
Advertisement