wikiHow is a “wiki,” similar to Wikipedia, which means that many of our articles are co-written by multiple authors. To create this article, volunteer authors worked to edit and improve it over time.
This article has been viewed 4,104 times.
Learn more...
Scientists often have to observe objects very closely when conducting research or experiments. Sometimes, they are looking for entities that cannot be seen easily with the naked eye. While a compound light microscope is a great tool for observing entities that are unable to be seen, a dissecting microscope is a much better choice for those who are working in the field collecting specimens that are large enough to see but too small to see all the details. These tools are not only great for scientists, but also for anyone who is curious about in-depth observations.
Steps
Setting Things Up
-
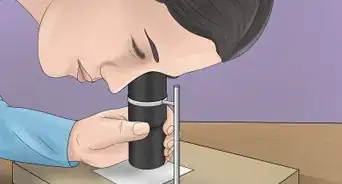
1Set the dissecting microscope on a flat surface. This surface should be close enough to a 3-prong grounding outlet so that the cord on the microscope does not have to be strained to reach it.
-
2Take off the cover on your microscope if you have one. Set aside and do not discard.Advertisement
-
3Place all of your other materials nearby. You may want to place them on the same flat surface, or on a nearby flat surface if your options are limited.
-
4Unravel the cord from the microscope and plug it into the outlet. It’s okay to keep some of the cord wrapped up, since it might get in the way if your outlet is very close.
-
5Turn on the light(s) of the microscope. There are typically two switches: one for the light above the specimen and one for the light below.


Observing
-
1Place your specimen on the stage of the microscope. If necessary, use the stage clips to hold it in place. Try to keep the specimen centered, especially if it is very small.
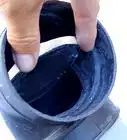
- It may be necessary to wear gloves.
-
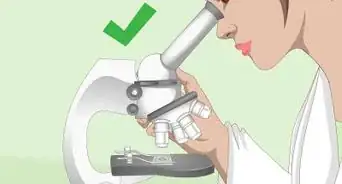
2Look with both eyes into the lenses. If the image is too bright or too dark, use the light adjustment dial to adjust the brightness.
-
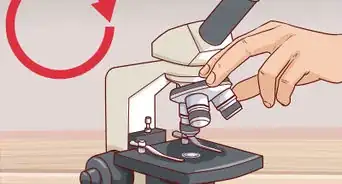
3Use the coarse adjustment knob to begin focusing on the image. When you first look through the lenses, it will most likely be very blurry, to the point you can’t even tell what you’re looking at. Try to adjust the image to the point that it cannot be focused anymore; it will probably still be blurry. You might have to try twisting the knob all the way in either direction before deciding what it looks like when it’s most focused.
-
4Use the fine adjustment knob to complete focusing your image. Use the same technique as you did with the coarse adjustment knob by going in either direction. Once you have focused the image with the fine adjustment job to the best of your ability, you should be able to see a very clear image and all of the tiny details on your specimen.
- Do not adjust the coarse adjustment knob once you have begun adjusting the fine adjustment knob. This could ruin the focus, causing you to have to start over.
- If you cannot clearly see your specimen even after adjusting the fine adjustment knob, you may need to look at your other variables. There are many reasons why your image might still be blurry, such as light intensity, too large of a specimen, specimen out of view, or a mistake while trying to focus. Try to adjust all of these things.
-
5Enjoy your view. Move the specimen around if you want. You may have to adjust the fine adjustment knob to have a better view of a different part of the specimen once you’ve moved it.


Finishing Up
-
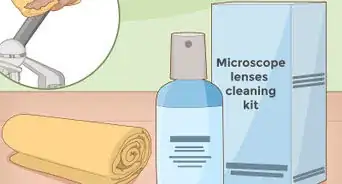
1Remove the specimen when you’re done viewing. Wipe off the stage with some type of disinfectant. 70% isopropyl alcohol works best for killing microscopic organisms (germs), and most microscopes are made of a material that will not be harmed by the compound.
-
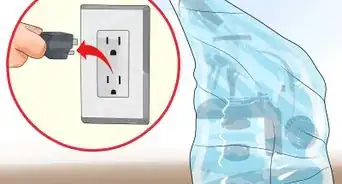
2Turn off both light switches and unplug the power cord from the outlet.
-
3Wrap your cord around the microscope. Most dissecting microscopes have prongs that stick out on the back of the neck for convenient cord-wrapping. If this is not the case, wrap the cord around the neck of the microscope. Place the cover back over the microscope.
-
4Store in a secure place where it will not fall on the ground or be damaged in any way. A cabinet with a door, especially one that is lockable, is suggested.


Things You'll Need
- Specimen
- Surgical scissors (optional)
- Scalpel (optional)
- Forceps (optional)
- Dissecting needle (optional)
- Pencil and paper (optional for recording data)
- Gloves (optional)