X
wikiHow is a “wiki,” similar to Wikipedia, which means that many of our articles are co-written by multiple authors. To create this article, volunteer authors worked to edit and improve it over time.
This article has been viewed 14,570 times.
Learn more...
Most images are lovely as they are, but if you want to make basic changes to a picture then the Adjustment Panel is the right tool to use in Photoshop.
Steps
-
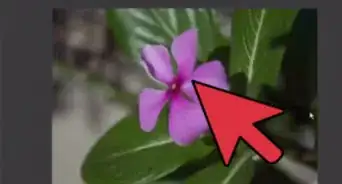
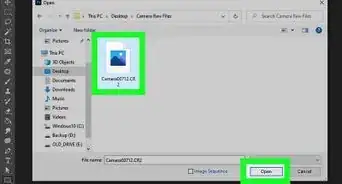
1Open the desired image in Photoshop.
-
2Find the Adjustment Panel. It is on the right side of the screen. It contains general filters and effects that you can place on the image.Advertisement
-
3Try an example adjustment. For this example, the Hue/Saturation adjustment is demonstrated. To select an adjustment, you must click on the relative icon. If you do not know which icons are which, simply hover over each one until the description pops up.
-
4Click on the icon. This should bring up the appropriate adjustors. For Hue/Saturation, it will come up with the window shown in the image accompanying this step.
-
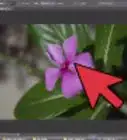
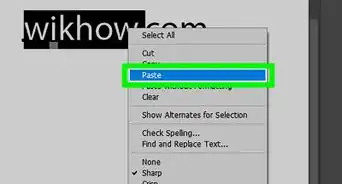
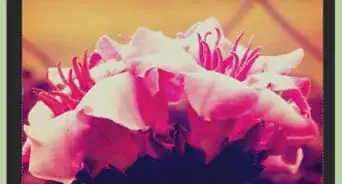
5Make the adjustments to your image. This is not a definite change as the effects can be removed.
-
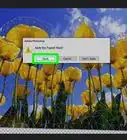
6Undo unwanted changes. If you do not like the changes then you can choose one of the following two options:
- 1. If the window is still open you can click on the dust bin icon to remove the layer.
- 2. If not, you can click on layers, right click on the adjustment layer and press delete.
-
7Make further adjustments if needed. At this point, you can either add another adjustment or leave the image as it is. Once you have finished and are happy with the result, you can flatten the image into one layer. To do this, go to Layer and click on ‘Flatten Image’.
-
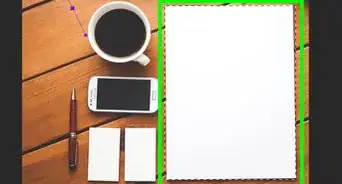
8Save the image. It's a good idea to save it under a different name so that you can keep the original.
-
9Enjoy and share your image with family and friends!


Advertisement
Things You'll Need
- Photoshop
- Original image for adjusting


-Step-10.webp)
About This Article
Advertisement