This article was co-authored by Ez's Painting LLC. Ez's Painting LLC is a team of Painting Professionals based in Olympia, Washington. With more than twelve years of experience, the EZ's Painting team specializes in both commercial and residential painting projects. Ez's Painting LLC holds a contractor license in the state of Washington.
This article has been viewed 23,447 times.
Whitewashing is a technique for staining wood that adds light and color without being too stark. It allows the grain to show through, while reducing dark or yellow tones. Whitewashed wood is a versatile look that works with both traditional and modern décor. Whitewash can be achieved simply by thinning regular paint until it has a more transparent texture.
Steps
Removing Old Paint or Stain
-
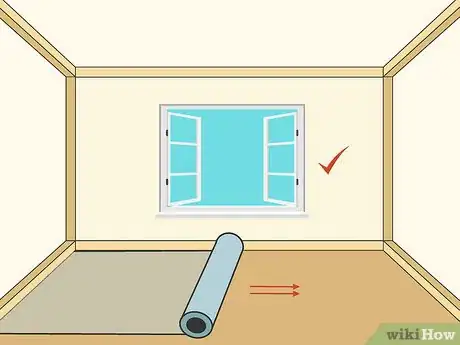
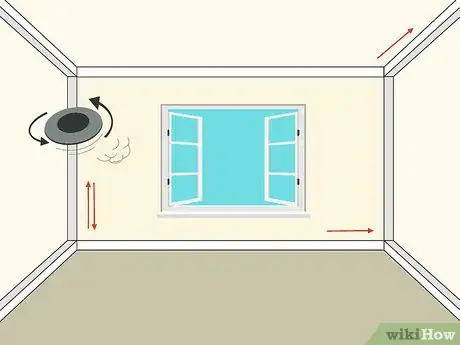
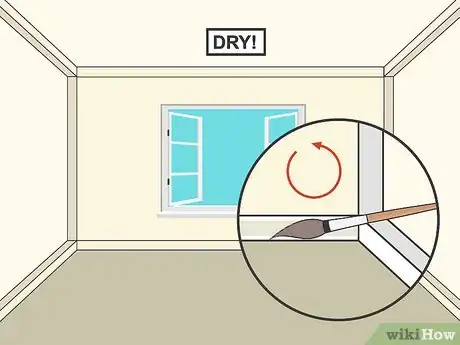
1Set up your working area. Cover the floor with a drop cloth to keep dust and whitewash off of it.[1] Open screened windows and doors to provide ventilation. Set all of your supplies in a corner of the room so you know where everything is.
- If you don’t have a lot of experience painting, use painter’s tape to tape off areas you don’t want to get whitewash, like the walls.
-
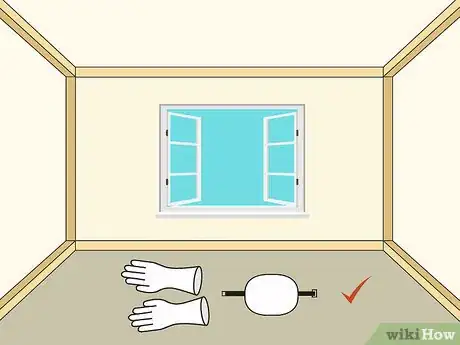
2Wear gloves and a breathing mask. The solvent you’ll use to remove old finish from the trim can be harmful to your skin. Wear thick rubber work gloves to protect your skin. A breathing mask helps protect you from the fumes of the solvent and the dust created by sanding.
- Find these items in the paint or garden section of a big-box store or at a home improvement store. Choose gloves that cover your hands and a mask that covers your nose and mouth.
- There are many styles of gloves and masks, and the type you pick is up to your preference and budget.
- Also, wear some old clothes that you don’t mind getting paint on. It’s not so much a safety issue as an issue of not ruining your good clothes.
Advertisement -
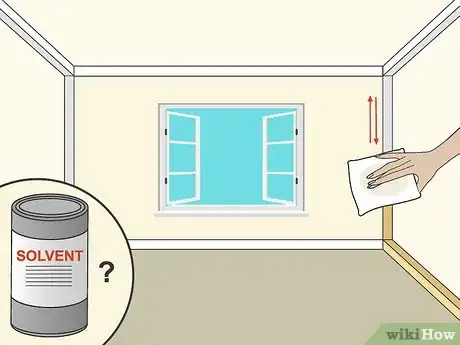
3Apply a solvent to the trim to remove varnish or paint. Most trim has a finish of some kind. Use paint remover, lacquer thinner, or denatured alcohol to remove the finish. Pour the solvent into a metal container. and dip a rag into the solvent. Wipe the trim one section at a time.[2]
- Be sure to read the solvent manufacturer's directions. You may need to remove it from the trim after a certain amount of time, but this varies for each product.
-
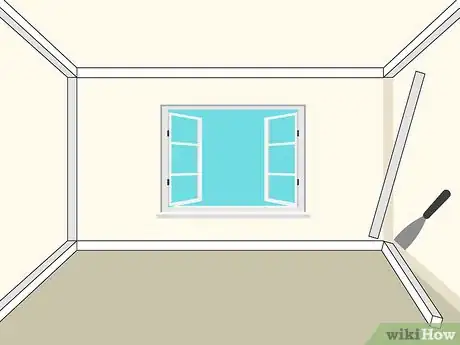
4Scrape the trim to remove a stubborn finish. Solvents may soften finish without removing it, especially if there are a lot of layers. Use a putty knife, a 5-in-1 scraper, or a razor blade to remove thick paint or varnish. Scrape gently with the tool so you don’t damage the trim.
- Keep a trash bag or bucket close by to throw the scrapings away in.
- Hold the handle of the scraper so it is almost flat against the wood. Scrape at this angle to avoid gouging the wood.
- If using one of these tools seems too harsh, grab a piece of steel wool and rub the softened paint or varnish to remove it from the trim.
-
5Sand the trim by hand or with an electric palm sander. Start with 60 grit sandpaper, then use 80 grit, and end with 100 grit. Always sand back and forth parallel with the grain of the wood. Only sand enough to remove any trace of the finish. Stop sanding when you see raw wood.
- Sanding is rarely an exact process. Rub gently and always keep an eye on the trim as you go. Especially with an electric palm sander, it’s easy to sand too much and cut into the wood.
- A general rule is make two passes over the trim with 60 grit paper and then one each with 80 grit and 100 grit.
- Trim that is intricately carved takes more time and care to sand properly.
-
6Wipe the trim with a wet rag to remove the dust. Sanding creates a lot of dust, which must be removed before you apply whitewash. Grab a clean, white rag and dampen it with water. Make sure it’s not soaking wet. Wipe the dust away and rinse the rag as needed so it stays clean.
Mixing Water and Paint
-
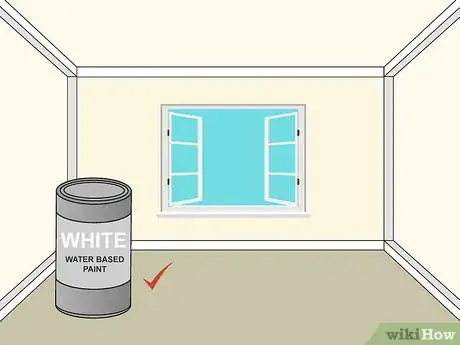
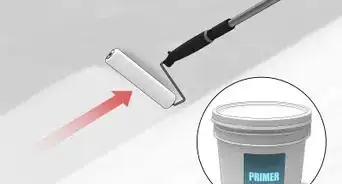
1Choose water-based white interior paint with low gloss. The simplest way to whitewash is to water down white paint. Oil-based paint works, but it may not be as easy to use. You probably don’t want paint with a high gloss, but it’s up to you.[3]
- Go to your local hardware, paint, or home improvement store. Since you are watering it down anyway, don’t buy expensive paint.
-
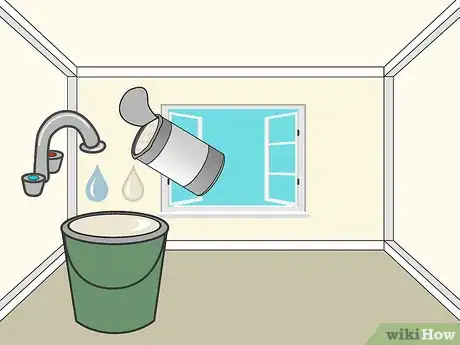
2Dilute the white paint with clean water. Pour some of the paint into a plastic bucket that holds at least two or three gallons (7.5-11.4 L). A bucket with some type of marked measurements helps you get the right mix of paint and water. Start with two parts paint and one part water.[4]
- The thickness of whitewash is all about personal preference. It’s best to start with a thick mixture because you can add more water to thin it out, but you can’t remove water.
- If you use oil-based paint instead of water-based paint, thin it with turpentine (paint thinner) instead of water. The same ratio and process applies.
-
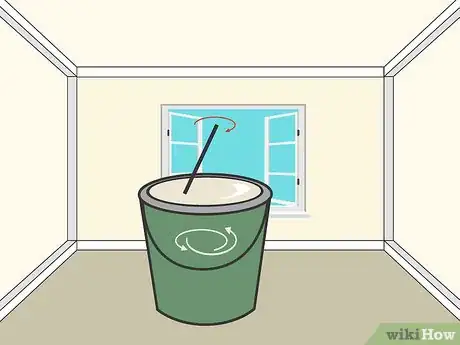
3Mix the whitewash completely with a paint stirrer. Since the two liquids are such different thicknesses, they won’t mix totally on their own. Stir the paint with figure eight motions until the water is totally combined with the paint. Scrape the excess paint off of the stirrer and set it aside.
-
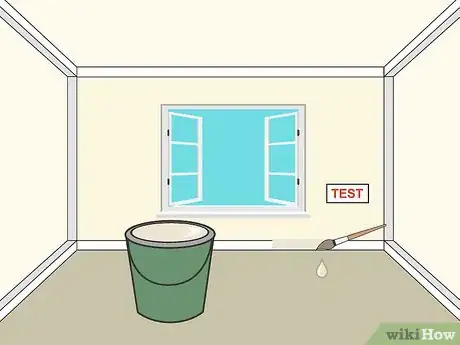
4Test the whitewash on a small section of trim. Dip the brush into the whitewash and paint a foot (30.5 cm) or so of trim. If it looks good, move onto painting the whole thing. If the whitewash looks thicker than you want it to be, add more water and mix it again.
- Remember to add the water a little at a time so the whitewash doesn’t become too thin.
Applying the Whitewash
-
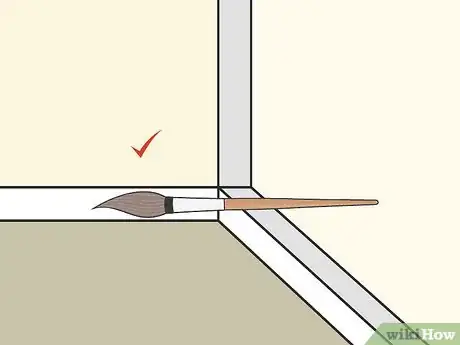
1Use a brush that’s slightly narrower than the trim. Pick out a paint brush that covers the majority of the width of the trim in one swipe, without going past the edges. This will help you paint quickly without accidentally getting whitewash on the walls or doors next to the trim.
- For example, for four inch (10.2 cm) wide trim, use a three inch (7.6 cm) or 3 ½ inch (8.9 cm) wide brush. If the trim is more than four inches (10 cm) wide, stick with a brush that is less than four inches.
-
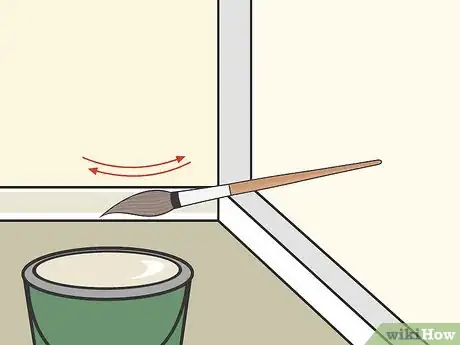
2Brush on the whitewash carefully. Use back and forth strokes of the brush that go parallel with the grain of the wood. The whitewash will be runny, so hold the bucket close to the trim so you don’t drip it all over. Catch paint runs quickly with a rag so they don’t get onto other surfaces.
- Pay attention to the results as you go. Generally two to three swipes of the brush on each section of trim is enough to achieve the look you want.
- Work somewhat slowly and stick to brushing small sections at a time. This gives you the chance to check your work as you go to make sure it looks the way you want.
-
3Carry a white rag to wipe up excess whitewash. The whitewash might run and drip as you apply it. Keep a slightly damp rag with you at all times to quickly wipe up running whitewash. Use a white rag to avoid transferring cloth dye to the whitewash.
- Judge as you go whether or not the whitewash looks the way you want it to. Wiping away some of the whitewash makes it more transparent.
- After you finish a section, use the wet rag to wipe away some of the whitewash if it appears too thick on the trim. This gives it a more transparent appearance.
-
4Let the first coat dry and apply more coats if you want. Give the paint at least an hour or so to dry, depending on the humidity. Some paint takes longer. If the whitewash looks more transparent than you want, apply a second and third coat until it looks the way you want it to.
- To check if the paint is dry, gently touch it with a finger. It if feels sticky, give it more time to dry before you apply another coat.
-
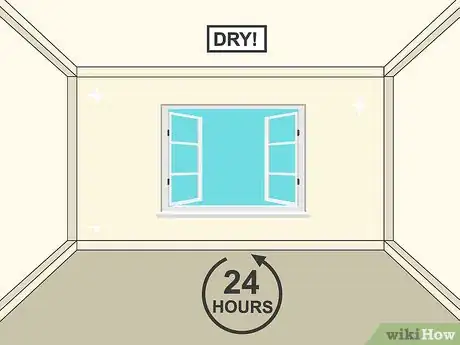
5Let the whitewash dry for at least 24 hours before anything touches it. Different paints and stains dry at different speeds. After a full day, check a few spots of whitewashed trim see if it is dry. Make sure nothing touches the trim while it dries.[5]
- If the whitewash still doesn’t look how you want after the first few coats have dried, apply more coats until you reach the desired result.
- Whitewash is meant to be somewhat see through. If you want the trim to look totally white, paint it with undiluted paint.
Community Q&A
-
QuestionCan I whitewash trim just by sanding first and then doing the whitewash ?
 Community AnswerSanding is sufficient if the trim has only a thin layer of finish. Otherwise, you won't be able to strip the finish off with only sanding.
Things You'll Need
- Drop cloth
- Face mask
- Gloves
- Brushes
- Rags
- Solvent
- Scraper or steel wool
- Sandpaper (60, 80, 100 grit)
- Stain/paint
- Aluminum powder
- White titanium dioxide powder
- Plastic bucket
- Paint stirrer
References
- ↑ Ez's Painting LLC. Painting Professionals. Expert Interview. 12 January 2022.
- ↑ https://www.bobvila.com/articles/how-to-remove-varnish/#.WYC4sZIirHg
- ↑ https://www.bobvila.com/articles/whitewashing/#.WYiEGNMrLHg
- ↑ https://www.bobvila.com/articles/whitewashing/
- ↑ https://www.favecrafts.com/blog/fc/how-to-white-wash-wood-decor-or-furniture/
