
/en/excel2013/worksheet-basics/content/
Many of the commands you'll use to prepare your workbook for printing and PDF export can be found on the Page Layout tab. These commands let you control the way your content will appear on a printed page, including the page orientation and margin size. Other page layout options, such as print titles and page breaks, can help make your workbook easier to read.
Optional: Download our practice workbook.
Before you start modifying a workbook's page layout, you may want to view the workbook in Page Layout view, which can help you visualize your changes.
Excel offers two page orientation options: landscape and portrait. Landscape orients the page horizontally, while portrait orients the page vertically. Portrait is especially helpful for worksheets with a lot of rows, while landscape is best for worksheets with a lot of columns. In the example below, portrait orientation works best because the worksheet includes more rows than columns.
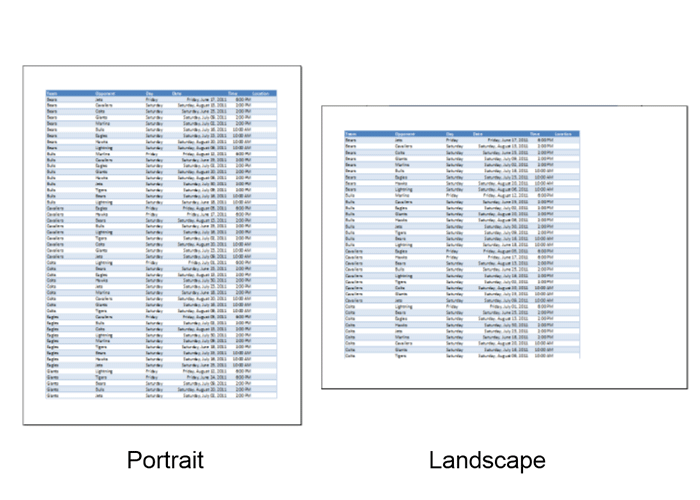 Portrait and Landscape orientation
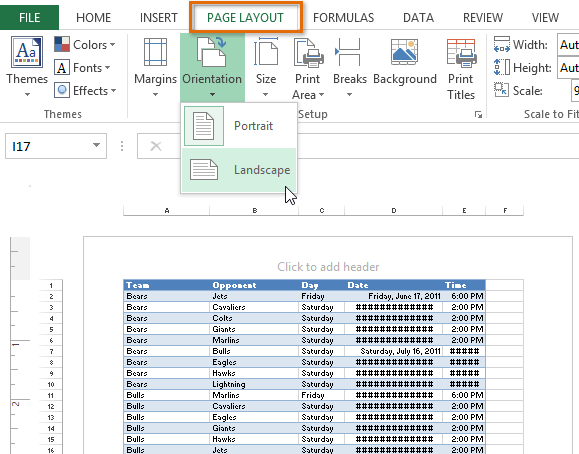 Choosing a page orientation
A margin is the space between your content and the edge of the page. By default, every workbook's margins are set to Normal, which is a one-inch space between the content and each edge of the page. Sometimes you may need to adjust the margins to make your data fit more comfortably on the page. Excel includes a variety of predefined margin sizes.
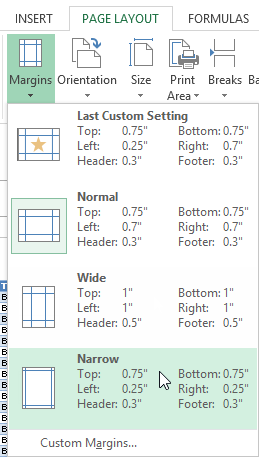 Choosing a pre-defined margin size
Excel also allows you to customize the size of your margins in the Page Setup dialog box.
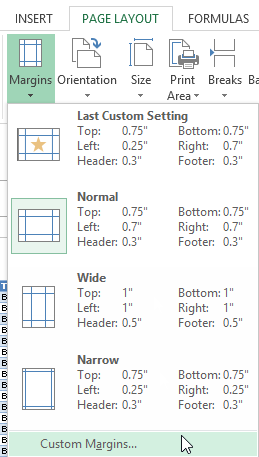 Selecting Custom Margins...
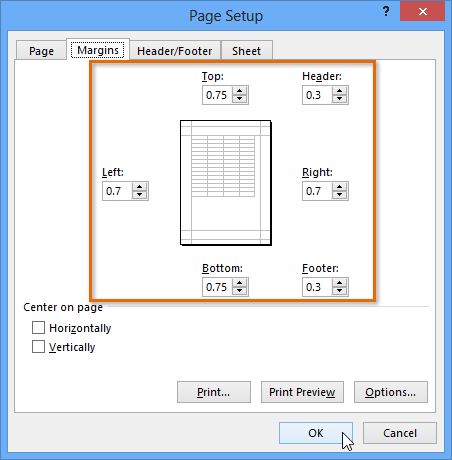 Setting custom page margins
If your worksheet uses title headings, it's important to include these headings on each page of your printed worksheet. It would be difficult to read a printed workbook if the title headings appeared only on the first page. The Print Titles command allows you to select specific rows and columns to appear on each page.
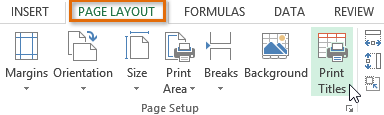 Clicking the Print Titles command
 and the Page Setup dialog box will be collapsed. Select the row(s) you want to repeat at the top of each printed page. In our example, we'll select row 1.
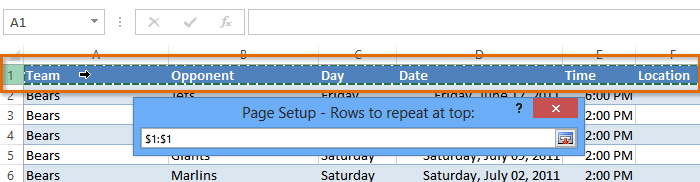 Selecting row 1
 Clicking the Collapse Dialog button
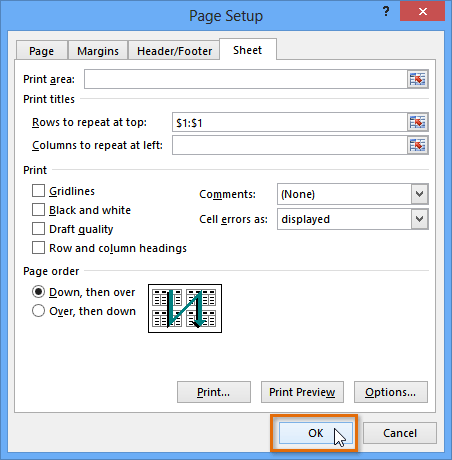 Clicking OK
If you need to print different parts of your workbook across separate pages, you can insert a page break. There are two types of page breaks: vertical and horizontal. Vertical page breaks separate columns, while horizontal page breaks separate rows. In our example, we'll insert a horizontal page break.
 Selecting Page Break View
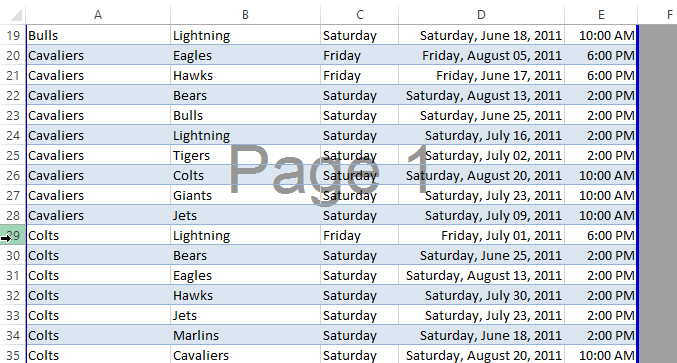 Selecting a row
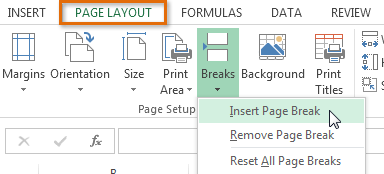 Inserting a page break
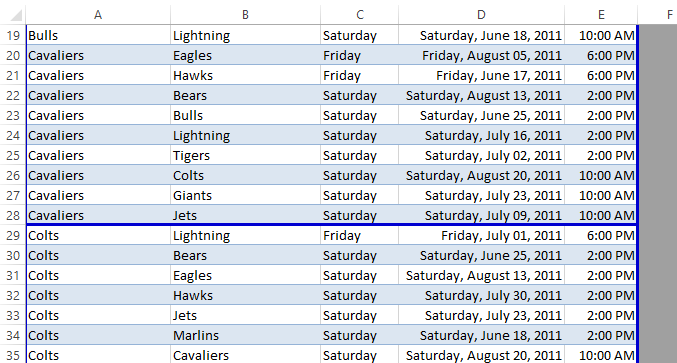 The inserted page break
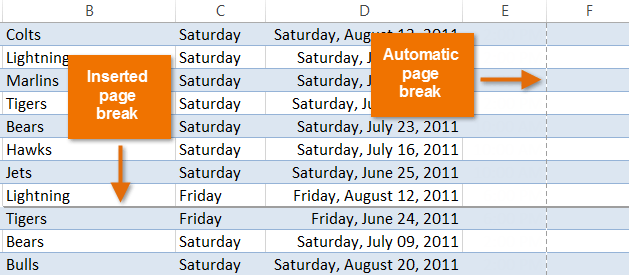 Viewing inserted and automatic page breaks in Normal view
You can make your workbook easier to read and look more professional by including headers and footers. The header is a section of the workbook that appears in the top margin, while the footer appears in the bottom margin. Headers and footers generally contain information such as page number, date, and workbook name.
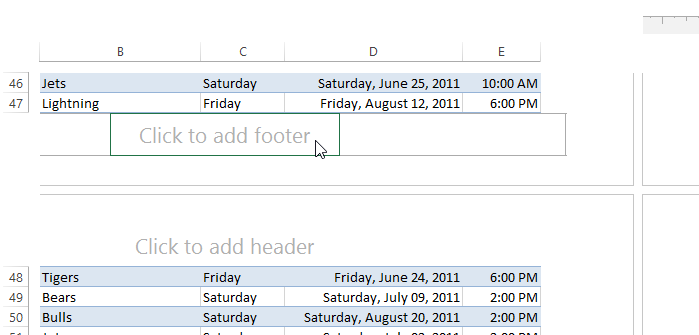 Selecting a footer to modify
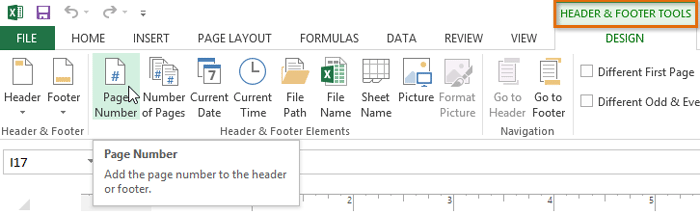 Adding page numbers from the Header & Footer Tools tab
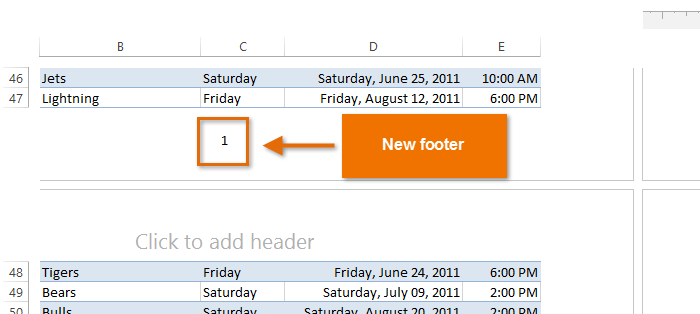 The newly added footer
Excel uses the same tools as Microsoft Word to modify headers and footers. Check out our lesson on Headers, Footers, and Page Numbers from our Word 2013 tutorial to learn more.
/en/excel2013/printing-workbooks/content/