This article was co-authored by wikiHow staff writer, Nicole Levine, MFA. Nicole Levine is a Technology Writer and Editor for wikiHow. She has more than 20 years of experience creating technical documentation and leading support teams at major web hosting and software companies. Nicole also holds an MFA in Creative Writing from Portland State University and teaches composition, fiction-writing, and zine-making at various institutions.
This article has been viewed 448,243 times.
Learn more...
Adobe InDesign can be used to create a variety of print materials including books, posters, flyers, and brochures. Installing a new font on your computer makes it available for use in InDesign, as well as other applications. If you're using the 2019 version of InDesign or later, you'll be able to install free fonts from Adobe without leaving the app. This wikiHow teaches you how to install new fonts on your Windows or macOS computer and make them available for use in InDesign.
Steps
Activating Adobe Fonts in InDesign 2019
-
1Open InDesign on your computer. It'll be in the Applications folder on a Mac, and in the Start menu on Windows. The 2019 version of InDesign allows you to activate thousands of pre-licensed free fonts right inside the app.[1]
-
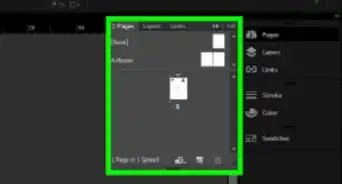
2Click Find More on the Character panel. If you don't see the panel, press ⌘ Cmd+T (Mac) or Ctrl+T (PC) to open it. The Find More button is just below the font selection menu.[2]Advertisement
-
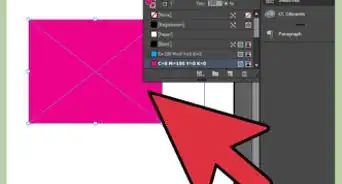
3Browse the font list. The fonts that appear can all be downloaded at no cost. You can see a preview of each font in the list by hovering the mouse cursor over its name.[3]
-
4Click the Download button next to a font. Each font has a corresponding cloud icon to the right of its name. If you see a cloud icon with a downward-pointing arrow next to a font, that font is not yet installed. Click the icon to download it.
- The arrow on the cloud will turn to a checkmark when the font is ready for use in InDesign.
- The installed font will also be available in Illustrator 2019 and various other Adobe apps.


Downloading New Fonts on a Mac
-
1Download a font to your computer. Many websites host free fonts you can download for personal use. You can use your favorite search engine to find such websites and browse their selections. When you find a font, click the Download button to save it to your computer. Some popular font download sites are https://www.dafont.com, https://www.1001freefonts.com, and https://www.myfonts.com.
- InDesign supports the following font types: OpenType, TrueType, Type 1, Multiple Master, and Composite. If the font you're downloading asks you to choose a format before downloading, choose one of those formats.[4]
- If your InDesign project is commercial (e.g., ads, paid publications, websites designed to generate revenue, social media promotions), you'll typically need to purchase a license from the font's creator.
-
2Close InDesign. Before installing the font, save your work in InDesign and close the application if you haven't already done so.
-
3
-
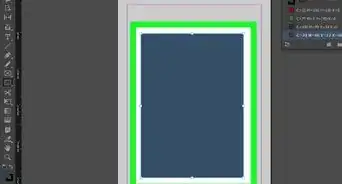
4Browse to the folder that contains your downloaded font. Downloaded files should save to the Downloads folder by default. If the file you downloaded is zipped/compressed (usually ending with .zip), double-click it to unzip it.
- Downloaded fonts will usually end with .otf or .ttf.
-
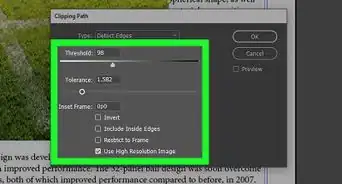
5Double-click the font file. This opens a dialog window that displays a preview of the font.
-
6Click Install Font. It's the blue button at the bottom-right corner of the dialog window. This installs the font on your Mac.
-
7Open InDesign. You'll find it in the Applications folder. The font you installed will now appear in the Font menu on the Character panel.
- You can browse your fonts in InDesign

Downloading New Fonts in Windows
-
1Download a font to your computer. Many websites host free fonts you can download for personal use. Use your favorite search engine to find such websites and browse their selections. When you find a font, click the Download button to save it to your computer.
- InDesign supports the following font types: OpenType, TrueType, Type 1, Multiple Master, and Composite. If the font you're downloading asks you to choose a format before downloading, choose one of those formats.
- If your InDesign project is commercial (e.g., ads, paid publications, websites designed to generate revenue, social media promotions), you'll typically need to purchase a license from the font's creator.
- Some popular font download sites are https://www.dafont.com, https://www.1001freefonts.com, and https://www.myfonts.com.
-
2Close InDesign. Before installing the font, save your work in InDesign and close the application if you haven't already done so.
-
3
-
4Browse to the folder that contains your downloaded font. Downloaded files should save to the Downloads folder by default. If the file you downloaded is zipped/compressed (usually ending with .zip), right-click the file, select Extract All, and then click Extract. This will either unpack a folder that contains the fonts or just unpack individual font files.
- Downloaded fonts will usually end with .otf or .ttf.
-
5Right-click the font file and select Install. The font will now install.[5]
-
6Open InDesign. You should find it in the Start menu. The font you installed will now appear in the Font menu on the Character panel.


References
- ↑ https://helpx.adobe.com/indesign/using/using-fonts.html#Activatemorefonts
- ↑ https://creativepro.com/using-adobe-fonts
- ↑ https://helpx.adobe.com/indesign/using/using-fonts.html#Activatemorefonts
- ↑ https://helpx.adobe.com/indesign/using/using-fonts.html#Fonttypes
- ↑ https://www.digitaltrends.com/computing/how-to-install-fonts-in-windows-10
About This Article

1. Open InDesign.
2. Click Find More on the Character panel.
3. Browse for a font.
4. Click the download icon to install the font.