X
This article was co-authored by wikiHow Staff. Our trained team of editors and researchers validate articles for accuracy and comprehensiveness. wikiHow's Content Management Team carefully monitors the work from our editorial staff to ensure that each article is backed by trusted research and meets our high quality standards.
This article has been viewed 27,230 times.
Learn more...
To change your iCloud storage plan, open the Settings app on your iOS device → tap iCloud → tap Storage and then Buy More Storage → select the plan you want to use → tap Buy. You can also change your iCloud plan from your Mac or Window computer.
Steps
Method 1
Method 1 of 3:
Using Your iPhone
-
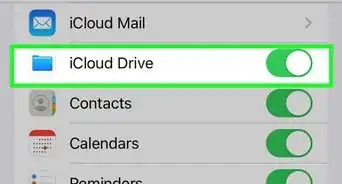
1Tap the Settings app. This looks like a set of gears. It may be in a folder labeled "Utilities."
-
2Tap iCloud.Advertisement
-
3Tap Storage.
-
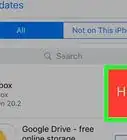
4Tap Buy More Storage or Change Storage Plan. The wording changes depending on if you are already subscribed to a paid plan or not.
-
5Tap the plan you want to subscribe to.
-
6Tap Buy.
-
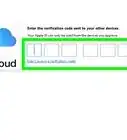
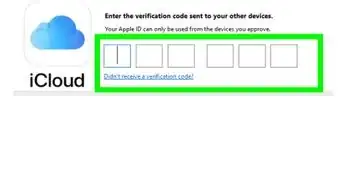
7Type in your Apple ID password.
-
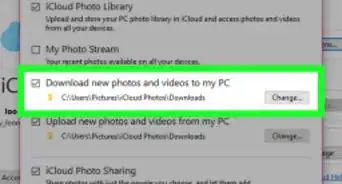
8Type in your payment information if prompted. You'll need to have payment information on file in your Apple ID in order to select a paid subscription plan.[1]


Advertisement
Method 2
Method 2 of 3:
Using Your Mac
-
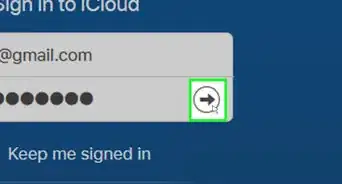
1Click the Apple menu. This is located in the upper-left corner of the screen.
-
2Click System Preferences.
-
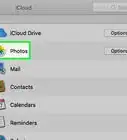
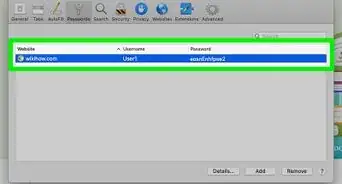
3Click iCloud. If you don't see iCloud, click the Show All button at the top of the window.
-
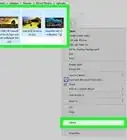
4Click the Manage button.
-
5Click Buy More Storage or Change Storage Plan.
-
6Click the plan you want to subscribe to.
-
7Click Next.
-
8Type in your Apple ID password.
-
9Click Buy.
-
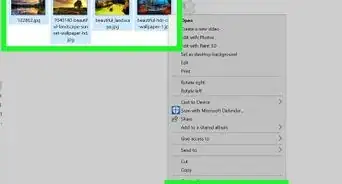
10Click Billing Info if prompted to enter payment information. You have to have a payment method associated with your Apple ID in order to complete the purchase.


Advertisement
Method 3
Method 3 of 3:
Using a Windows Computer
-
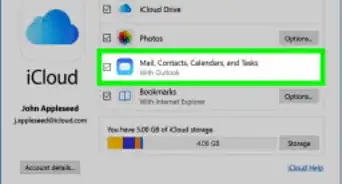
1Click the iCloud for Windows program. If you don't have iCloud for Windows, download it from https://support.apple.com/en-us/HT204283.
-
2Click the Storage button.
-
3Click the Change Storage Plan button.
-
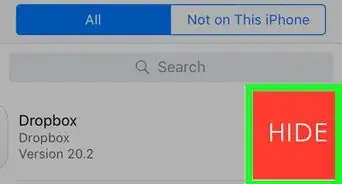
4Click the plan you want to use.
-
5Click the Next button.
-
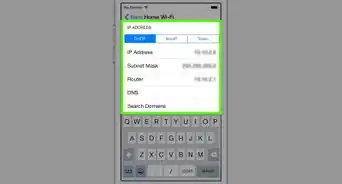
6Type in your Apple ID password.
-
7Click Buy.
-
8Type in your payment information if prompted. If you don't have a payment method associated with your Apple ID, you'll need to enter one before you can complete the purchase.


Advertisement


References
About This Article

wikiHow Staff
wikiHow Staff Writer
This article was co-authored by wikiHow Staff. Our trained team of editors and researchers validate articles for accuracy and comprehensiveness. wikiHow's Content Management Team carefully monitors the work from our editorial staff to ensure that each article is backed by trusted research and meets our high quality standards. This article has been viewed 27,230 times.
How helpful is this?
Co-authors: 1
Updated: March 29, 2019
Views: 27,230
Categories: ICloud
Advertisement