X
wikiHow is a “wiki,” similar to Wikipedia, which means that many of our articles are co-written by multiple authors. To create this article, 18 people, some anonymous, worked to edit and improve it over time.
This article has been viewed 543,397 times.
Learn more...
Are you having trouble getting your Linksys WRT160N router to connect to the internet? Here are some steps to help you configure it.
Steps
-
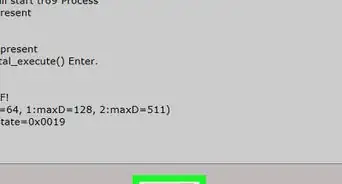
1Connect to the router. Use an ethernet cable, and plug your computer into the router. Then turn on the router and connect to it using a web browser such as Internet Explorer or Firefox. This is done by typing the IP address of the router. Linksys sets the default to http://192.168.1.1/
-
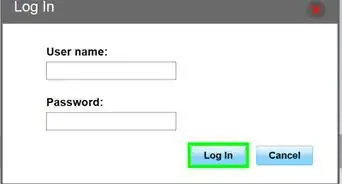
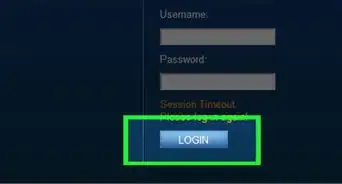
2Enter your information. If this is your first time setting it up, you will be asked for your credentials. Leave the username blank and enter "admin" for the password.Advertisement
-
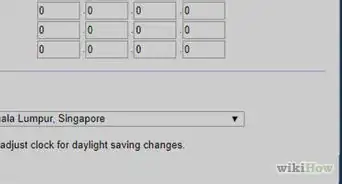
3Basic setup. You will now be in the "Basic Setup" section of the router. You may decide what the Routers IP will be going forward. If you are unsure, leave it as the default 192.168.1.1. You may also set the Time Zone for your area.
- You also might need to clone the Mac address if you are using Cable Broadband (Broadband from the pay TV cables). To do this, go to "Mac address clone," then "Enable," then "clone my computers Mac."
-
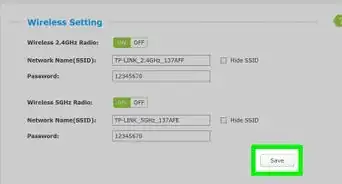
4Continue to the Wireless tab. Notice that the configuration has two options: Manual or Wi-Fi Protected Setup. Select the manual radio button. Here you will give your network a name or SSID (Service Set Identifier). This is the name that people will see when trying to connect to your router. Be sure use a name that does NOT identify you or your family.
- Set the Channel Width to 20 MHz only and disable your SSID (wireless network) broadcast unless you have a need to advertise your wireless network. Click "Save Settings."
-
5Click the Wireless Security link. Here is where you can set the security for the wireless portion of your network. It's recommended you choose the strongest encryption method your devices can use. WPA2 Personal is the best. With this encryption, you will choose a pass phrase that will be used by all the wireless devices that you allow to access your wireless network. This is not information you should be sharing. A pass phrase of 22 characters (including spaces) is recommended.
- The advanced security link can be ignored unless you are having range, signal or transmission issues. On this page, there is a "Help" feature in the router. It is strongly recommended you read and understand all information before making any changes to the listed defaults.
-
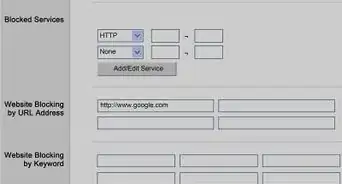
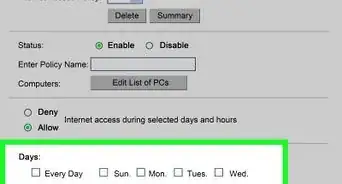
6Select "Access Restrictions." This would be done if you would like to add further security for children or other users on your network. On this page, you will find many options which allow you to restrict access by day, hour and personal computer. You must add the computers that will be restricted by clicking on "Edit List" and adding the computers by IP address, then selecting which day and hour by clicking on the check boxes. For the more advanced user, you may block specific applications such as Telnet and POP3 (email).
-
7Use the Applications and Gaming tab. This should be done if you will use the internet for applications requiring port forwarding such as video games or torrent downloading software. To forward a specific port, you must enter it in the External Port and Internal Port and then put the IP address of the specific computer needing the ports in the specified slot. You may also forward a range of ports by using the Port Range Forwarding sub-tab. Remember to save after every change.
-
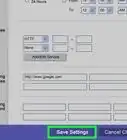
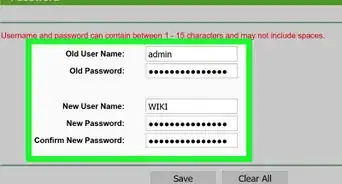
8Set a router password on the Administration tab. This password will be entered to make configuration changes going forward. Enter the wanted password into both Router password slots. Be sure to disable the Web Utility Access via the "wireless feature" button. You don't want to be wirelessly configuring the router.
- Select "Disable" for Remote Management as you don't want to be configuring your router from public Internet. Disable UPnP as there are vulnerabilities with this feature. Click "Save Settings."
-
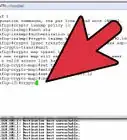
9Click the Status tab to verify connectivity and router status. This page contains the information given by your ISP (Internet Service Provider), such as the DNS address and the Domain Name. You may also click on the Local Network tab to verify the DHCP Client Table, which contains all users connected by cable or wireless to your router. This can be used to verify if someone is connected to your router that should not be.


Advertisement
Community Q&A
-
QuestionWhat do I do if I have forgotten the password and username?
 Community AnswerYou can do a factory reset on the unit by powering it off, holding down the reset button with a pen or other pointed object, and holding down for about 15 seconds while you power back on. Note that this will restore the settings to those when it was new, so all previous configuration will be lost.
Advertisement
Warnings
- Do not upgrade the firmware of the router unless you know what you are doing. This may cause the router to stop functioning permanently.⧼thumbs_response⧽
Advertisement
Things You'll Need
- Modem
- Router
- Computer with NIC card
- Ethernet cables


About This Article
Advertisement