X
wikiHow is a “wiki,” similar to Wikipedia, which means that many of our articles are co-written by multiple authors. To create this article, 16 people, some anonymous, worked to edit and improve it over time.
This article has been viewed 83,774 times.
Learn more...
Book Creator is an app on the iPad (and iPhone) that allows you to create your own books, and it has a variety of interesting features.
Steps
Part 1
Part 1 of 2:
Installing the App
-
1Download the app from the iTunes Store. If you're on your iPad or iPhone, download the app from its iTunes Store, or from the App Store.
-
2Open Book Creator once it has installed. Go through the short tutorial it offers. This will give you a feel of what creating a book will be like.


Advertisement
Part 2
Part 2 of 2:
Creating a First Book
-
1Click on "New Book." This will start the book creation process.
-
2Choose the type of book you want to create. There are three options under "Choose a Template": Portrait, Square and Landscape.
-
3Create your book cover. Add a title and image as wished (see the next section for adding elements).
-
4Add elements to your book use the + at top right. The elements are as follows:
- Text - Add text to your book by pressing the key symbol in the top menu bar (or 'T' in the + menu) . The "i" allows you to make changes to font size, point size, alignment, hyperlinks, color, opacity and arrangement. The tab marked "Arrange" lets you move the text box around the page, back or front. Click "Done" when you're done.
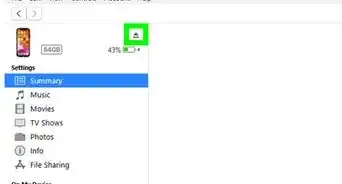
- Pictures - Choose an image from your Camera Roll to make the book prettier. Click on the image icon in the top menu bar (or photos under the + menu) to start adding an image and use the "i" button to change image opacity. Simply pinch in or out to enlarge or decrease the image's size (the success of this will depend on the image quality). Images can also be arranged vertically or horizontally using the Arrange tab.
- Camera - Take a picture or film a video to add to your book.
- Sound - Record sound or import a music file from iTunes.
- Drawing - Draw a picture using a pen. Use the "i" button to edit the drawing.
-
5Add another page to your book by clicking "Next." If you're not creating the first page after the cover, click the arrow to the right.
-
6Edit your book by clicking on the text. Add more elements and delete certain elements if needed, and proofread for any mistakes.
- When you're satisfied with the book, click on "Save".
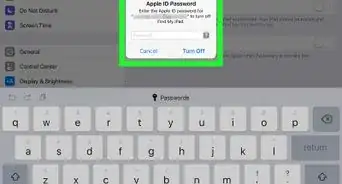
- Click on "My Story" for changes to the name of the story, changes to the author, addition of music or changes in the image resolution. If you add music, it plays whenever you open the book.
-
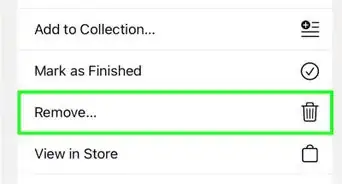
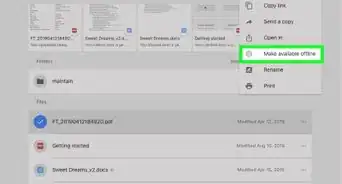
7Export or send your new book. Go back to where your collections are shown on the home screen. To export or send, simply click on the icon consisting of an arrow shooting out of a box, in the bottom line of options on the screen. A menu will pop up with sending buttons for email, iTunes, collections, PDF and printing.
- If sent to iBooks, you will see your new masterpiece sitting in the iBooks shelf alongside your other books.
- If you email the book, it will appear as an icon in the recipient's mailbox and needs to be downloaded to be read.


Advertisement
Community Q&A
-
QuestionDoes Book Creator have a picture limit?
 Community AnswerYes, normally around 10-15 pictures. Black and white pictures don't count due to price of ink.
 -
QuestionHow do I edit the size of the text?
 Community AnswerSelect the text box. Tap the circled "i." The font size, type, and color are found there.
 -
QuestionHow do I add bullet points in book creator?Community AnswerTap Return, press and hold, then choose •.
Advertisement


About This Article
Advertisement