wikiHow is a “wiki,” similar to Wikipedia, which means that many of our articles are co-written by multiple authors. To create this article, volunteer authors worked to edit and improve it over time.
This article has been viewed 33,385 times.
Learn more...
There are many online platforms out there that help bring people closer together, and Skype is one of the most popular. Skype allows you to have text, voice, and video chats with your friends and family wherever they are and wherever you are, all totally for free. These days, with the rising number of teams with their members scattered all over the globe, Skype is also utilized more and more for business use, adding a new dimension to the world of money-making. Luckily, you can edit your Skype settings in a jiffy to set up a profile that fits you to a T.
Steps
Accessing Skype Settings
-
1Launch Skype. Look for the Skype application in your computer’s program folder, Start menu, or desktop, and open it.
-
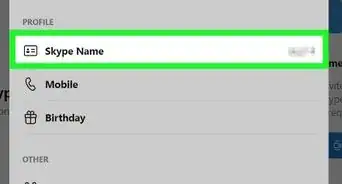
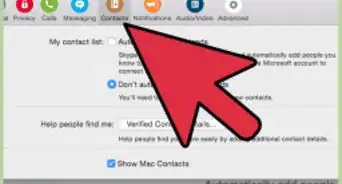
2Log into Skype. Choose "Skype Name" then on the login window, enter your Skype ID and password into the text fields, and click on “Sign in.”Advertisement
-
3Open your Skype settings. To do so, once logged into your Skype profile, click on “Tools,” which is at the top-left side of the Skype screen; a drop-down menu will appear. On the menu, click “Options” to open your Skype settings.
-
4View the General Settings. Upon clicking to “Options,” you will be brought to the General Settings tab. If for some reason you’re viewing a different tab, select “General” from the tabs at the left of the screen.
- You can now begin editing your General Settings.


Managing the General Settings on Skype
-
1Enable or disable double-click calling. Right under the General tab is “General Settings,” which is already selected for you. The first option is “When I double-click on a contact, start a call.” Check the box beside it if you want to enable it, or leave it blank if you don’t.
- This option is great if you use Skype more as a telephone than a chatting service.
-
2Set the number of minutes of inactivity before you’re “Away.” This option under General Settings can automatically set you to “Away” if you’ve been inactive for a certain amount of time. Check the tick box to enable the feature, and indicate the number of minutes that will prompt the “Away” status.
- This works well if you’re the type who wanders away from the computer but still want to keep your contacts informed.
-
3Decide if you want Skype to start when Windows does. This option lets you set Skype to automatically run the moment you turn on your computer and Windows starts. Activate it by checking the box next to it.
- This is time-saving if you use Skype a lot and yet always forget to sign in.
-
4Set your program language. The next option on the list is the program language you want used for the whole program. Simply click on the drop-down menu to display the list of languages. Scroll down, and click on the language you prefer.
-
5Enable or disable profile photos on the Contact List. If you don’t like seeing a bland-looking list of your contacts, by all means check the tick box that enables you to see thumbnails of your friends’ profile photos right on your Contact List.
-
6Save your settings. After you’ve set the General Settings to your liking, give everything a once-over. Click on the “Save” button at the bottom of the page to set your settings in stone—at least until you change your mind again.


Community Q&A
-
QuestionWhat do I do if my microphone is not working?
 Community AnswerEnsure you have your microphone plugged in. If you are still experiencing difficulties, call anyone, and in the corner there should be a button which shows whether or not you have a good connection and whether everything is working correctly. If there are any issues, it should show you how to resolve them.