X
wikiHow is a “wiki,” similar to Wikipedia, which means that many of our articles are co-written by multiple authors. To create this article, 43 people, some anonymous, worked to edit and improve it over time.
This article has been viewed 268,482 times.
Learn more...
Emoticons are everywhere online. They have become essential in online communications between friends and family. Emoticons allow you to quickly and stylishly explain how you are feeling at any moment. The beauty of the emoticon lies in its flexibility; anyone can create their own signature style. Follow this guide to start building your own, either with text or by drawing them.
Steps
Method 1
Method 1 of 2:
Making Text Emoticons
-
1Determine the emotion you are trying to capture. Emoticons work best when they substitute trying to explain an emotion. They are quick, easy ways for other people to see what you are feeling. So before you create your emoticon, you need to know the reason you are creating it.
-
2Decide on the orientation. There are two broad types of emoticons: horizontal and vertical. The orientation is typically determined on the style of eyes that you pick. Since the most common emoticon eyes are : any emoticon made with those eyes will be horizontal.Advertisement
-
3Start with the eyes. The eyes are one of the most important parts of the emoticon. They are what tell the reader that they are looking at a face. Eyes can be simple or complex, and many different characters and symbols will work:
- : is the most common (regular eyes)
- ; gives you a wink.
- = is the longer "size" of :.
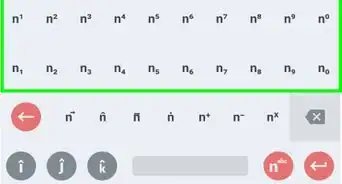
- ^^ is an Anime-style.
- @@ denotes bafflement or amazement.
-
X X shows pain or death
- A single X can be used in a horizontal emoticon to show eyes squinting from laughter.
-
4Choose a nose. The nose is one of the least essential parts of the emoticon, but it can add some flavor. The regular - bar makes a simple text nose. A @ sometimes makes a "piggy" snout. There are other symbols for noses, depending on how you want it to look like. "Kawaii" or anime faces use the underscore, which is _
-
5Make mouths depending on what expression you want. The mouth will help convey the emotion that your emoticon represents. This makes the mouth one of the most important parts of the emoticon. Classic mouths include:
- ) for happy
- ( for sad
- | for unimpressed/skeptical
- / for uneasy
- S for sick
- P for light-hearted
-
6Combine all of the steps to make your whole emoticon. Mix and match to create a whole range of emotions.
- :-)
- ^_^
- =O
- X_X
- XD
- @.@
- :p
- :D
- ~:>


Advertisement
Method 2
Method 2 of 2:
Making Illustrated Emoticons
-
1Open a graphics design program. Any illustration program will work, though you may find more useful tools in more powerful programs. For this guide, simply using Paint will be fine.
-
2Create a new image. Once your new file is open, click on the Image menu and select Attributes. Set the image size to 60 x 60 pixels. This will leave you with a small square of canvas. Don’t worry, you’ll be zooming in to do the actual drawing.
-
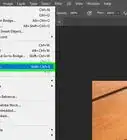
3Find the Zoom option in the View menu. Highlight Custom and select a zoom level that works well for you. You’ll want to be able to adjust each individual pixel, so at least 400% is recommended.
-
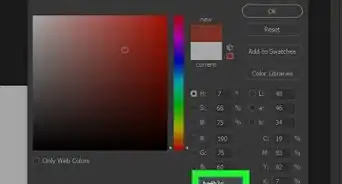
4Create the head. All emoticons have a head. The most common style is a black outline with a yellow inside, though you can choose any color you please.
- To choose your colors, left-click on the color you want the outline to be, and right-click on the color you want the fill to be.
- Use the Ellipse tool to draw the head. Choose a thin line so that the image doesn’t look to blocky. Hold down the Shift key while dragging the Ellipse tool to create a perfect circle.
-
5Add eyes. Once the head is made, start designing some eyes. You can use the Ellipse tool to make circle eyes, or the Line tool to make Xs or winks.
- Add a smaller circle to the larger eye circle to create pupils.
-
6Make the mouth. Paint has a basic Curve tool that will allow you to draw a straight line and then bend it. Use this to make ) or S shapes. Use the Line tool to make | or / mouths.
-
7Add extras. You can personalize your emoticon more by adding glasses, hats, hair, jewelry, or any other accessories you can think of.
-
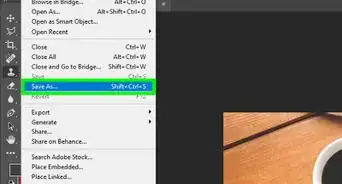
8Save the file. Once you are finished with the emoticon, save it as a .GIF file. This will make it small and easy to upload. You can then add the emoticon to your emails or blog posts.


Advertisement
Community Q&A
-
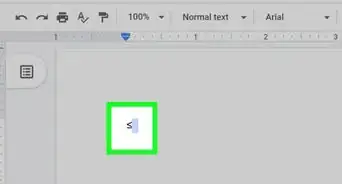
QuestionWhat about the type like the Lenny face? I want to try to make something like that.
 Community AnswerUse brackets, parentheses, hyphens, colons etc. If you use them properly, you can make something like this: (-_-) .
 -
QuestionWhere is the Ellipse Tool in Paint? I can't find it.
 Community AnswerIt's the Circle Tool, shown in example 4. It's between the Curvy Line Tool and the Rectangle Tool.
Advertisement


About This Article
Advertisement