This article was co-authored by wikiHow staff writer, Nicole Levine, MFA. Nicole Levine is a Technology Writer and Editor for wikiHow. She has more than 20 years of experience creating technical documentation and leading support teams at major web hosting and software companies. Nicole also holds an MFA in Creative Writing from Portland State University and teaches composition, fiction-writing, and zine-making at various institutions.
This article has been viewed 20,180 times.
Learn more...
When someone tags you in an Instagram photo, that photo is added to an area of your profile called Photos of You. If your Instagram is public, anyone can see these photos by visiting your profile and tapping the Photos of You icon. While you can’t prevent your friends from tagging you in photos, you can control which photos appear in Photos of You. Learn how to view Photos of You, add new photos, hide photos you don’t want people to see, and gain control over what appears automatically.
Steps
Viewing Photos of You
-
1Launch Instagram and visit your profile. If Instagram doesn’t automatically open to your profile, tap the Profile icon (a silhouette of a person’s head and shoulders) at the bottom right corner of the app.[1]
-
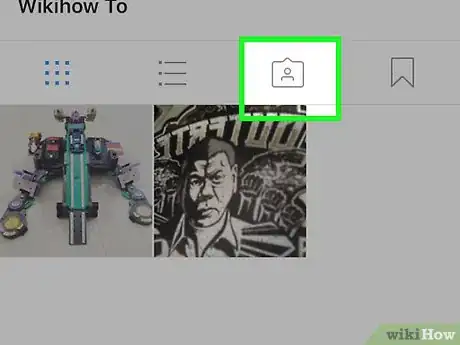
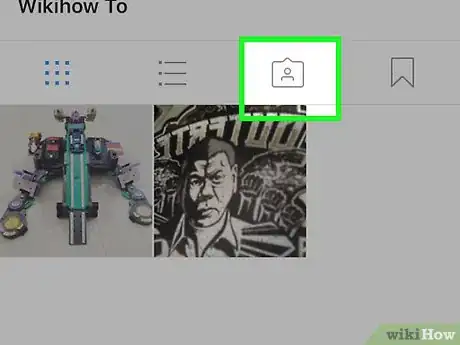
2Tap the Photos of You icon on the far right end of the icon bar. The icon looks like an upside-down chat bubble with a silhouette of a head and shoulders. Once you tap this icon, you’ll see a list of every photo included in Photos of You.Advertisement
-
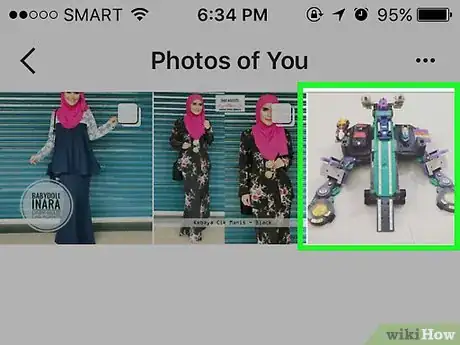
3Tap a photo in the list to view it in a standard size. By default, Photos of You opens up in a grid format. Tapping a photo also gives you a chance to see who posted the photo and associated comments and likes.
Hiding Photos from Photos of You
-
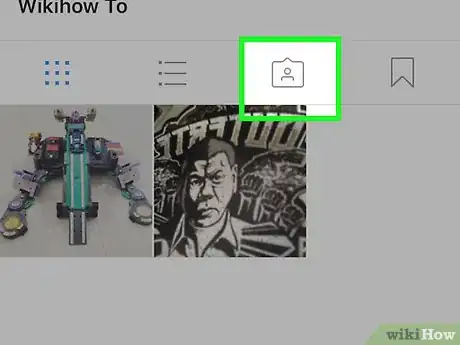
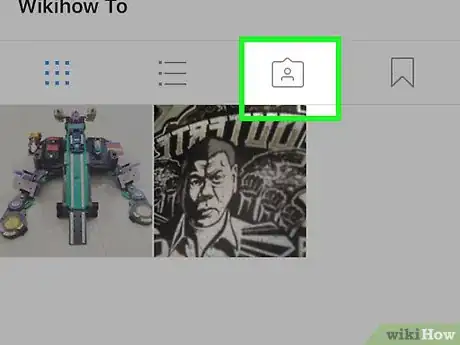
1Click the Photos of You icon on your profile. If you’ve decided that you no longer want a certain photo to appear in Photos of You, you have the option to hide it by removing the tag from the original photo.[2]
-
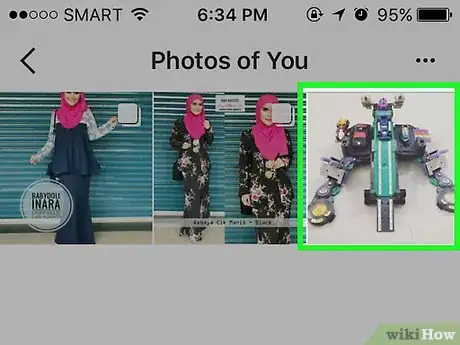
2Select the photo you want to hide from Photos of You. Tap on the photo to bring it into view.
-
3Tap the … menu (iPhone) or ⋮ menu (Android).
-
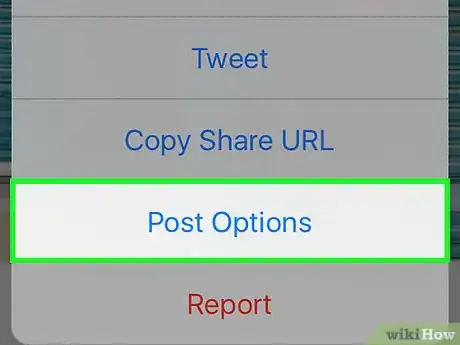
4Tap “Photo Options”. A new menu will appear.
-
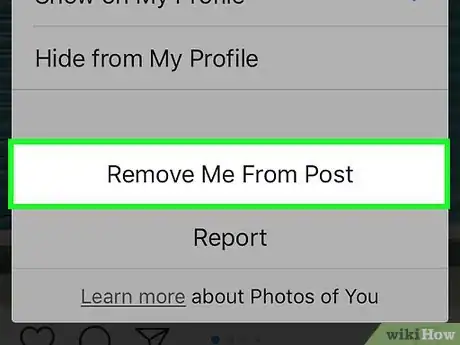
5Tap “Remove Me from Photo” (iPhone) or “Remove Tag” (Android) to hide the photo. This will remove the tag from the original photo and remove it from Photos of You.
- iPhone: You can tap “Hide from my profile” instead of “Remove Me from Photo” to hide the photo without removing the tag. Use this option if you want to keep your Instagram name tagged in the photo.[3]
- Android: Just like on an iPhone, you can also hide photos without removing the tag. Instead of selecting “Remove Tag,” flip the switch next to “Keep in Photos of You.”
Adding Photos to Photos of You
-
1Tap the camera icon in the bottom toolbar and select a photo to upload. You can add new photos to Photos of You by tagging yourself in any photo you have uploaded.
- To tag a photo you’ve already posted, tap the Profile icon and scroll to the photo you’d like to tag. Tap the … (iOS) or ⋮ (Android) menu above the photo, then choose “Edit.”[4]
- It is not possible to add a tag to someone else’s photo and have that appear in Photos of You. The person who posts the photo must tag you for it to show up.
-
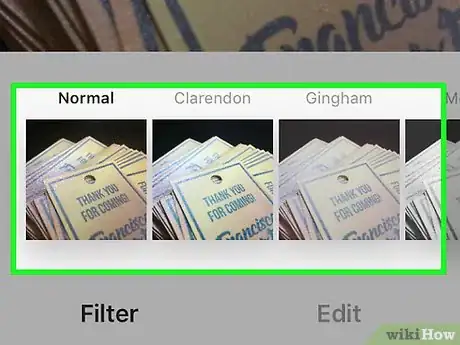
2Edit your photo (if desired) and then tap “Next”. You can skip this step if you’re not uploading a new photo.
-
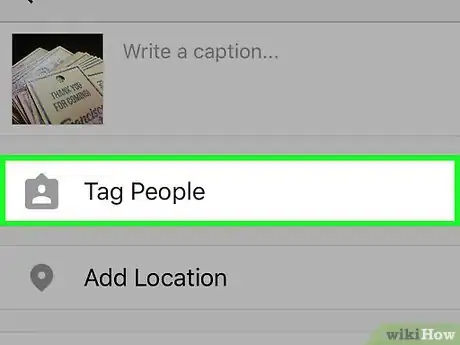
3Tap “Tag People”. Whether you have uploaded a new photo or are tagging an existing one, you’ll see “Tag People” as an option.
-
4Tap an area of the photo to tag. If this is a photo of you, you can tap somewhere on your face. This is a matter of personal preference, and most people will not notice the tag location.
-
5Type your Instagram username, then select it from the search results. Once you choose your username, it will appear where you chose to tag the photo.
- The tag is not visible others unless they tap your photo to view all tags.
-
6Tap the checkmark to finish tagging.
- If this is a new photo, add your caption (if you want) and then tap “Share.”
- If this was an existing photo, tap the checkmark again to save your tag.
-
7Tap the Photos of You icon on your profile. The recently-tagged image will now appear at the top of Photos of You.
Setting Up Manual Approval for Photos of You
-
1Tap the Photos of You icon on your Instagram profile. If you’d rather approve each photo that appears in Photos of You manually, you can set that up in the app.[5]
-
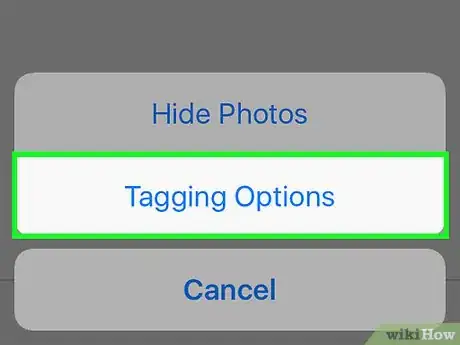
2Tap the … menu (iOS) or ⋮ menu (Android) at the top right corner of Photos of You.
-
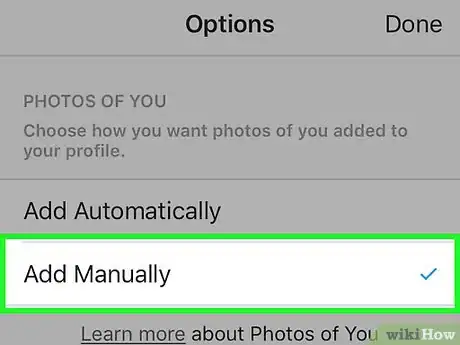
3Select “Add Manually” from the listed options. Now, whenever you are tagged in a photo, Instagram will prompt you (via a notification) to approve or deny the addition to Photos of You.
- If you are already set to approve photos manually but would rather they be automatically added, select “Add Automatically” instead.
