This article was co-authored by wikiHow staff writer, Darlene Antonelli, MA. Darlene Antonelli is a Technology Writer and Editor for wikiHow. Darlene has experience teaching college courses, writing technology-related articles, and working hands-on in the technology field. She earned an MA in Writing from Rowan University in 2012 and wrote her thesis on online communities and the personalities curated in such communities.
This article has been viewed 6,156 times.
Learn more...
You can create an official Facebook Page for your business or organization at no cost. However, if you want to advertise your Page to other Facebook users, you'll generally have to pay hefty ad fees. This wikiHow teaches you a few ways to promote your Facebook page without having to pay for ads.
Steps
Engaging Fans
-
1Login at https://facebook.com and navigate to your Page. You'll want to interact with your fans often if you want your business and Page to stay fresh in their memory. Make sure you respond to their comments, likes, shares, messages, and responses.
- After you log in, click the arrow icon (▼) in the top right corner of your browser and click the page you want to manage.
-
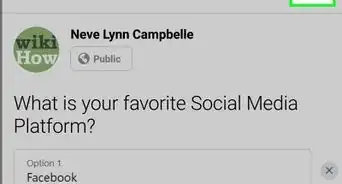
2Create a post that encourages interactions. Create the kind of post that your fans may share with others. When someone shares your Page's posts, that's free advertising to all of their followers! To create a post, click the status window, add your content, and then click Post. Use posts to ask your followers questions, keep them up to date, and engage them in small activities. Add images and videos to make it stand out.
- For example, ask what your Facebook Fans' opinions are on a product you are selling or tell them if you have a sale going on.
- If you want to create engaging content that requires your fans to share your page with others, you could create a contest. Make sure the prize is incentive enough to require entrants to share your Facebook page.
Advertisement -
3Click Share Now to share your post. You can also use the "Publishing Tools" to schedule your post to publish at a later time.
-
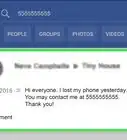
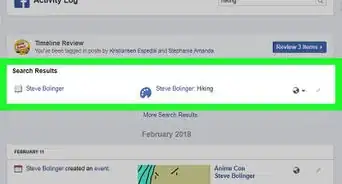
4Respond to comments, replies, comments, and questions. Click Notifications at the top of your page, and you'll see a list here of everything that has happened on your page and posts. For example, you'll find here comments on a post that you published a few days ago.
-
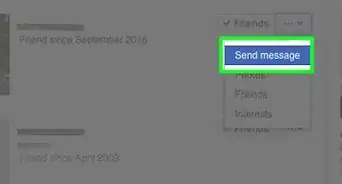
5Reply to your messages. When someone sends your Page a message, it'll appear in your Inbox. Click Inbox at the top of your page to see all the messages people have sent you, and respond to as many as possible. Responding to your followers keeps them coming back for more.
-
6Change your cover photo. When you change your cover photo, your fans will get a notification that your page has activity. When you navigate to your Page, you'll see a Change Cover Photo button in the top left corner of the current cover photo.
- Make sure the photo is interesting and appropriate for your Page, like a picture from your latest event. Make sure that it’s a clear shot and not blurry. The cover photo you upload should be 820 x 312px and should not exceed 2MB. If you decide to use a video, make sure it is 820 x 462px and between 20-90 seconds long.[1]


Inviting Friends
-
1Login at https://facebook.com and navigate to your Page. You can invite friends to like your Page using any browser. The more friends that like your Page, the better the chances of their friends also checking out your content (and ultimately clicking the Like button)!
- After you log in, click the arrow icon (▼) in the top right corner of your browser and click the page you want to manage.
-
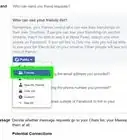
2Click Community. You'll see this in the menu on the left side of the Page. You might have to click See More first.
-
3Click the text field that says "Invite your friends to like your Page." You'll see this on the right side of the Page.
-
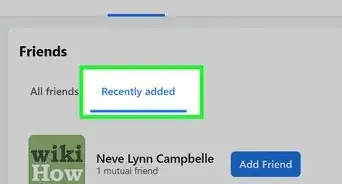
4Type your friends' names and click Invite. You'll see some suggested friends to invite to like the Page listed below the text box. Although inviting your friends doesn't guarantee they'll like your Page, it'll definitely spread the word.
- Encourage your friends to share your Page with others they think will enjoy the content.


Customizing the Page URL
-
1Login at https://facebook.com and navigate to your Page. You had the opportunity to create your page URL when you created the page, but if you didn't have time to do that, you can continue this method to learn how you can set a custom URL. Having a custom URL makes it easier for people to find and share your Page.
- Once you change your URL, you'll want to update any links that are directing to your Page so they don't break.
- After you log in, click the arrow icon (▼) in the top right corner of your browser and click the page you want to manage.
-
2Click About. You'll see this in the menu on the left side of the page. You might need to click "See More."
-
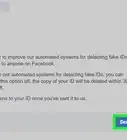
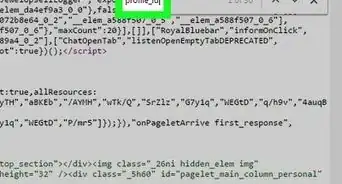
3Click Edit next to "Username." This is a term that people can search to find your page, so you want to make sure the term you choose is appropriate. To find ideas, you can perform a simple internet search of your business offers and look for what appears in the search results.
- You'll want a username that's short and memorable, but can't contain generic terms or extensions (like .com).
- You can use letters (A-Z), numbers (0-9), and periods (.) and at least 5 characters long. Capital letters and periods will not differentiate your username. For example, "Wikihow" would be the same as "wikiHow."[2]
-
4Click Create Username to continue. If the username you entered isn't available, you won't be able to continue.
- Once you change your username, the URL will update to reflect the changes. Any links that are pointing to your old URL will only redirect to a broken page.
- To find your Page's URL, log in to your Facebook account at https://facebook.com and click the arrow icon (▼) in the top right corner of your browser and click the page you want to manage. The Page's URL will be in the address bar along the top of your web browser. You can copy this and paste it anywhere to share your Facebook Page.
- If you click Share under your cover photo (it's next to "Following" and "Liked") you'll be able to share the Facebook Page on your personal page. You can click "Share on Your Timeline" at the top of that pop-up box to choose where else you want to share the Page, including "Share on a Friend's Timeline," and "Share in a Group."


References
About This Article

1. Login at https://facebook.com and navigate to your page.
2. Click the status window to create a status.
3. Click Share Now.
4. Respond to comments, replies, comments, and questions.
5. Reply to your messages.
6. Change your cover photo.