This article was co-authored by wikiHow Staff. Our trained team of editors and researchers validate articles for accuracy and comprehensiveness. wikiHow's Content Management Team carefully monitors the work from our editorial staff to ensure that each article is backed by trusted research and meets our high quality standards.
This article has been viewed 196,918 times.
Learn more...
This wikiHow article shows you how to send a message from a Facebook page. If your business has a Facebook page and you wish to engage with your audience through Facebook Messenger, there are a few ways to get started. However, at this time, Facebook only allows you to send messages to users who have previously contacted you. There are ways to encourage users to send you messages.
Steps
Turning Messaging on for Your Page
-
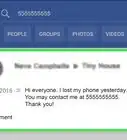
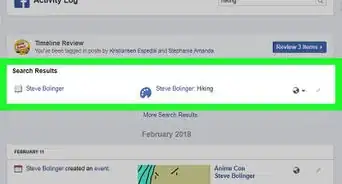
1Go to your Facebook page. If you’re on the Facebook homepage, do the following:
- Find the Shortcuts section in the left menu bar.
- Click on the name of your Page.
- If you don't see this option, you can click on “Pages” under the “Explore” section and select your page from there.
-
2Click Settings in the top right corner of your page. In the top right corner of your page, you should see a settings button just to the left of help.Advertisement
-
3Click Messages from the options list in the middle of the page. You will now be on the general settings page. Messages will be the fifth option on the list.
- Make sure you're looking at the menu to the right of the main menu.
-
4Make sure the box is checked and click Save Changes. You will see a checkbox next to Allow people to contact my Page privately by showing the Message button. Make sure this box is checked, or else you won’t be able to receive messages.
-
5Click Page in the top left corner. This will take you back to the main part of your page.
-
6Click on + Add a Button beneath your cover image. On the right side of your page, just below your cover image, you will see a bright blue box that says + Add a Button. This will allow you to create a button that users can click on to message you.
-
7Click on Contact you. Underneath Step 1, you will be presented with five options. Since you want to receive messages, click on the Contact you option.
-
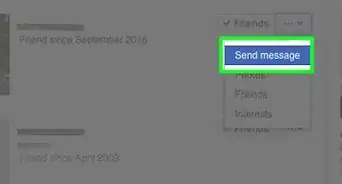
8Select Send Message. Facebook gives you five options for the text of the button you’re creating. All of them are good choices, but send message makes the most sense in this case.
-
9Click Next. This will be the blue button in the bottom right corner of the window.
-
10Select Messenger. This is the only option under step 2 for you to choose, but you still must click on it in order to add the button to your page.
-
11Click Finish. This is the blue button in the bottom right corner of the window. Once you finish this process, users will begin to see a large button prompting them to send you messages.


Using the Inbox Page


Applying for Subscription Messaging
-
1Go to your Facebook page.
-
2Click Settings in the top right corner of your page.
-
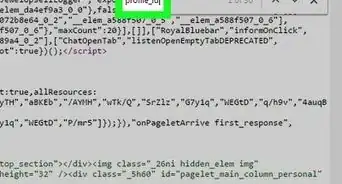
3Click on Messenger Platform from the menu on the left. You will automatically be directed to general settings, but the menu on the left provides a number of more specific settings options. The messenger platform settings are seventh on the list and have a speech bubble icon with a sideways lightning bolt on it.
-
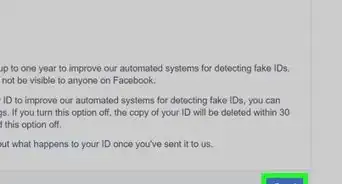
4Scroll down to Advanced Messaging Features. You must receive approval from Facebook for this form of messaging. Subscription messaging gives pages the power to send non-promotional messages to users.
-
5Click on Request. You’ll see this option to the right of subscription messaging. Clicking on it will open a window with a form on it.
-
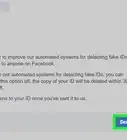
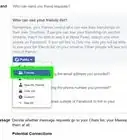
6Fill out the form. Fill out this form according to the type of page you run. You can select the type of messages you wish to send: News, Productivity, or Personal Tracking. You are then given the chance to add additional details about the messages you wish to send to users. The form also requires you to provide examples of messages you would send.
- Remember to make these messages non-promotional, or you will not be given access to subscription messaging. Check the box at the bottom of the form to prove that you understand.
-
7Click Save Draft. This is the blue button in the bottom right corner of the window.
-
8Click Submit For Review. Once you have properly filled out the form, you will be able to submit your case for review. If your page is approved for subscription messaging, you will then be able to message users on a regular basis.
- Facebook says these requests can take up to five business days to process. You will receive a notification detailing Facebook’s determination.


About This Article

1. Click on Settings in the top right corner of your Facebook Page.
2. Click Messages from the list of options.
3. Make sure the box is checked and click Save Changes.
4. Return to your page.
5. Click on + Add a Button beneath your cover image.
6. Complete the steps and click Finish to invite users to message your page.