X
This article was co-authored by wikiHow Staff. Our trained team of editors and researchers validate articles for accuracy and comprehensiveness. wikiHow's Content Management Team carefully monitors the work from our editorial staff to ensure that each article is backed by trusted research and meets our high quality standards.
This article has been viewed 27,338 times.
Learn more...
Facebook has introduced live video streaming called Facebook Live. You can stream live video directly from your iPhone or Android device straight to your Facebook friends and followers. If you run a business or organization's Facebook Page, you can configure Facebook Live with broadcast software for professional live video.
Steps
Part 1
Part 1 of 2:
Streaming with the Facebook App
-
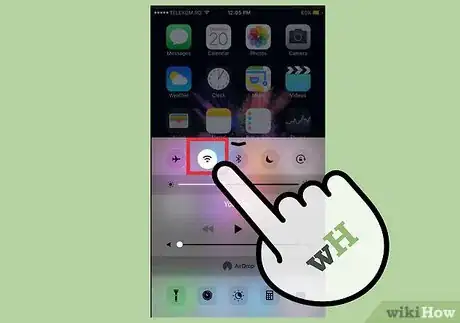
1Make sure you have a strong connection. In order to ensure your viewers have the best experience possible, connect to a high speed Wi-Fi network before broadcasting. This will ensure smooth recording and a consistent viewing experience for the viewers. If you can't connect to a Wi-Fi network, you'll need to be on a 4G mobile network.
- The app will not let you start broadcasting if your signal is too weak or your connection is too slow.
-
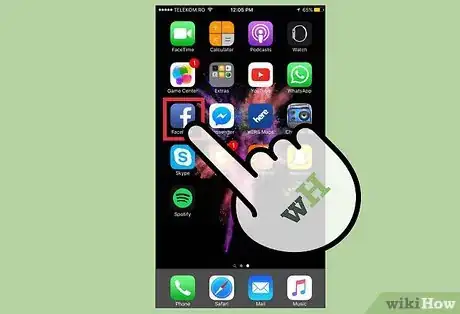
2Open the Facebook app. In order to stream video live to Facebook from your mobile device, you'll need to use the Facebook app. You cannot stream from the Facebook mobile website.Advertisement
-
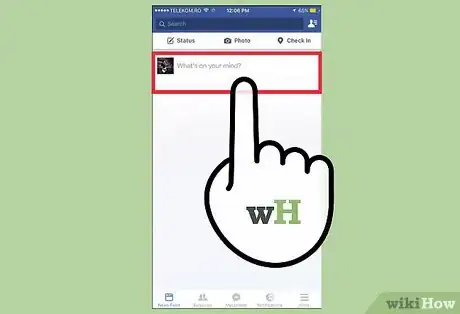
3Tap the "What's on your mind?" box. This will start a standard Facebook post.
-
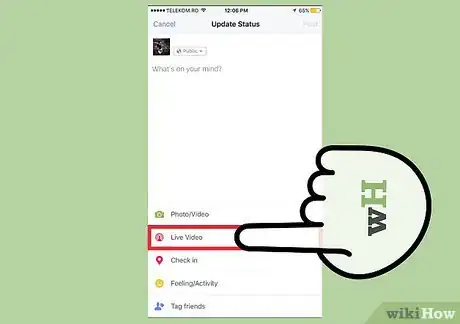
4Tap the Live button at the bottom of the field. This button looks like a silhouette of a person with radio waves emanating from it. This will open the Facebook Live interface.
- This feature is rolling out in waves, and your device may not have the Live broadcast feature enabled yet. Keep checking back to see if it becomes available.
- Facebook Live is not available in all countries.
-
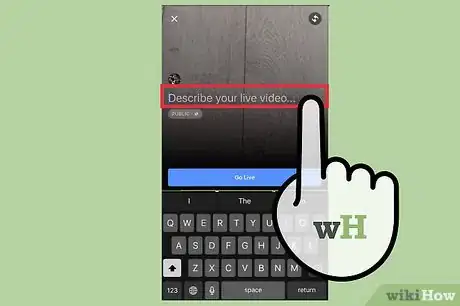
5Enter a description for your video. The description should be short and catchy. This is especially important if you're trying to grab people's attention as they scroll through their News Feed.
-
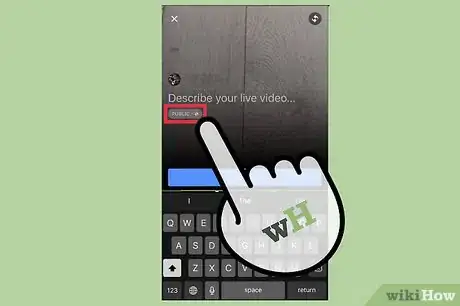
6Set who can view your broadcast. By default, your friends will be able to see your broadcast on their News Feeds. You can change the audience so that it can be viewed publicly, giving you the chance to go viral, or record a private broadcast for select friends.[1]
- You can set the audience to "Only Me" if you want to test out streaming without broadcasting to everyone.
-
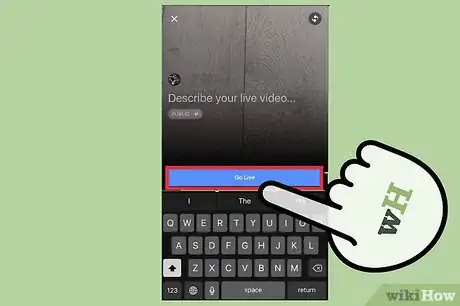
7Tap "Go Live" to start broadcasting. After a quick countdown, you'll be live on Facebook! You can broadcast for up to 90 minutes at a time.
-
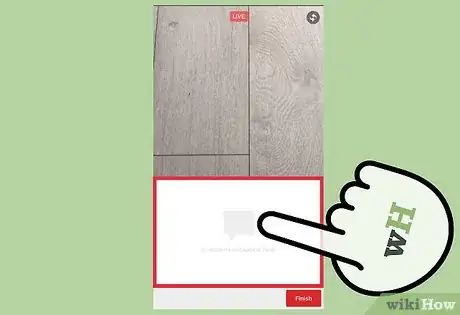
8Interact with your viewers and respond to comments. You'll engage your audience a lot more if you incorporate their feedback and mention them by name in the broadcast. Do this often to help build and retain your audience.[2]
- You can block troublemakers by tapping on their name in the comments and selecting "Block."
-
9Urge your viewers to tap the "Follow" or "Subscribe" button. This will notify them when you start broadcasting next time, increasing your viewership numbers.
-
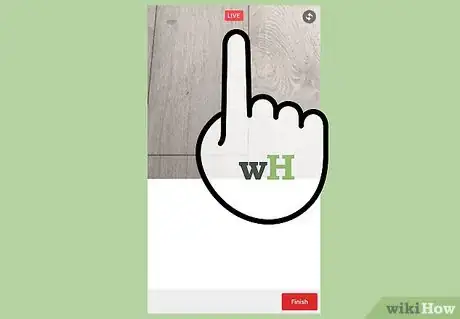
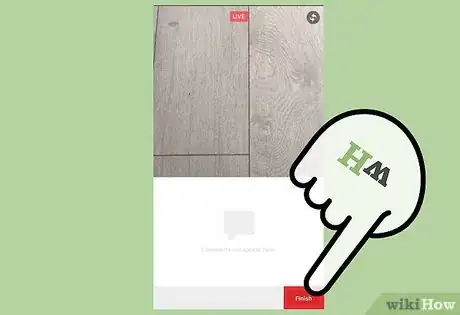
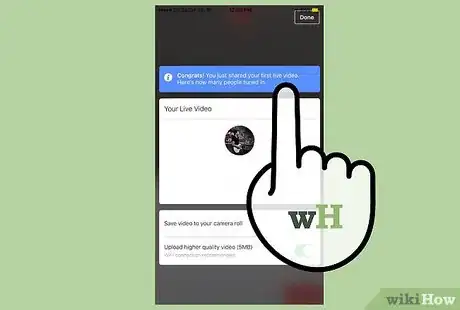
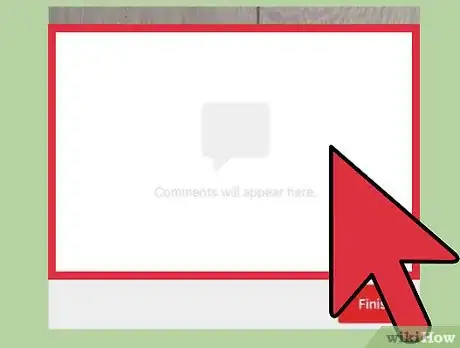
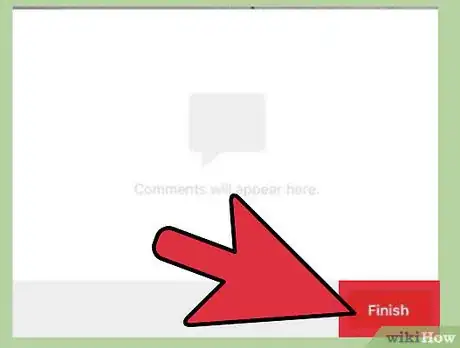
10Tap "Finish" when you're done broadcasting. This will end your broadcast and post the replay to your timeline. Try to leave these up so the viewers can go back and view old videos, but you can delete them if you'd like.
-
11Give a heads-up before you start future broadcasts. It's always a good idea to build a little hype before going live. Put a post up an hour or two before your broadcast, letting your followers know when you'll be going on air. Advance warning helps ensure that you get as many viewers watching as possible.[3]
- If you start setting schedules for videos, make sure you stick to them! Late videos will drive the audience away.
Advertisement
Part 2
Part 2 of 2:
Using Facebook Live with Professional Pages
-
1Get your Page verified on Facebook. If you have a professional, verified Page on Facebook, you can set it up to broadcast Live video using recording hardware and software. This enables you to use multiple cameras and perform other advanced streaming techniques.
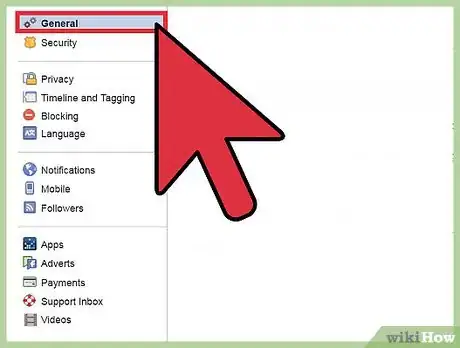
- To get your Page verified, click the "Settings" button while logged in on your page and select "General." Click "Verify this page" and follow the prompts. You'll have to prove that your business or organization is real before you can become verified.
-
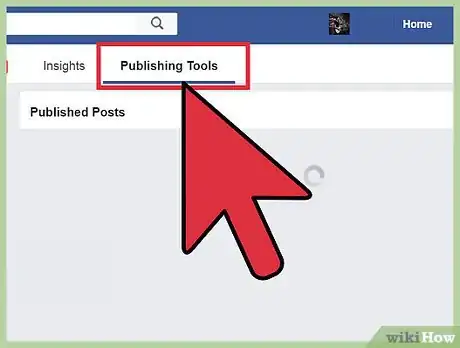
2Click the "Publish Tools" option in your Page's toolbar. This will open a new menu.
-
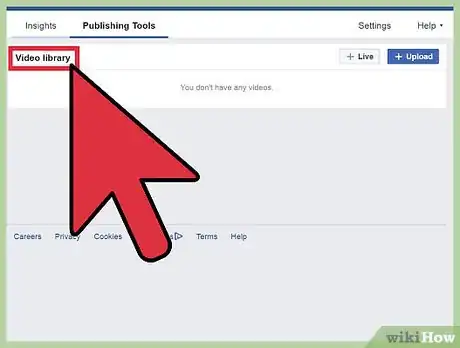
3Select "Live Videos" from the "Videos" menu on the left. The right frame will show your previous live streams, which will likely be empty at the moment.
-
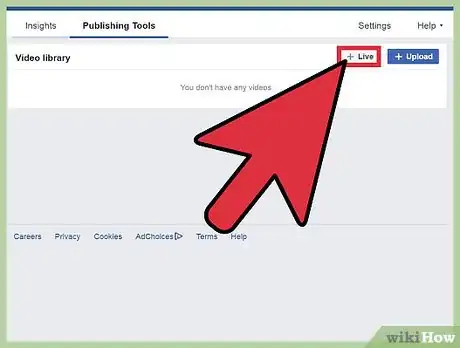
4Click the "Create" button. This will begin the setup process for your live stream.
-
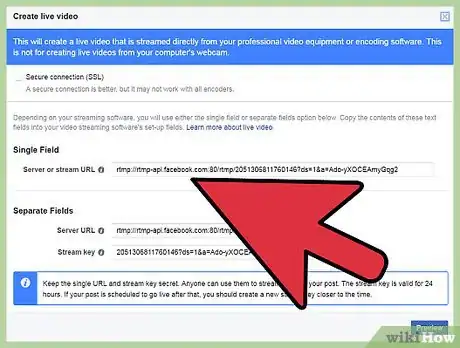
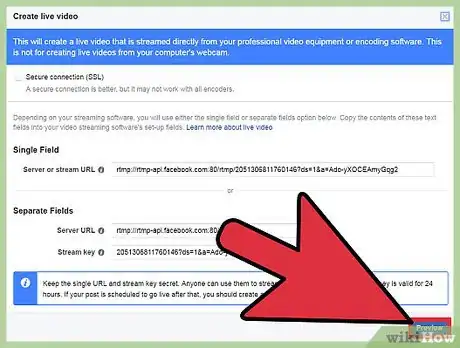
5Copy the information you need for your encoding software. Some programs will just require the "Server or Stream URL," while other programs will need the "Server URL" and "Stream Key" as separate lines. Refer to your encoder's documentation if you aren't sure.
- The URL and key are valid for up to 24 hours following their creation.
-
6Start the stream from your encoder. This process will vary depending on the encoder you are using, but start the stream so that your equipment starts broadcasting to the server information you entered.
-
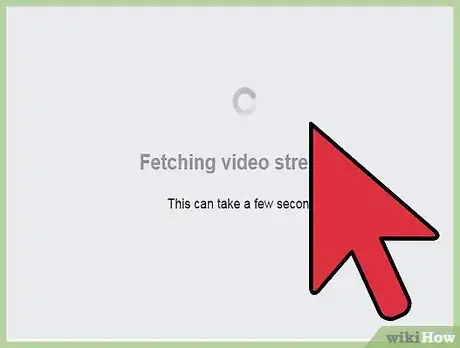
7Click "Preview" to view the stream from your encoder. It may take up to 10 seconds for the stream to appear in the Preview on Facebook. If the stream isn't appearing, check to make sure that you copied the fields properly.
-
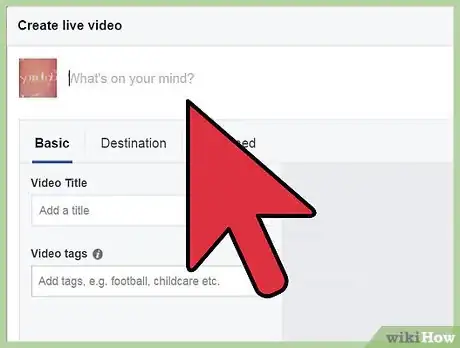
8Add information for your Live post. Add a description at the top of the screen, as well as tags and a video title in the "Basic" tab. This will help people find your video.
-
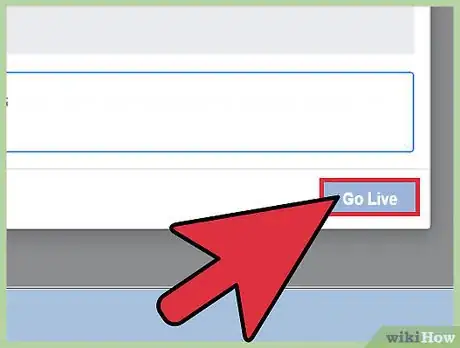
9Click "Go Live" to start broadcasting to Facebook. Once your stream is configured, you can begin broadcasting to Facebook. Click "Go Live" and your stream will switch to a live broadcast.
-
10Check your statistics. The "Live Viewers" shows how many people are currently watching, while the "Total Views" includes the total number of unique people that have watched at least part of the broadcast.
-
11Press "Finish Live Video" when you're done broadcasting. You'll need to click "End" again to confirm.[4]
- Live streams are limited to 90 minutes.
Advertisement
References
About This Article
Advertisement
