X
wikiHow is a “wiki,” similar to Wikipedia, which means that many of our articles are co-written by multiple authors. To create this article, volunteer authors worked to edit and improve it over time.
This article has been viewed 37,194 times.
Learn more...
Box.net is a cloud file management service that allows you to upload files from your computer and store them on your Box.net account. The service offers a basic free personal account that provides 5GB of online storage, while also offering paid business and enterprise accounts that range from 500 GB to unlimited. This article will guide you through the process of using box.net.
Steps
-
1Go to the Box.net log in page and login using the email or username and password associated with your account. You can also use your Google account to sign in by clicking the “Sign in with your Google account” link. You will be taken directly to the “All Files” tab of your Box account.
-
2If you don’t already have an account, go to the Box.net signup page and follow the onscreen instructions to create one.Advertisement
-
3
-
4You can access your uploaded files from the “All Files” tab of your account.
-
5
-
6
-
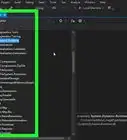
7You will now be able to access all of your uploaded files via your box.net account from any web browser and any computer at any time. Simply go to the Box.net log in page and login using the email or username and password associated with your account.
-
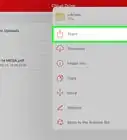
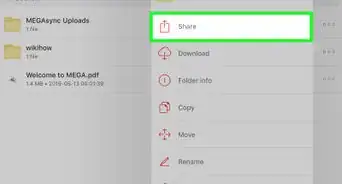
8Download your files by selecting the check box next to the file(s) and click the “Download” link.
-
9To delete a file click on the same box (see above image) and click a "Delete" button on this toolbar.


Advertisement
Warnings
- Some services and features of Box.net require a paid Business or Enterprise account.⧼thumbs_response⧽
Advertisement


References
About This Article
Advertisement