This article was co-authored by wikiHow Staff. Our trained team of editors and researchers validate articles for accuracy and comprehensiveness. wikiHow's Content Management Team carefully monitors the work from our editorial staff to ensure that each article is backed by trusted research and meets our high quality standards.
This article has been viewed 100,507 times.
Learn more...
Using a fish finder to locate fish can help make fishing fun and easy. With a fish finder on your boat, you can stop driving aimlessly around a body of water trying to find fish. Instead, you can just monitor the fish finder as you drive your boat, then drop your line in the water when you encounter areas with fish. Get some practice using your fish finder and you’ll soon be catching fish.
Steps
Understanding the Display
-
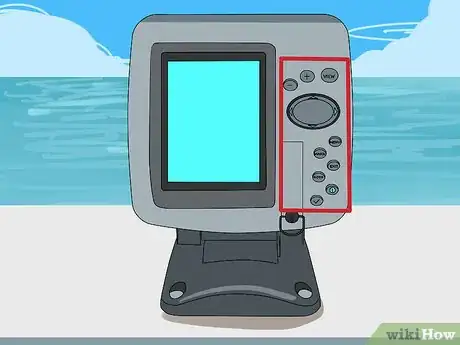
1Read the manual. Reading the manual will help you familiarize yourself with your device. While some functions might be obvious and easy to understand, consult your manual before using your fish finder, and refer back to it when you have questions about use.
-
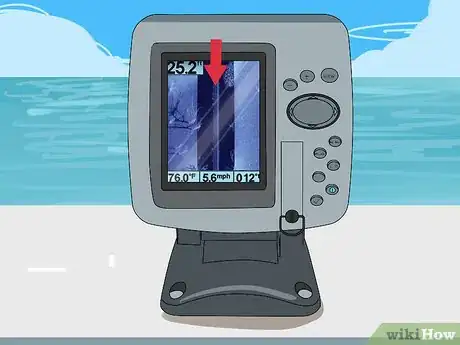
2Identify the location of basic information. All fish finders display some basic information about the speed of your boat, the current temperature, and the depth to which the fish finder is measuring. This information is typically clustered together in the top left or right corner of your fish finder display.[1]
- The precise location of this information will vary depending on the make and model of your fish finder.
Advertisement -
3Read the display from right to left when using SONAR or down imaging mode. The fish finder display shows the most recent information toward the right of the screen and pushes the oldest information toward the left. If your boat is stationary, the fish finder will still cycle the display from right to left, but you’ll only be seeing one area.[2]
-
4Read the display from top to bottom if you’re using side imaging mode. In side imaging, the top-most object in the display is your boat, and everything below it is what your boat has passed over. Data closer to the bottom is older, while data nearest to the top is newer.[3]
- The side imaging mode uses a higher frequency, so you’ll get a sharper image of what’s in the water below.
Locating Fish and Mapping the Area
-
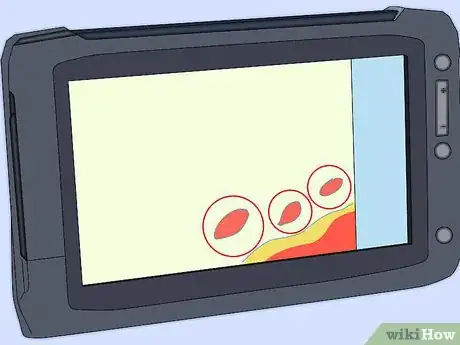
1Look for blobs or small patches if you’re pursuing smaller fish. With your fish finder in SONAR mode, blobs or small patches on the fish finder display might indicate perch or bunker. If your fish finder is in side imaging mode, small fish show up as small dots.[4]
-
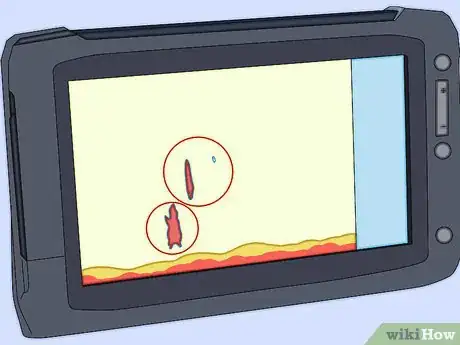
2Look for an arch shape or large dots if you’re after larger fish. Salmon, catfish, and other fish of similar size will appear on the fish finder display as larger, arched shapes when you’re using it in SONAR mode. In side imaging mode, they will appear as large dots.[5]
-
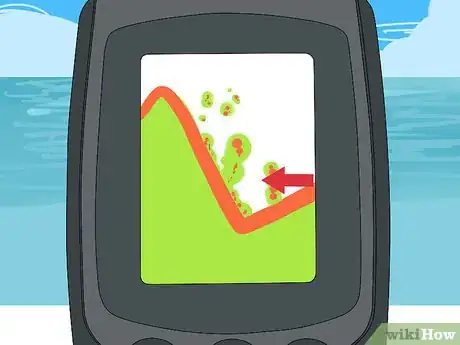
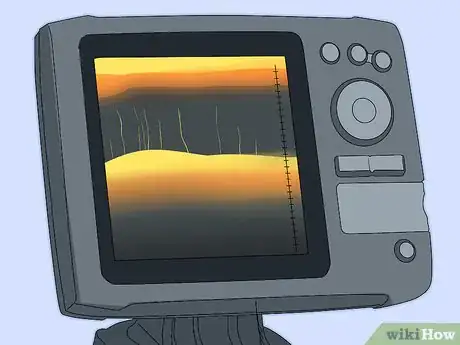
3Use the display data to identify the type of terrain beneath your boat. The thick line along the bottom of your fish finder’s display indicates the bottom of the body of water you’re in. If the fish finder displays anything below this line, it means you’re floating above a soft bottom (sand or mud, most likely). If you cannot see anything below this thick line, you’re likely above a hard, rocky surface.[6]
- The line that marks the surface below the water usually appears red by default in most fish finders.
- Knowing what sort of terrain you’re over is useful when looking for fish that prefer either rocky areas or areas with soft bottoms.
-
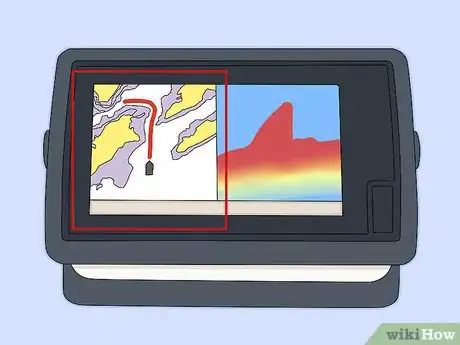
4Use the fish finder in combination with your chartplotter. If you have a chartplotter function on your fish finder, switch it over into split-screen mode. That way, when you see potential areas of fish activity, you can mark it on your chartplotter and come back to it later. If your chartplotter and fish finder are separate, just mark a waypoint on the chartplotter when you identify an area of significant fish activity.[7]
Adjusting the Display
-
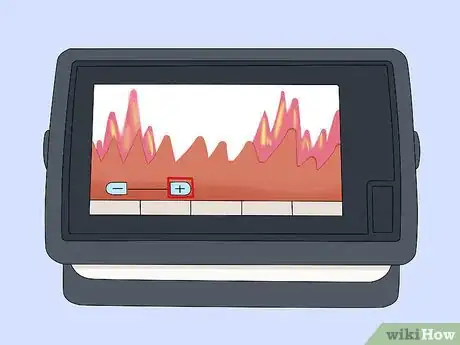
1Zoom in on areas of interest. If you want more detail or information about activity at a particular depth, you can zoom in on the area to get a clearer image. This is also useful if you know that the type of fish you’re interested in tends to swim at a certain depth, since you can simply set the fish finder to zoom in on a certain depth range to focus on just that area. Zoom functions are typically accessed through the options menu of your fish finder.[8]
-
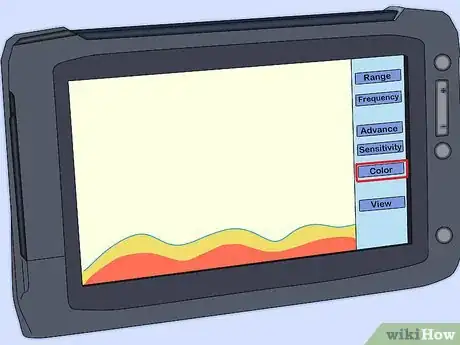
2Adjust the color palette in a way that maximizes your ability to read the display. Some fish finders use white lettering on a black background. If you change the display to show black letters on a white background, you might find that the display is easier to read. Similarly, if you change the fish-detection area of the display to a different color, you might have a better time distinguishing fish from features of the terrain.[9]
-
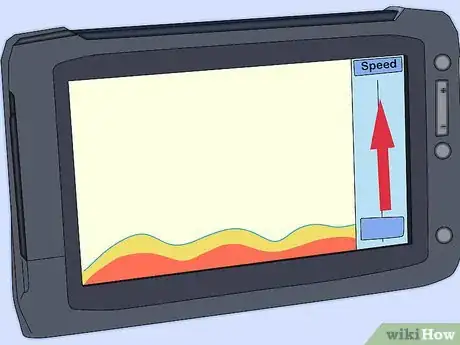
3Increase the update speed. The update speed determines how fast you’ll receive data from the fish finder. If your update speed is low, you’ll be looking at data from further in the past. If your update speed is high, you’ll be looking at data that is more up-to-date.[10]
- If you find yourself confused or unable to interpret high-speed fish finder data, turn the update speed down.
-
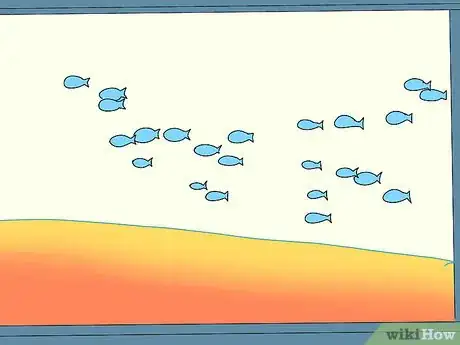
4Use the fish symbol feature if you’re unfamiliar with fish finder display data. The fish symbol feature translates the lines, dots, arches, and other abstract visual data of the fish finder display to show you where the fish are. Use this feature to skip over the learning curve required to interpret the visual display.[11]
- If you’re already familiar with reading raw fish finder data, you won’t need the added visual clutter of a fish symbol feature, which could distract from the primary fish finder display.[12]
Peaking the Transducer
-
1Peak the transducer when your fish finder’s automatic settings are being fooled. Sometimes, the fish finder is inaccurate, and you fail to find fish in the area where the fish finder suggests fish are active. To correct for these inaccuracies, you’ll need to manually adjust the device’s sensitivity. This process is known as peaking the transducer.[13]
-
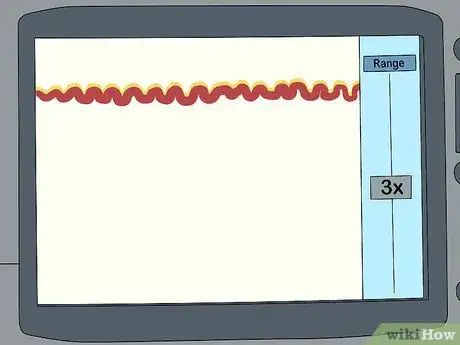
2Set the range to at least three times the depth. The precise way in which you change the range to at least three times the depth varies depending on which fish finder you’re using. You can typically navigate the fish finder’s settings menu to adjust the range.[14]
-
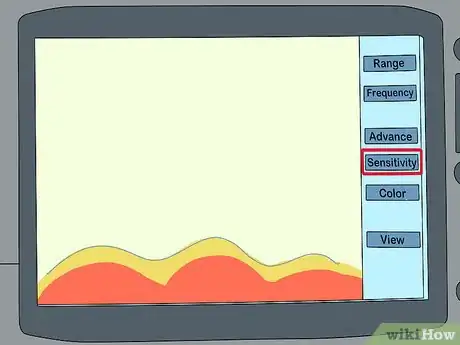
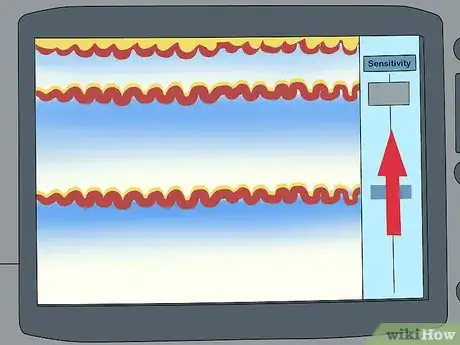
3Increase the sensitivity until you see two readings on the display. The precise way in which you increase the sensitivity of your fish finder depends on the particular model you’re using. In most cases, you can adjust the sensitivity using the settings menu or by pressing buttons along the outside of the fish finder. When you begin to see a second reading, stop increasing the sensitivity.[15]
- You’ll probably have to increase the sensitivity to the point that you see substantial visual clutter. In other words, your display will start to look messy and almost unintelligible.
-
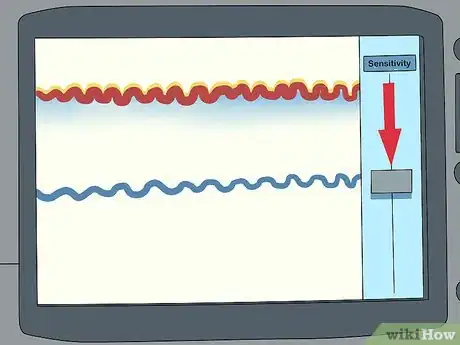
4Reduce the sensitivity until the clutter is gone but the second reading remains. As you slowly dial back the sensitivity, the amount of “noise” (or messiness) in the signal will decrease. With the second reading visible, you’ll get a better idea of what’s beneath your boat.[16]
-
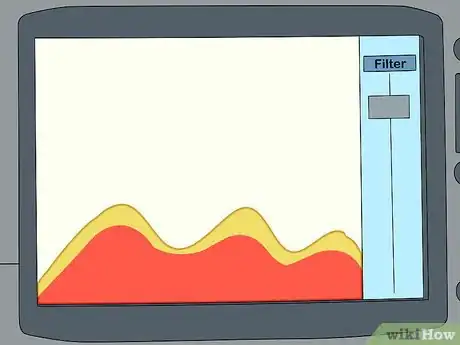
5Don’t add filters or boost filter strength to reduce surface clutter. Doing either could cut down on the fish finder’s sensitivity. Plus, most fish swim well out of range of the surface and away from your boat, so boosting filter strength or adding filters to reduce surface clutter are unlikely to help you find fish.[17]
Community Q&A
-
QuestionHow can I adjust the fish finder transducer for high speed operation?
 Community AnswerAs long as the transducer is mounted properly, it should operate fine at high speed without any adjustment.
 -
QuestionHow do I use fish finder and make different fish come?
 Community AnswerThe fish finder's function is not to attract fish, but to tell you where they are and at what depth. To attract fish to a particular spot, chum the area.
 -
QuestionWhy does my fish finder say there are fish when it is in my shed?
 Community AnswerBecause there's either too much water in your shed or your boat ran into your shed with the back end of the boat still in the water.
References
- ↑ http://www.fishfindersource.com/how-to-read-a-fish-finder-screen/
- ↑ http://www.fishfindersource.com/how-to-read-a-fish-finder-screen/
- ↑ http://www.fishfindersource.com/how-to-read-a-fish-finder-screen/
- ↑ http://www.boats.com/how-to/how-to-basics-using-your-fishfinder/#.WdlAOmhSyUk
- ↑ http://www.boats.com/how-to/how-to-basics-using-your-fishfinder/#.WdlAOmhSyUk
- ↑ http://www.fishfindersource.com/how-to-read-a-fish-finder-screen/
- ↑ http://www.boats.com/how-to/how-to-use-a-fishfinder-advanced-tips-techniques/#.WdlAJWhSyUk
- ↑ http://www.boats.com/how-to/how-to-use-a-fishfinder-advanced-tips-techniques/#.WdlAJWhSyUk
- ↑ http://www.boats.com/how-to/how-to-basics-using-your-fishfinder/#.WdlAOmhSyUk
- ↑ http://www.boats.com/how-to/how-to-basics-using-your-fishfinder/#.WdlAOmhSyUk
- ↑ http://www.sonarwars.com/how-to-use-fish-id-to-catch-more-fish/
- ↑ http://www.boats.com/how-to/how-to-basics-using-your-fishfinder/#.WdlAOmhSyUk
- ↑ http://www.boats.com/how-to/how-to-basics-using-your-fishfinder/#.WdlAOmhSyUk
- ↑ http://www.boats.com/how-to/how-to-basics-using-your-fishfinder/#.WdlAOmhSyUk
- ↑ http://www.boats.com/how-to/how-to-basics-using-your-fishfinder/#.WdlAOmhSyUk
- ↑ http://www.boats.com/how-to/how-to-basics-using-your-fishfinder/#.WdlAOmhSyUk
- ↑ http://www.boats.com/how-to/how-to-basics-using-your-fishfinder/#.WdlAOmhSyUk
About This Article
To use a fish finder, read the display from right to left if you're using SONAR or down imaging since the most recent information will be to the right of the screen. If you're using the side imaging mode, read the display from top to bottom since the data near the top of the screen will be newer. Whichever mode you're using, look for blobs or small dots on the screen to locate small fish, or arches and large dots for big fish. You can also look at the thick line along the bottom of the display to figure out what kind of terrain you're over. To learn how to adjust the display settings on your fish finder, scroll down!

